
Formulas
Root Melts: 3 Common Mistakes You're Making!
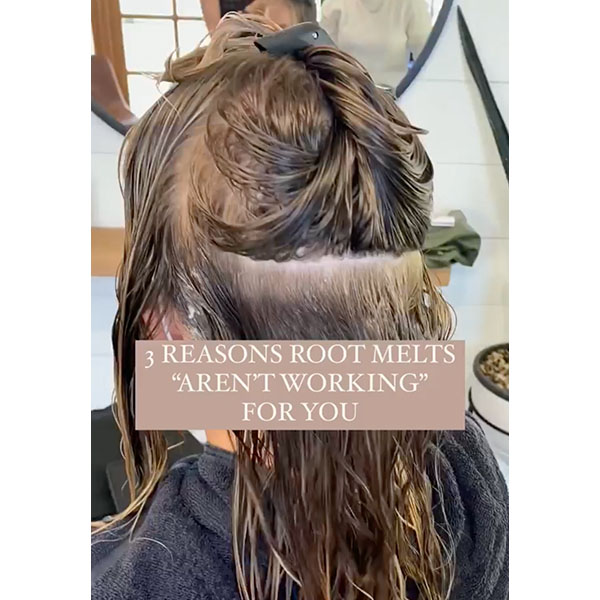
Three Reasons Why Root Melts "Don't Work" For You Do you struggle to get the depth of rich tones you want during a root melt? Unsure why your melts end up looking like just a heavy root touch-up? If you're feeling like root melts aren't your thing—think again! BTC Team Member Carly Zanoni (@the.blonde.chronicles) shares three common mistakes stylists make when doing a root melt that can help you rethink your process and adjust techniques to nail this service! Fill your books and provide clients with that lived-in look they love—keep reading for the dos and don'ts of...
Keep reading for free
Create a free account or sign in to continue
Use the same email and password across behindthechair.com, BTC-U, oneshothairawards.com, and Who Does Your Hair — one set of credentials, every site.
OR
We'll check if you have an account, or create one if you don't.
To save this story, create a free account or sign in.
Join BehindTheChair
Access the industry’s #1 source for hair trends, education and community now.
OR
We'll check if you have an account, or create one if you don't.


