Create Loose Waves On A Lob With These 5 Tips
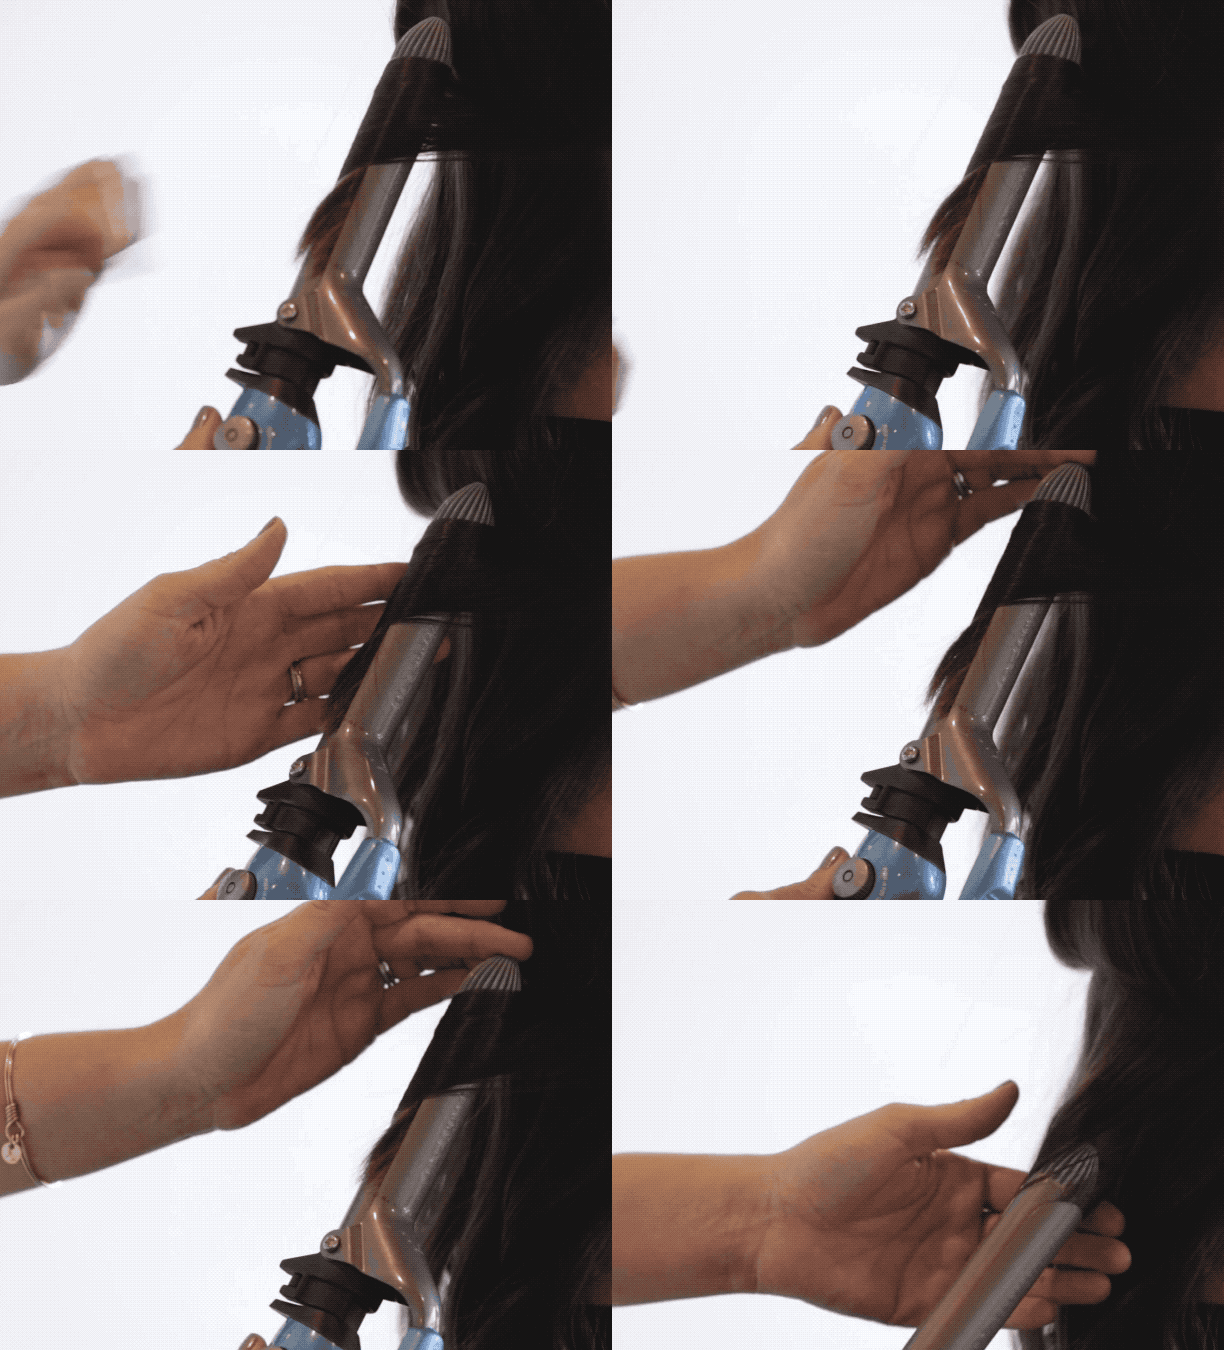
Create Loose Waves On A Lob With These 5 Tips What’s the best way to get that double-tap? Set off a trending lob and gorgeous haircolor with the waves clients covet, then snap some pics! Learn how to get these Insta-approved effortless waves from BTC Team Member Mika Rogerson (@mikaatbhc)—click here to purchase the 15-minute how-to video from BTC University! Click here to purchase Mika's video! [btc-banner id="687371"] 1. Leave The Ends Out For clients with a short lob/bob cut, the hair is shortest underneath at the nape. Mika uses a 1-inch BaByliss Pro curling iron at...
More from
Mika Rogerson
-
Balayage
The Biggest Hair Color Trends Of Winter 2021
-
Blue
Pantone’s Color Of 2020 Is Classic Blue—Here Are 5 Formulas!
-
Balayage
11 Chocolate & Caramel Formulas That’ll Satisfy Your Sweet Tooth 🍫
-
Beachwaves
7 Articles That’ll Take Your Styling Game To The Next Level In 2019
-
Beachwaves
Your Complete Guide To Styling Bobs & Lobs
-
Beachwaves
The Top 10 Cool-Girl Wave Tips We Posted In 2018
-
Balayage
Balayage: 4 Base Color Formulas For Seamless Blends
-
Hair Color
3 Ways To Use A Hair Serum You Never Thought Of
-
Color Protecting
Clients With Breakage? Here Are 3 Easy Solutions!
-
Balayage
Deep Brunette + Bold Caramel Money Piece
-
Brunette
Caramel Money Piece On A Brunette Base
-
Balayage
Dimensional Brunette Balayage
-
Balayage
Dimensional Brunette Balayage
-
Balayage
Dramatic Dimension
-
Balayage
Dramatic Dimension


 or
or


