7 Expert Haircutters Share Their Top Tips For Today’s Trending Cuts
7 Tips For Today’s Trending Cuts From The Haircutting Pros
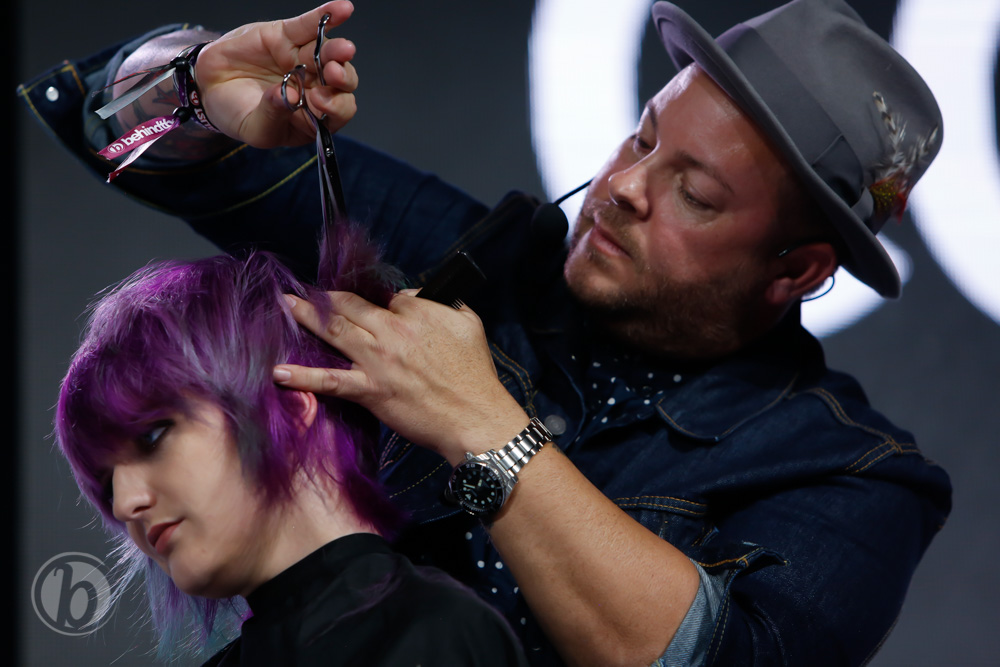
Picture this: One stage featuring seven of the industry’s top haircutters. This sweet dream became a reality when we brought back our BTC Cutting Co-Lab for the THE BTC SHOW 2018—and this year’s group did not hold back on the tips, tricks and techniques.
This year’s lineup included:
- Celebrity stylist Anh Co Tran (@anhcotran)
- Victory Barber & Brand’s Matty Conrad (@mattyconrad)
- L’ANZA Healing Haircare’s Matt Swinney (@matt.swinney)
- Celebrity stylist Buddy Porter (@buddywporter)
- Celebrity men’s groomer Kristan Serafino (@serafinosays)
- TIGI® Professional’s Joel Torres (@joeltorresstyle)
- Matrix ambassador Philip Wolff (@philipwolffhair) and
- Paul Mitchell‘s Fernie Andong (@fernthebarber)
From men’s cuts to long layers and everything in between, keep scrolling to see some of the tips these expert haircutters shared for today’s top trending cuts. Then, click here for balayage tips and click here for styling tips!
Click Here To See All The Photos From The BTC Co-Lab: Cutting Presentation!

1. Keep The Face-Frame Soft
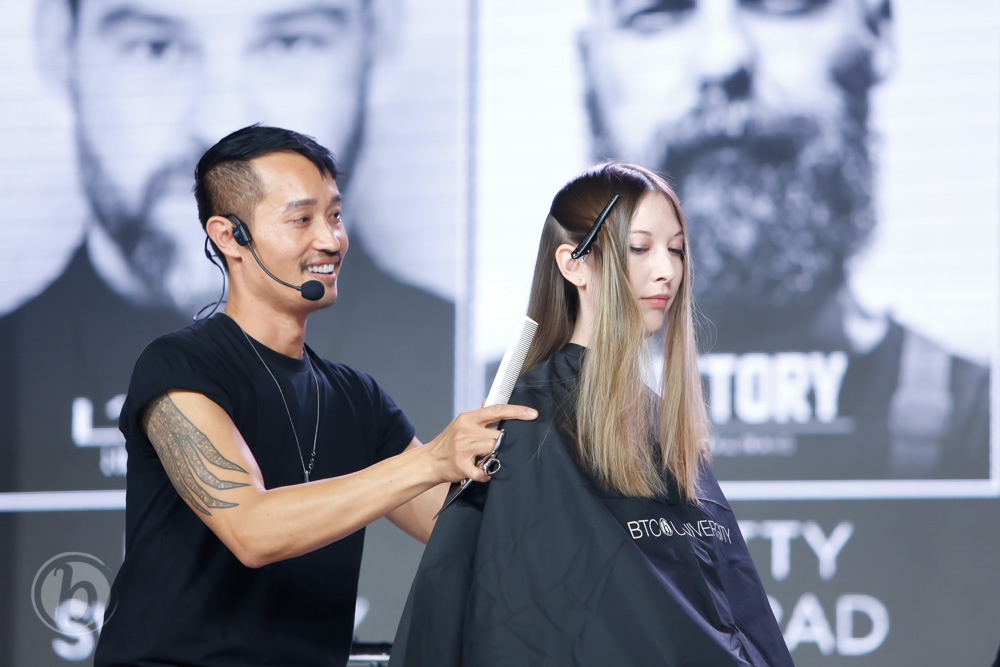
When working on the face-framing area, Anh elevates the hair at a low 45-degree angle and uses a gentle slide-cutting technique. Then, he likes to cross check his blend with a soft point-cutting technique. Doing this creates a soft blend and gentle movement around the face.
2. Men’s Cuts: Wet Vs. Dry
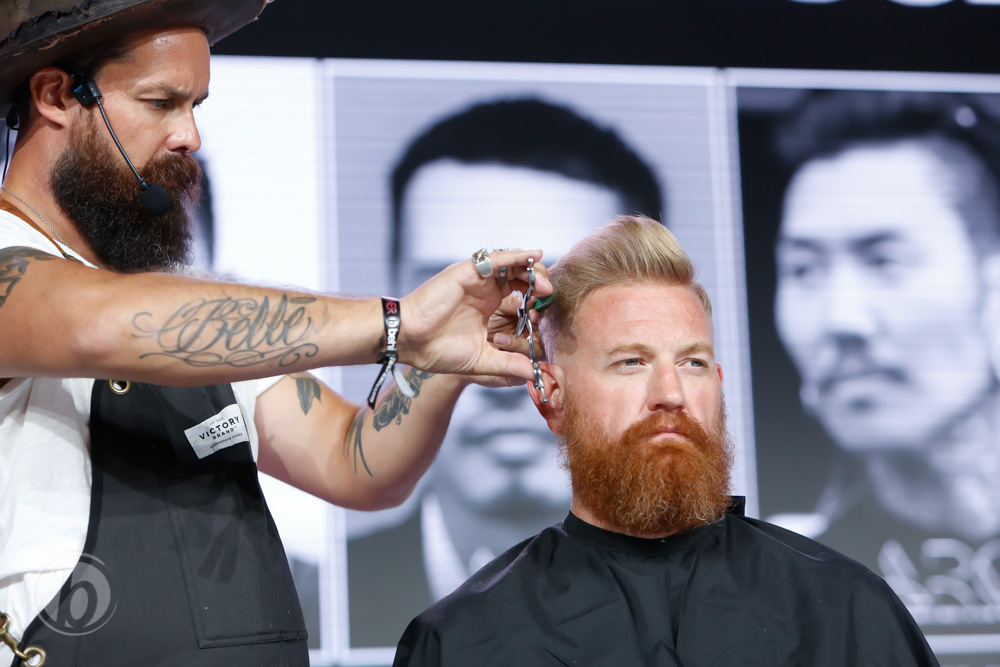
Why not both? Matty likes to do half the cut on wet hair and the other half on dry hair because it helps him visualize the texture and see where softness or weight removal is needed. And know this: If you remove the weight while the hair is wet, you’ll end up removing twice the amount than intended because wet hair tends to clump.
Pro Tip: For clients with a protruding occipital bone, don’t try to fight it by doing a lower fade. Matty recommends starting the fade above the occipital instead!
3. Long Layers—It’s All In The Details
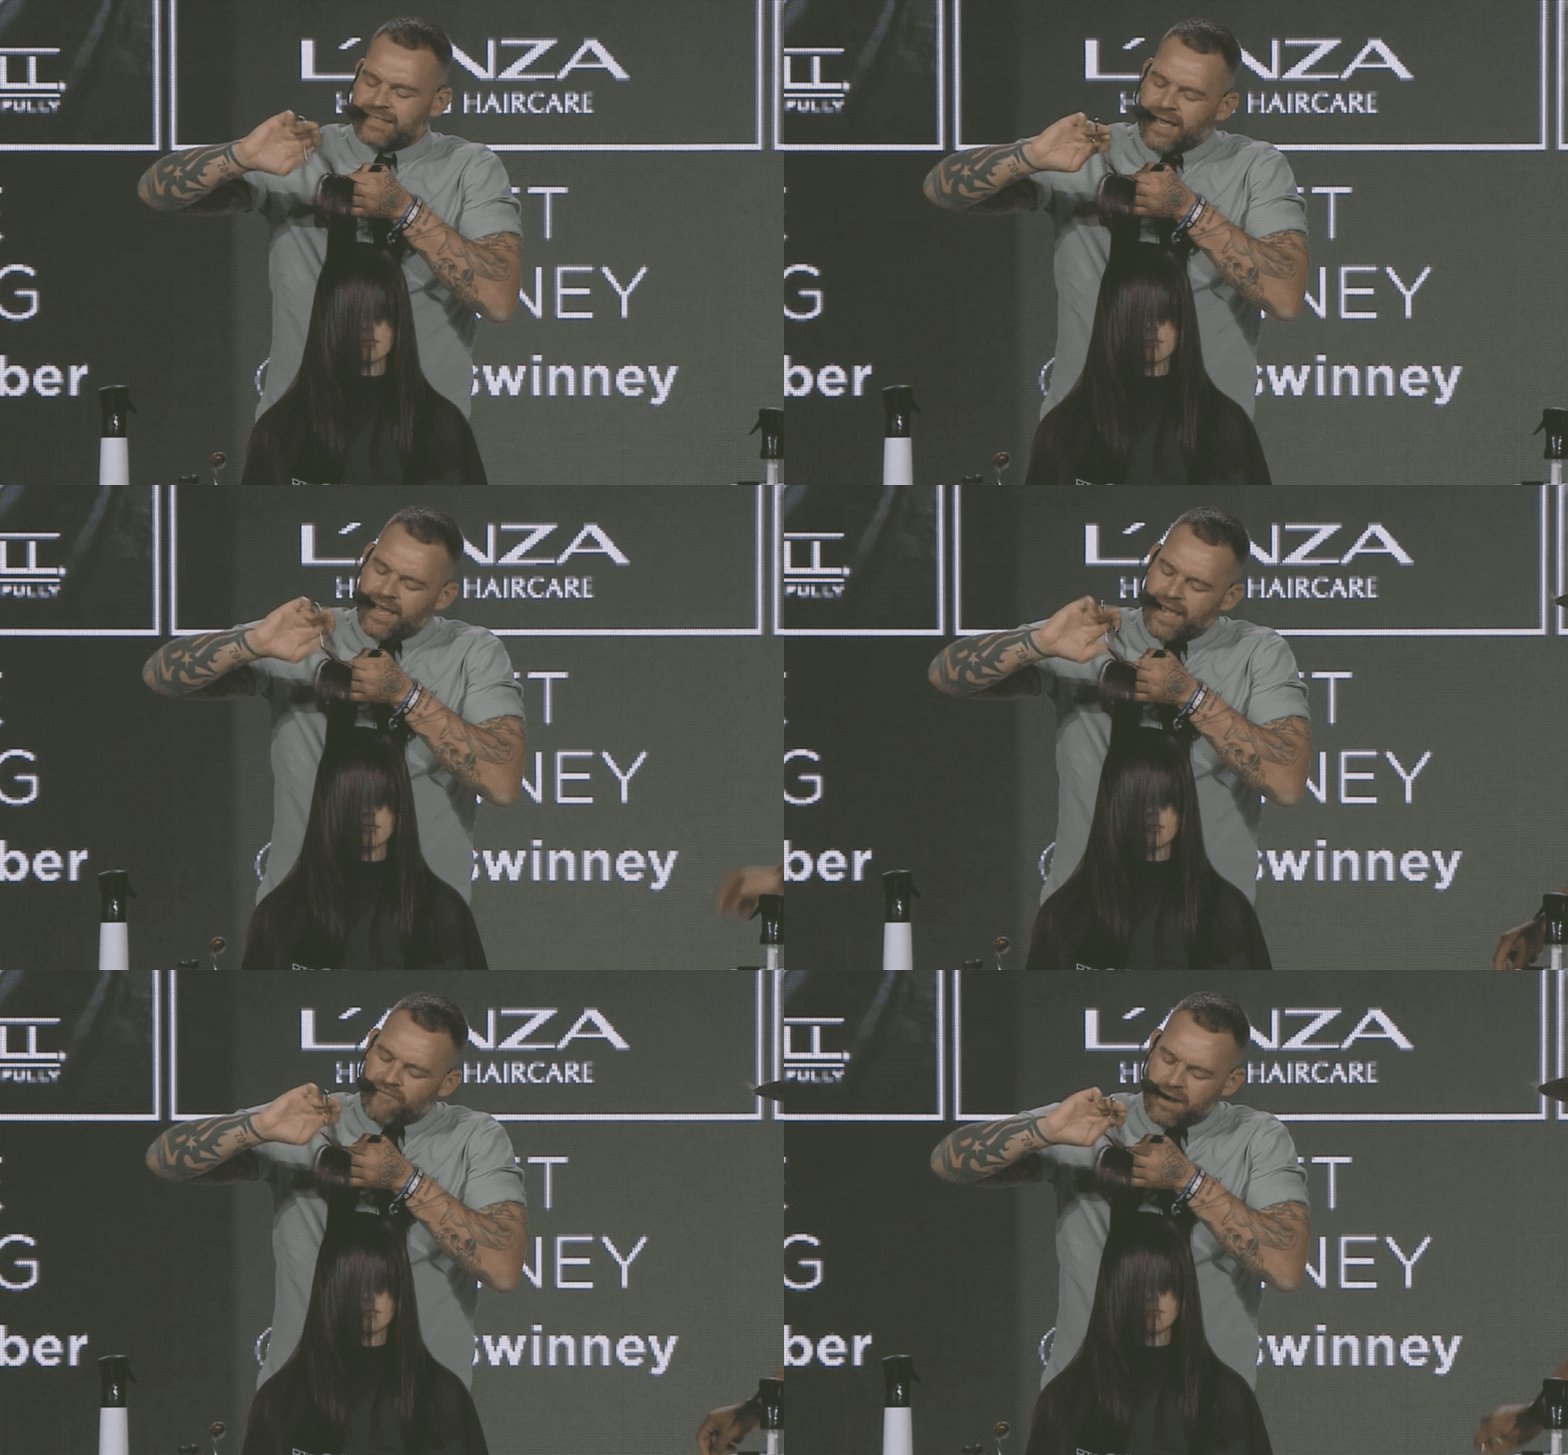
Matt likes to detail his long-layered cut by softening and adding texture into the crown with a fast, progressive cutting technique. It’s a quick point-cutting movement that diffuses the layers and adds internal movement/separation by cutting parallel to the section and skimming the interior surface.
4. Establishing The Perimeter
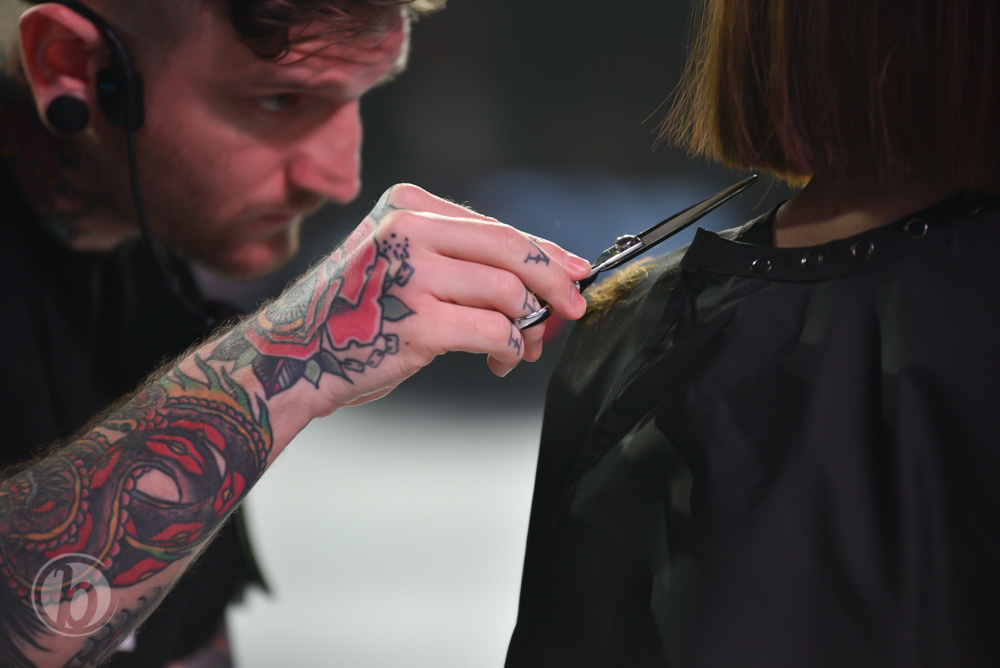
First, analyze her face shape to help you determine the length of the bob. (Since Buddy’s model had a great face shape and jawline, he wanted to go shorter.) Then, establish the perimeter with a shallow point-cutting technique. When you go to texturize later, take a deeper point-cut and be sure to also incorporate some slide-cutting for a piecey, lived-in look.
Note: Buddy likes to cut the perimeter with the 6-inch PARAGON Sword from ARC™ Scissors.
Watch ALL The Stage Presentations From THE BTC SHOW On BTC UNIVERSITY. Click Here!
5. Scissor-Over-Comb Like A Pro
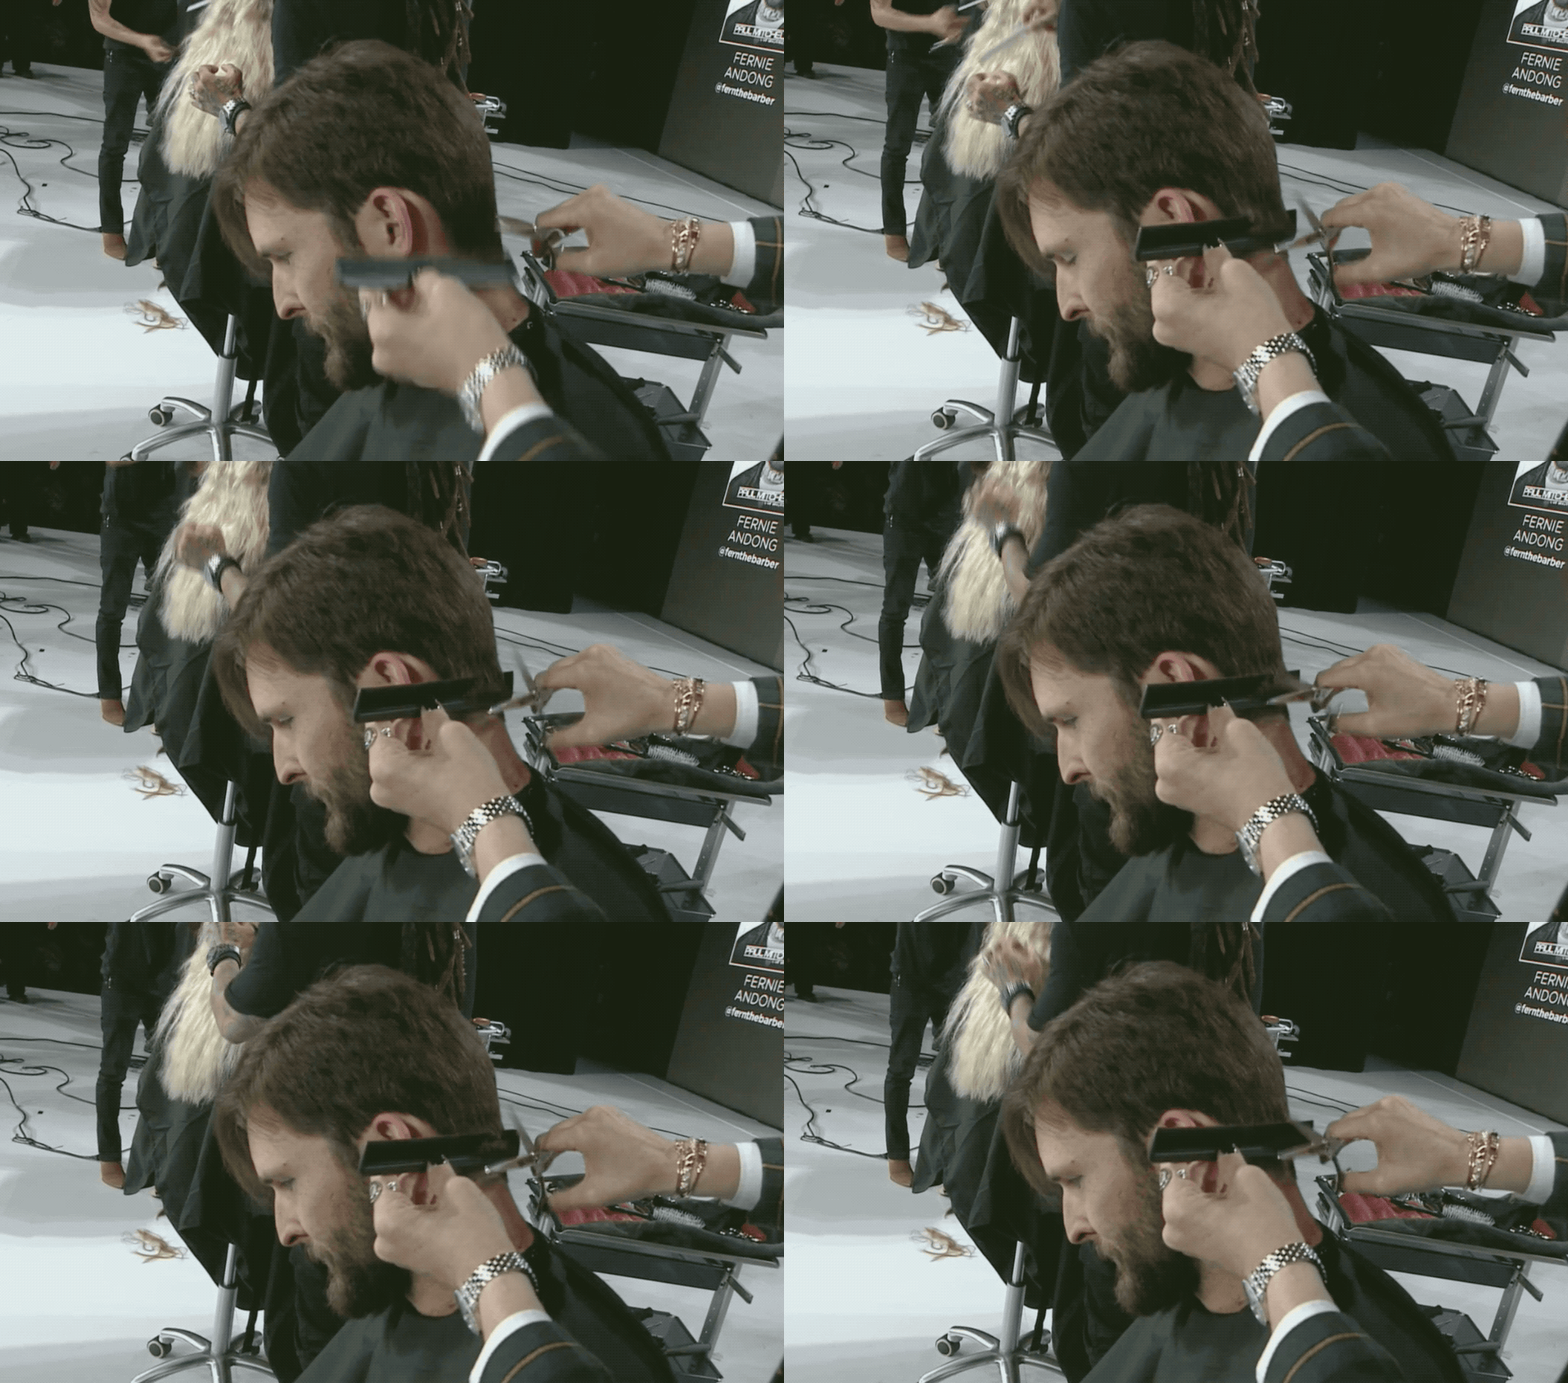
Kristan prefers to cut scissor-over-comb because it gives her more control and results in a more natural finish. If it’s an unfamiliar technique to you, think of it this way: Your scissors are your clippers and the comb is your guard, so your shears always need to follow your comb. Kristan balances her ARC™ Scissors 10/10 Reversible Texturizer against the base of the comb, and then uses a gentle scooping motion to help taper while she cuts.
6. Starting A Shag
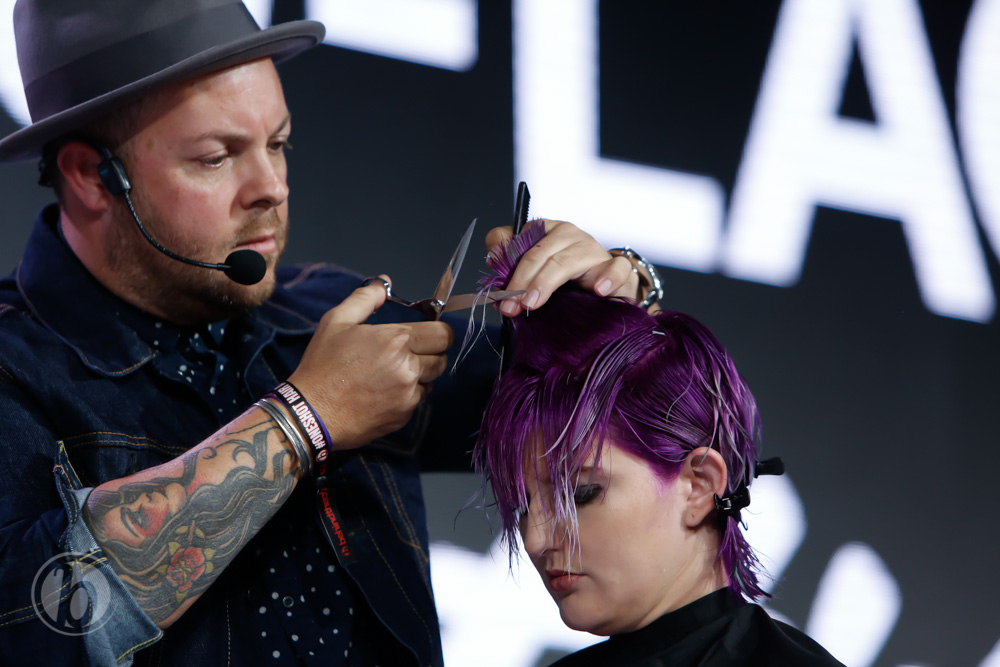
When creating a ’70s-inspired shag cut, Joel always starts with the fringe because it acts as his reference point. Once that’s established, he takes a center Mohawk section and elevates the hair 180 degrees and builds the foundation for the layers. Just be sure to clip the bottom perimeter out of the way so you don’t cut into the length later.
Pro Tip: Not sure which fringe is best? Curtain bangs are Joel’s go-to because they perfectly blend into the overall shape of a shag.
7. Blending Her Natural Hair With The Extensions
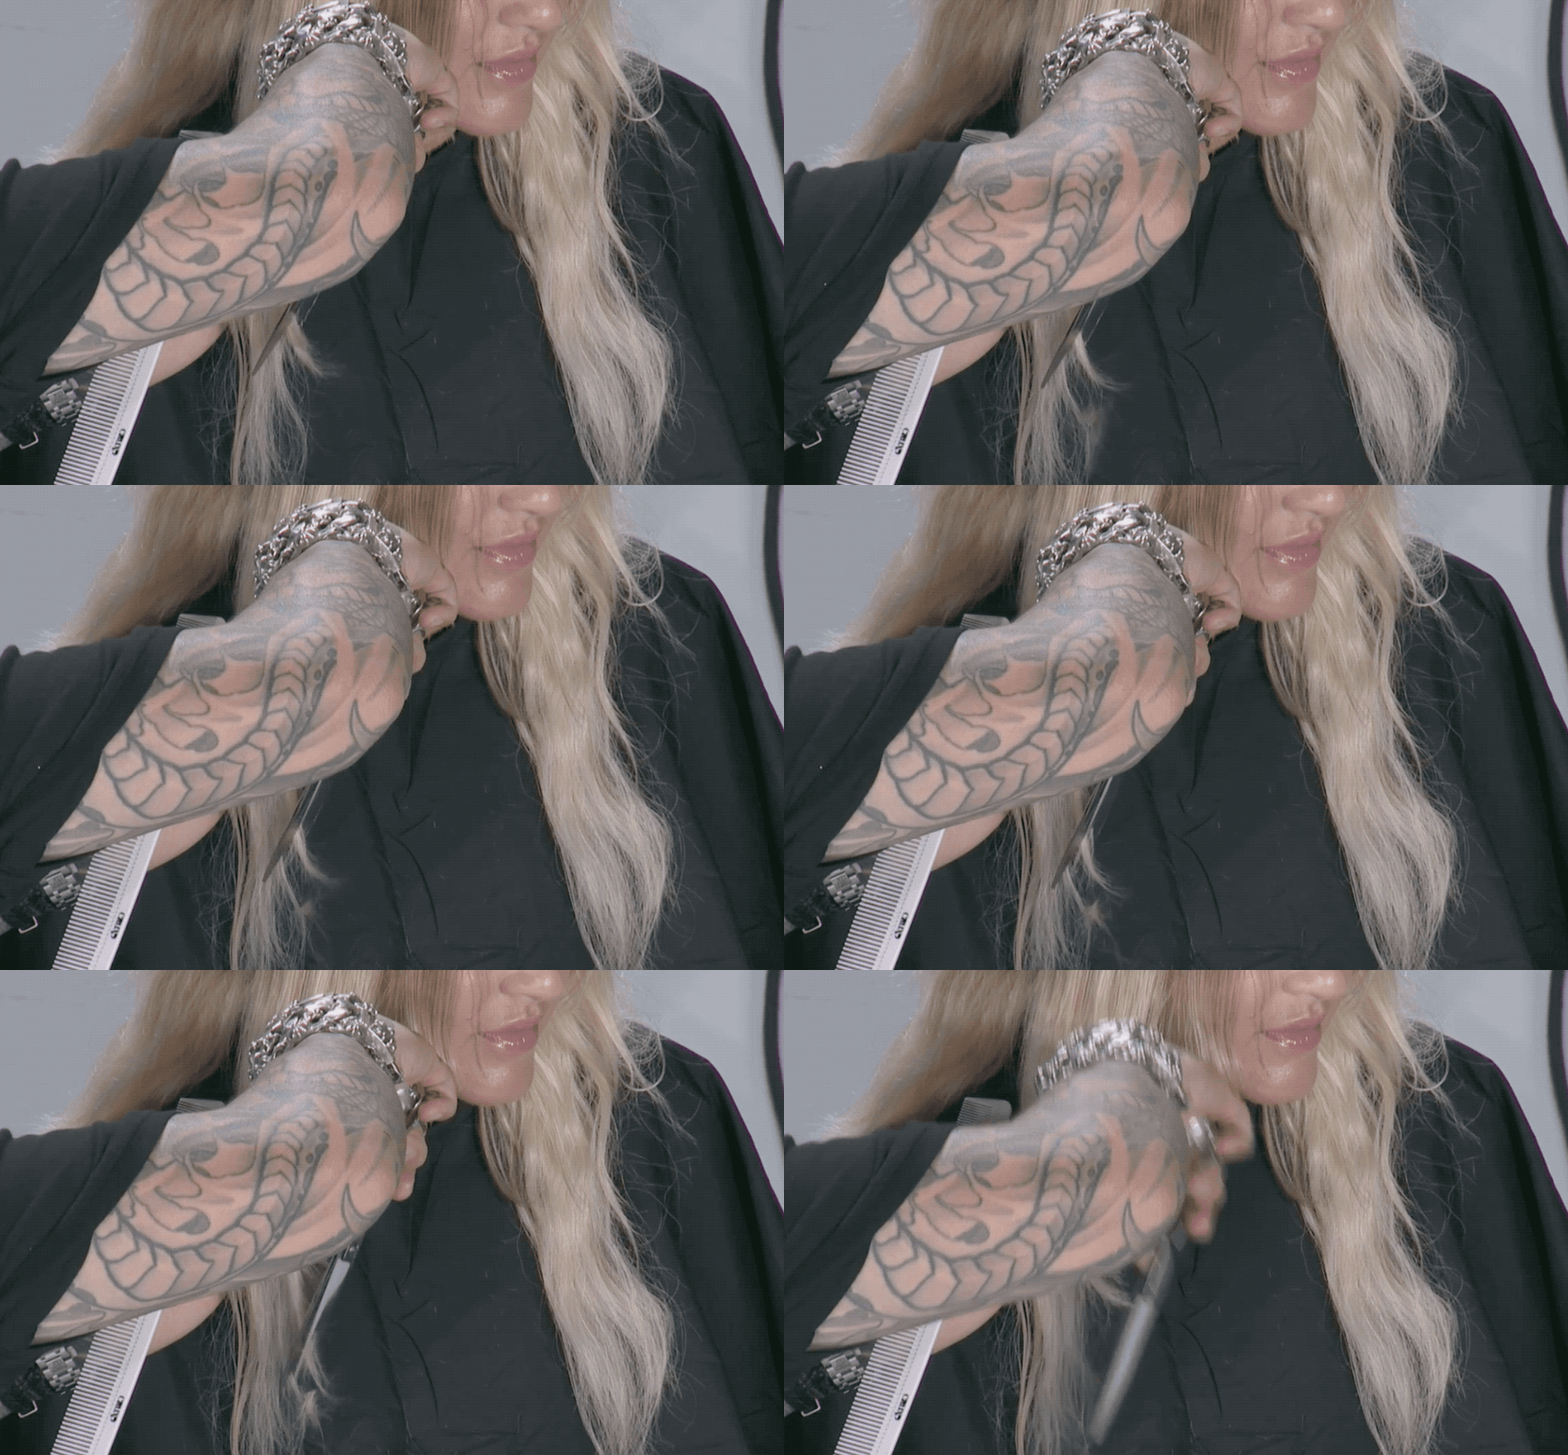
Do not cut horizontally because it could cause you to cut off too much and will result in you frantically over-blending later. Instead, Philip starts at the shortest piece toward the front and carves his way down using the 7-inch PHANTOM shear from ARC™ Scissors, softly closing the shears as he slide-cuts.
8. @fernthebarber’s Textured Pixie Cut Technique
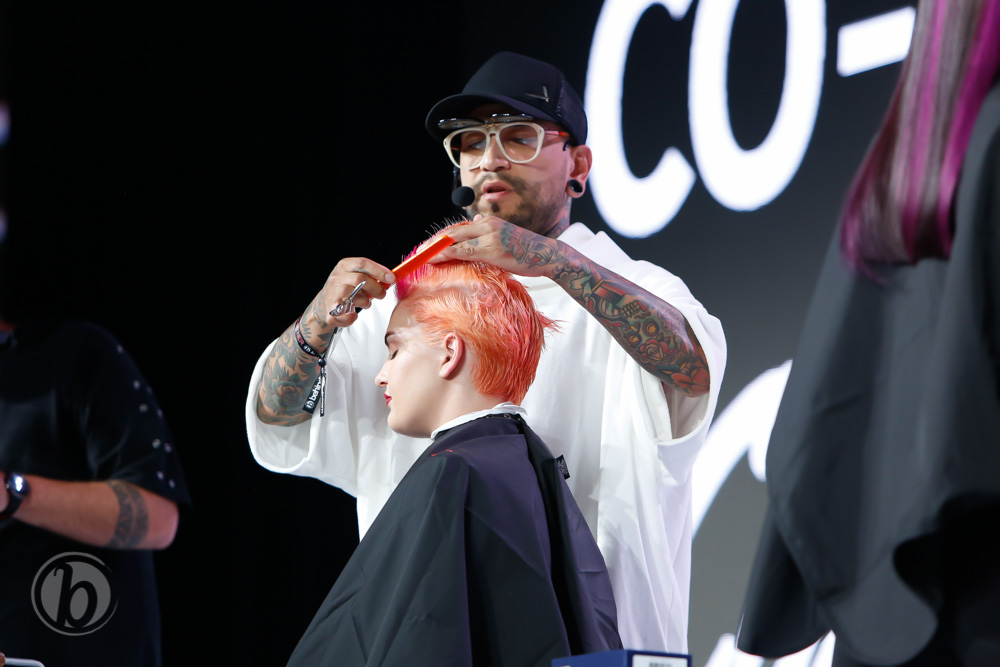
Fern starts with a center Mohawk guide that is shallower near the front hairline and elevates as he works toward the apex. From there, he cuts the sides with diagonal back sectioning until he reaches the parietal ridge (which is where he wants more length). Then, he’ll taper the neck with a #1 guard and blend using a clipper-over-comb technique up to the occipital.
See what went down on Day 1, Day 2 & Day 3 at THE BTC SHOW 2018!


