
3 Steps To Make A Bronde Hairline Pop
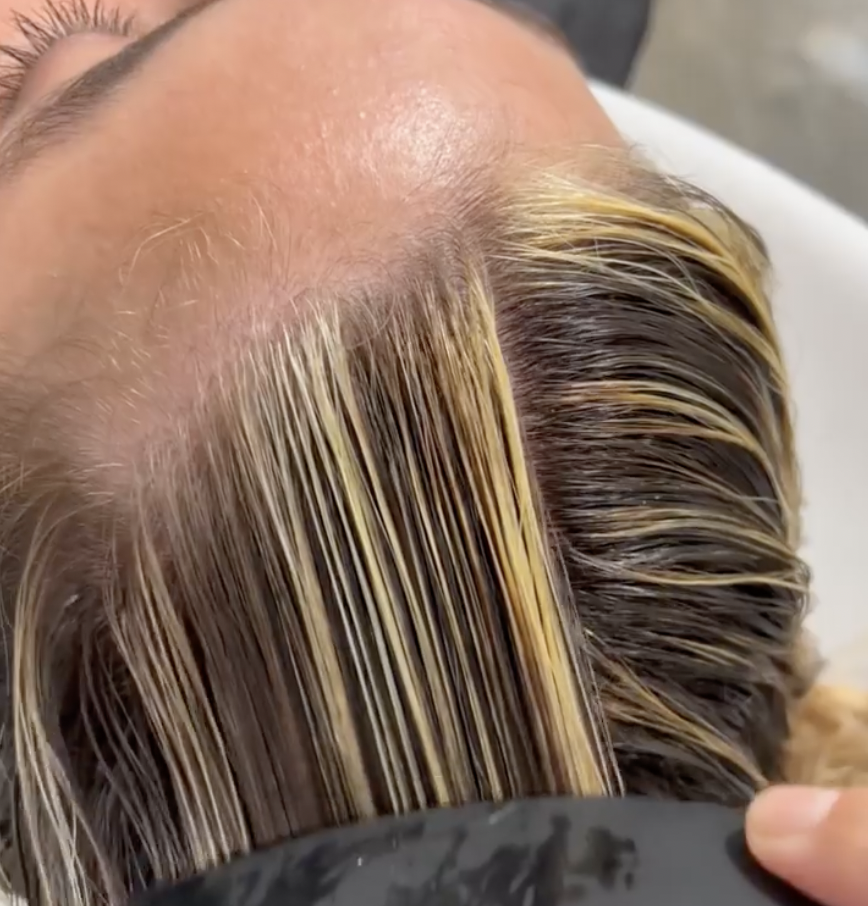

Photo Credit: Instagram via @lo_wheelerdavis
1. Try This 6-Section Hairline Technique For Blended Ribbons
For a soft, ribbon-like effect around the face, try Lo’s sectioning technique to avoid a chunky face frame:
- At the hairline, create six 1.5 inch sections (three sections on each side of the center part.)
- Then, starting with the bottom section, apply the lightener at the ear and feather up toward the root, then work down through the ends. Painting this way avoids disrupting any already-painted sections.
- When painting the bottom sections, Lo stands behind the client and works over their shoulder to overdirect the painting toward her. This will avoid getting lightener on the client’s face!
- Lo’s uses Kenra Color Simply Blonde Blue Powder Lightener + Kenra Simply Blonde 30-Volume Developer for control when hand painting.
Avoid a brassy hairline with Lo’s favorite blue-based lightener!

2. Paint Each Face-Framing Section From Root To End To Make The Hairline Pop
When working with medium to thick hair:
- Oversaturate each section for good, even lift.
- If any transition points seem too harsh, blend the lightener out using the tail of a rat tail comb. “Don’t overwork, but don’t be afraid of [the bleach],” says Lo.
When working with fine hair:
- On super fine sections of hair, don’t paint too high toward the root to avoid too much lightener, just tip out.
- Lightly comb the lightener at the transition point to avoid harsh lines.
- Don’t pack on too much lightener as the weight of the lightener will cause bleed marks.
- Use foil or cotton to create separation between sections to avoid bleeding.

3. Save The Shortest Layer For Last For Seamless Blending
Once you’ve worked your way up to the top of the head, “Evaluate where the shorter layer is going to work into what’s already painted” suggests Lo. Then, repeat the above steps on the shortest section.
When working with curtain or sideswept fringe:
- Paint the center and both sides of where the fringe opens from root to end.
- With shorter lengths, it’s important to hold the hair taut and paint with plenty of tension.
- Finally, separate the top layer using cotton, foil or Saran Wrap to prevent bleeding.
As Lo finishes the look, she reminds stylists “We’re creating cousins on each side of the hair—not twins. The more free-flowing you are with the placement, the more natural it looks.”
A before & after of Lo’s clients balayage fringe!

More from
Kenra Professional
-
New Appointments
Eric Vaughn is Kenra Professional Color’s First Artistic Director
-
Blonde
The Soft Blonde Revolution: 5 Luxe Formulas You Need To Try
-
Blonde
Can Self-Tanners & Spray Tans Stain Your Hair?
-
Balayage
3 Pro Tips for Creating the Perfect Beachy Balayage
-
BTC "On Tour"
BTC “On Tour” 2024 Wraps Up In Los Angeles
-
Blonde
Maximum Blend: 3 Foiling Tips To Safely Lighten Textured Hair
-
Hair Color
Simply Blonde Creme Lightener
-
BTC Events
Celebrity Colorist Justin Anderson Joined BTC’s “On Tour” Nashville Benefit Show
-
Balayage
How to Balayage Quickly & Efficiently to Get the Most out of Your Powder Lightener
-
Hairsprays
Voluminous Touch Memory Spray 12
-
Leave-In
Platinum Pearl Detangler
-
Heat Protection
Hot Spray 20
-
Styling Creams
Texturizing Taffy 13
-
Conditioners
Simply Add Water Shampoo & Conditioner
-
Conditioners
Triple Repair Collection
-
Shampoos
Clarify Shampoo
-
Conditioners
Volume Shampoo & Conditioner
-
Conditioners
Violet Shampoo & Conditioner
-
Conditioners
Moisture Shampoo & Conditioner
-
Conditioners
Color Protecting Shampoo & Conditioner
-
Conditioners
Restorative System
-
Mousse
Nitro Memory Creme 18
-
Pomades/ Pastes
Matte Texture Putty 10
-
Leave-In
Daily Provision Leave-In Conditioner
