3 Foiling Tips To Avoid Spotty Highlights
Blonding Education: 3 Foiling Tips To Start Using ASAP!
Picture this: You’re at the shampoo bowl pulling foils and you can already see it—splotchy highlights. What do you do? To help with all of your foil foes, we had Color Space™ Co-Founder Lupe Voss (@lupevoss) share her foiling expertise and we are breaking down some need-to-know tips below!
Scroll down for advice on how to prevent slipping foils, tips to achieve a seamless blend and her go-to product to avoid overprocessing the hair.
What We Learned:
You can learn Lupe’s full technique in her 90-minute course, but we’re teasing these tips you need to know now!
Tip #1: Lock In Foils With Overdirection
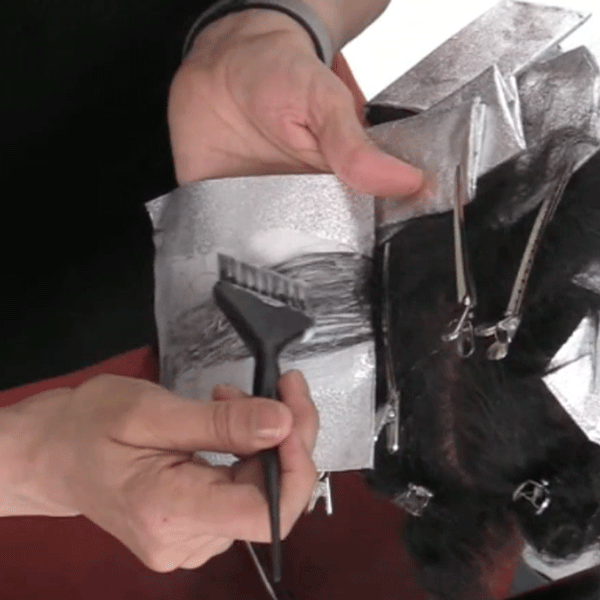
Avoid slipping foils by using overdirection and a pintail comb to secure the foil into the section (even with backcombing!) Check out Lupe’s steps below:
- Take the section and gently backcomb once or twice.
- Fold the foil over the end of the comb.
- Overdirect the backcombed section away from where it grows and apply the foil halfway down the hair shaft.
- Use one hand to pull the section straight down to the floor, and the other to pull the comb and foil up.
- Slide the entire section so the foil sits on the scalp.
- Instead of pulling the comb straight out from the foil, follow the head shape to secure the foil in place.
Tip #2: Work With The Client’s Haircut For A Seamless Blend
Avoid harsh lines at the hairline by overdirecting the section to follow the client’s existing haircut. “If I were to pull this section straight down and then backcomb, when you looked at her from the front, she would have a horizontal line in her color,” Lupe explains.
“So, I pull the section out from where it grows and position my body in front of the client so that the section lays flat in my fingers. Then, I can take an even backcomb and achieve a really nice blend.”
Tip #3: Avoid Splotchy Highlights With This Saturation Trick
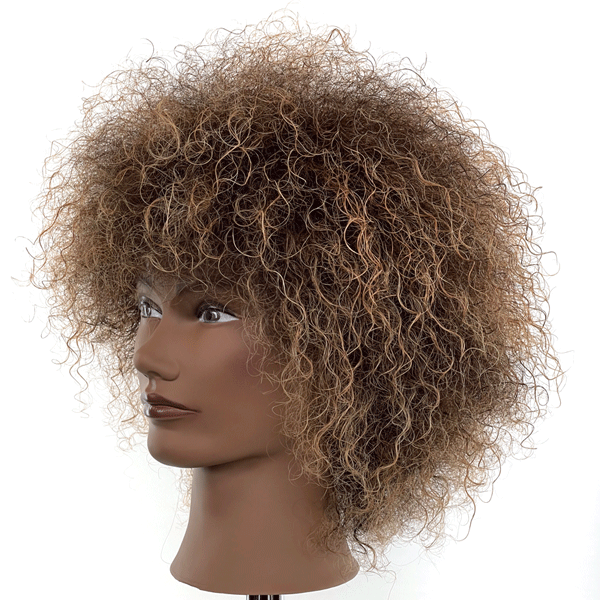
Achieve even saturation when highlighting curly clients by starting the lightener application at the top of the foil and painting down the entire section. Then, Lupe suggests moving the brush from side to side, up and down the entire section to make sure the client’s texture doesn’t rope or curl together which can cause dark spots in their highlights.
Slide For The Before & After

Click On The Beaker For The Full Formula!


Have Questions? Lupe Has Answers!
One of the benefits of watching a course on BTC University? Artists are able to answer your questions in REAL TIME! Here are some technical questions viewers had for Lupe during her livestream:
Question: Do you ever adjust the consistency of your formula depending on the client’s texture?
Answer: “I prefer to adjust my developer when formulating for different hair types. For a client that has coarse hair, I will use the Color Space™ ACTIVATE Liquid Developer so that it is easier to fully saturate the hair. For finer-haired clients I will use the ACTIVATE creme developer for a bit of a thicker consistency.”
Q: How do you avoid over-processing the back, if the front still needs time? Should you pull the foils?
A: “If there is a section that is ready, we have a great product from Color Space™ that actually stops the lifting process. It’s called STOP Liquid Oxidization Stopper and Cuticle Sealant and it’s a spray so it can be applied to individual sections. Just wipe off the excess lightener, spray the section and dab the hair with a towel. This allows the front sections to process without compromising the integrity of the hair in the back.”
More from
Color Space™
-
Balayage
Clients Complain They Can’t See Their Blonde? Try This!
-
Manufacturer
Time For Change? How To Choose The Best Color Line For Your Salon
-
Additive
Should You Add “Preservation Gloss” To Your Service Menu?
-
Hair Color
LIFT Silver Powder Lightener
-
Hair Color
ZERO Ammonia-Free Permanent Hair Color
-
Hair Color
ZERO Push Ammonia-Free Hair Color Tone
-
Color Protecting
STOP Liquid Oxidation Stopper & Cuticle Sealant
-
Facebook Lives
3 Tips For Creating Dimension On Short Hair
-
Industry News
Introducing Color Space™, A New Science-Driven Haircolor Line


