
Formulas
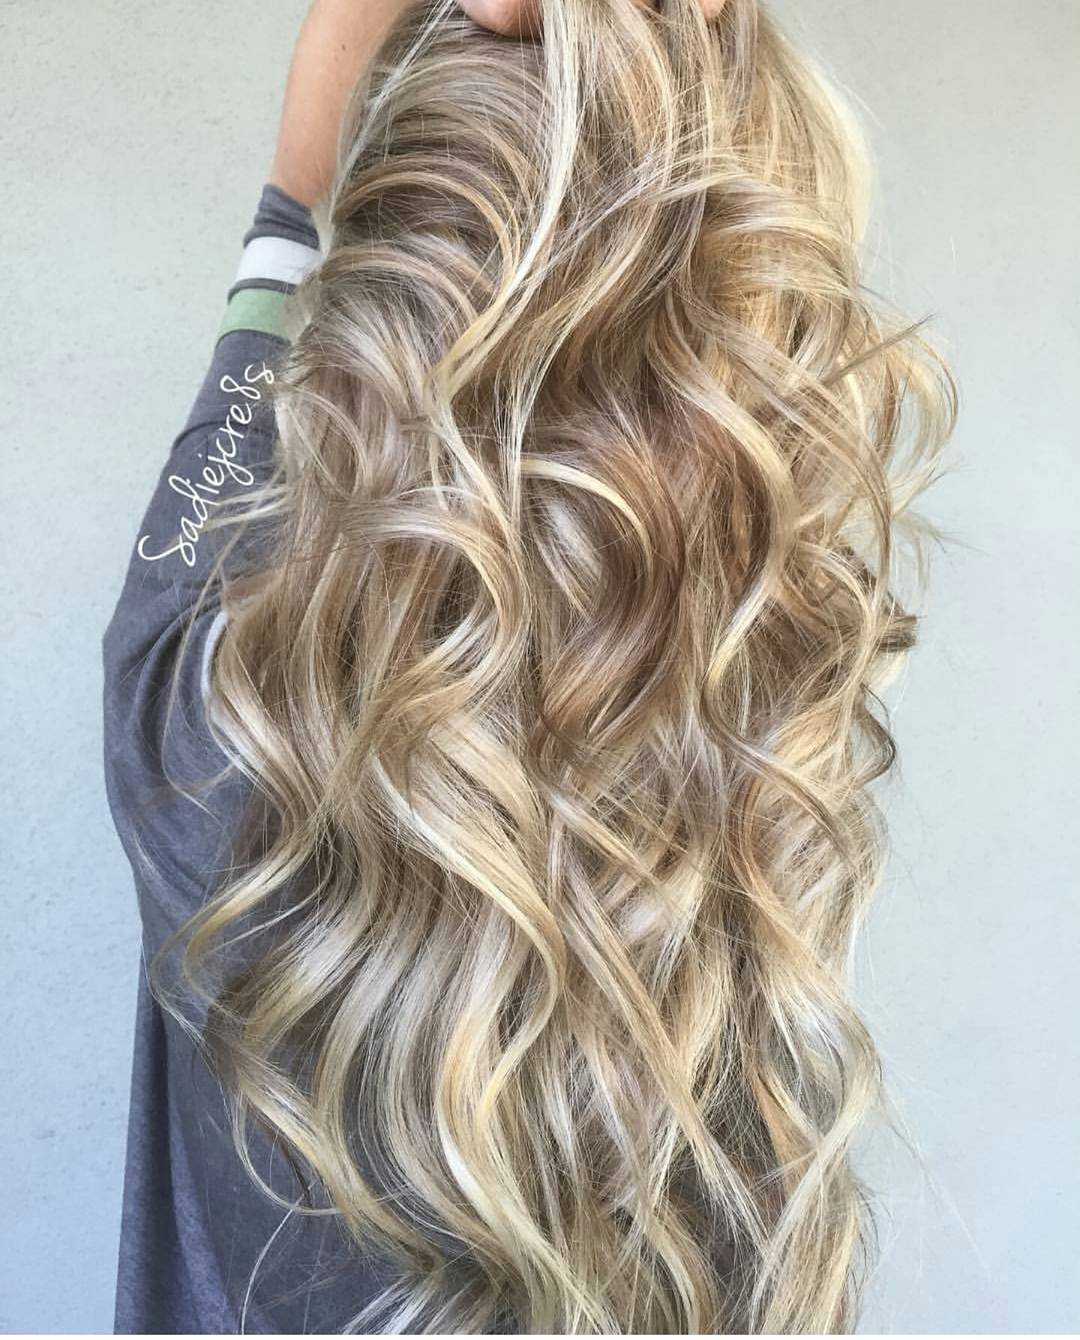
Gloriously Blonde How-To
A photo posted by behindthechair.com (@behindthechair_com) on Oct 16, 2016 at 4:27pm PDT What do you do when a client can't decide between going blonde and going brunette? You give her both of course! However, mixing both colors can be tricky, as shown by Sadie Gray (@sadiejcre8s), BTC #ONESHOT Hair Awards Finalist and owner of Sadie Jean & Co in Santa Rosa, Calif. But don't let the number of steps stop you from achieving this gloriously blonde how-to. Sadie gave us all the details so you too can perfectly weave brown and blonde together. Check it out! Want to be featured? Tag...
Keep reading for free
Create a free account or sign in to continue
Use the same email and password across behindthechair.com, BTC-U, oneshothairawards.com, and Who Does Your Hair — one set of credentials, every site.
OR
We'll check if you have an account, or create one if you don't.
To save this article, create a free account or sign in.
Join BehindTheChair
Access the industry’s #1 source for hair trends, education and community now.
OR
We'll check if you have an account, or create one if you don't.


