
3 TIPS TO MAKE YOUR REDHEADS GLOW

Learn How To Make Your Redheads Glow
Does red color formulation leave you puzzled? Then you need these tips from Meg Schipani (@shmeggsandbaconn), who shared her genius ideas for reds, gingers and pumpkin spice color. No hot roots, flat and drab reds or unwanted tones here! Scroll through for the key takeaway moments, then click here to purchase her full 90-minute course on BTC University and receive unlimited access!
What We Learned:
This class was PACKED with info you don’t want to miss! Here are a few sneak peeks into what you will learn in the full 90-minute course.
1. Reds fade FAST.
One of the biggest challenges that comes along with red haircolor is longevity. Reds tend to fade the fastest because the actual color molecule is so small. “Talk to your client about the maintenance level of red color not only in the salon but at home as well. Let them know they need to take care of it differently and recommend a good color-preserving at-home care routine. No hot water showers!” explains Meg.
2. Dimension is KEY.
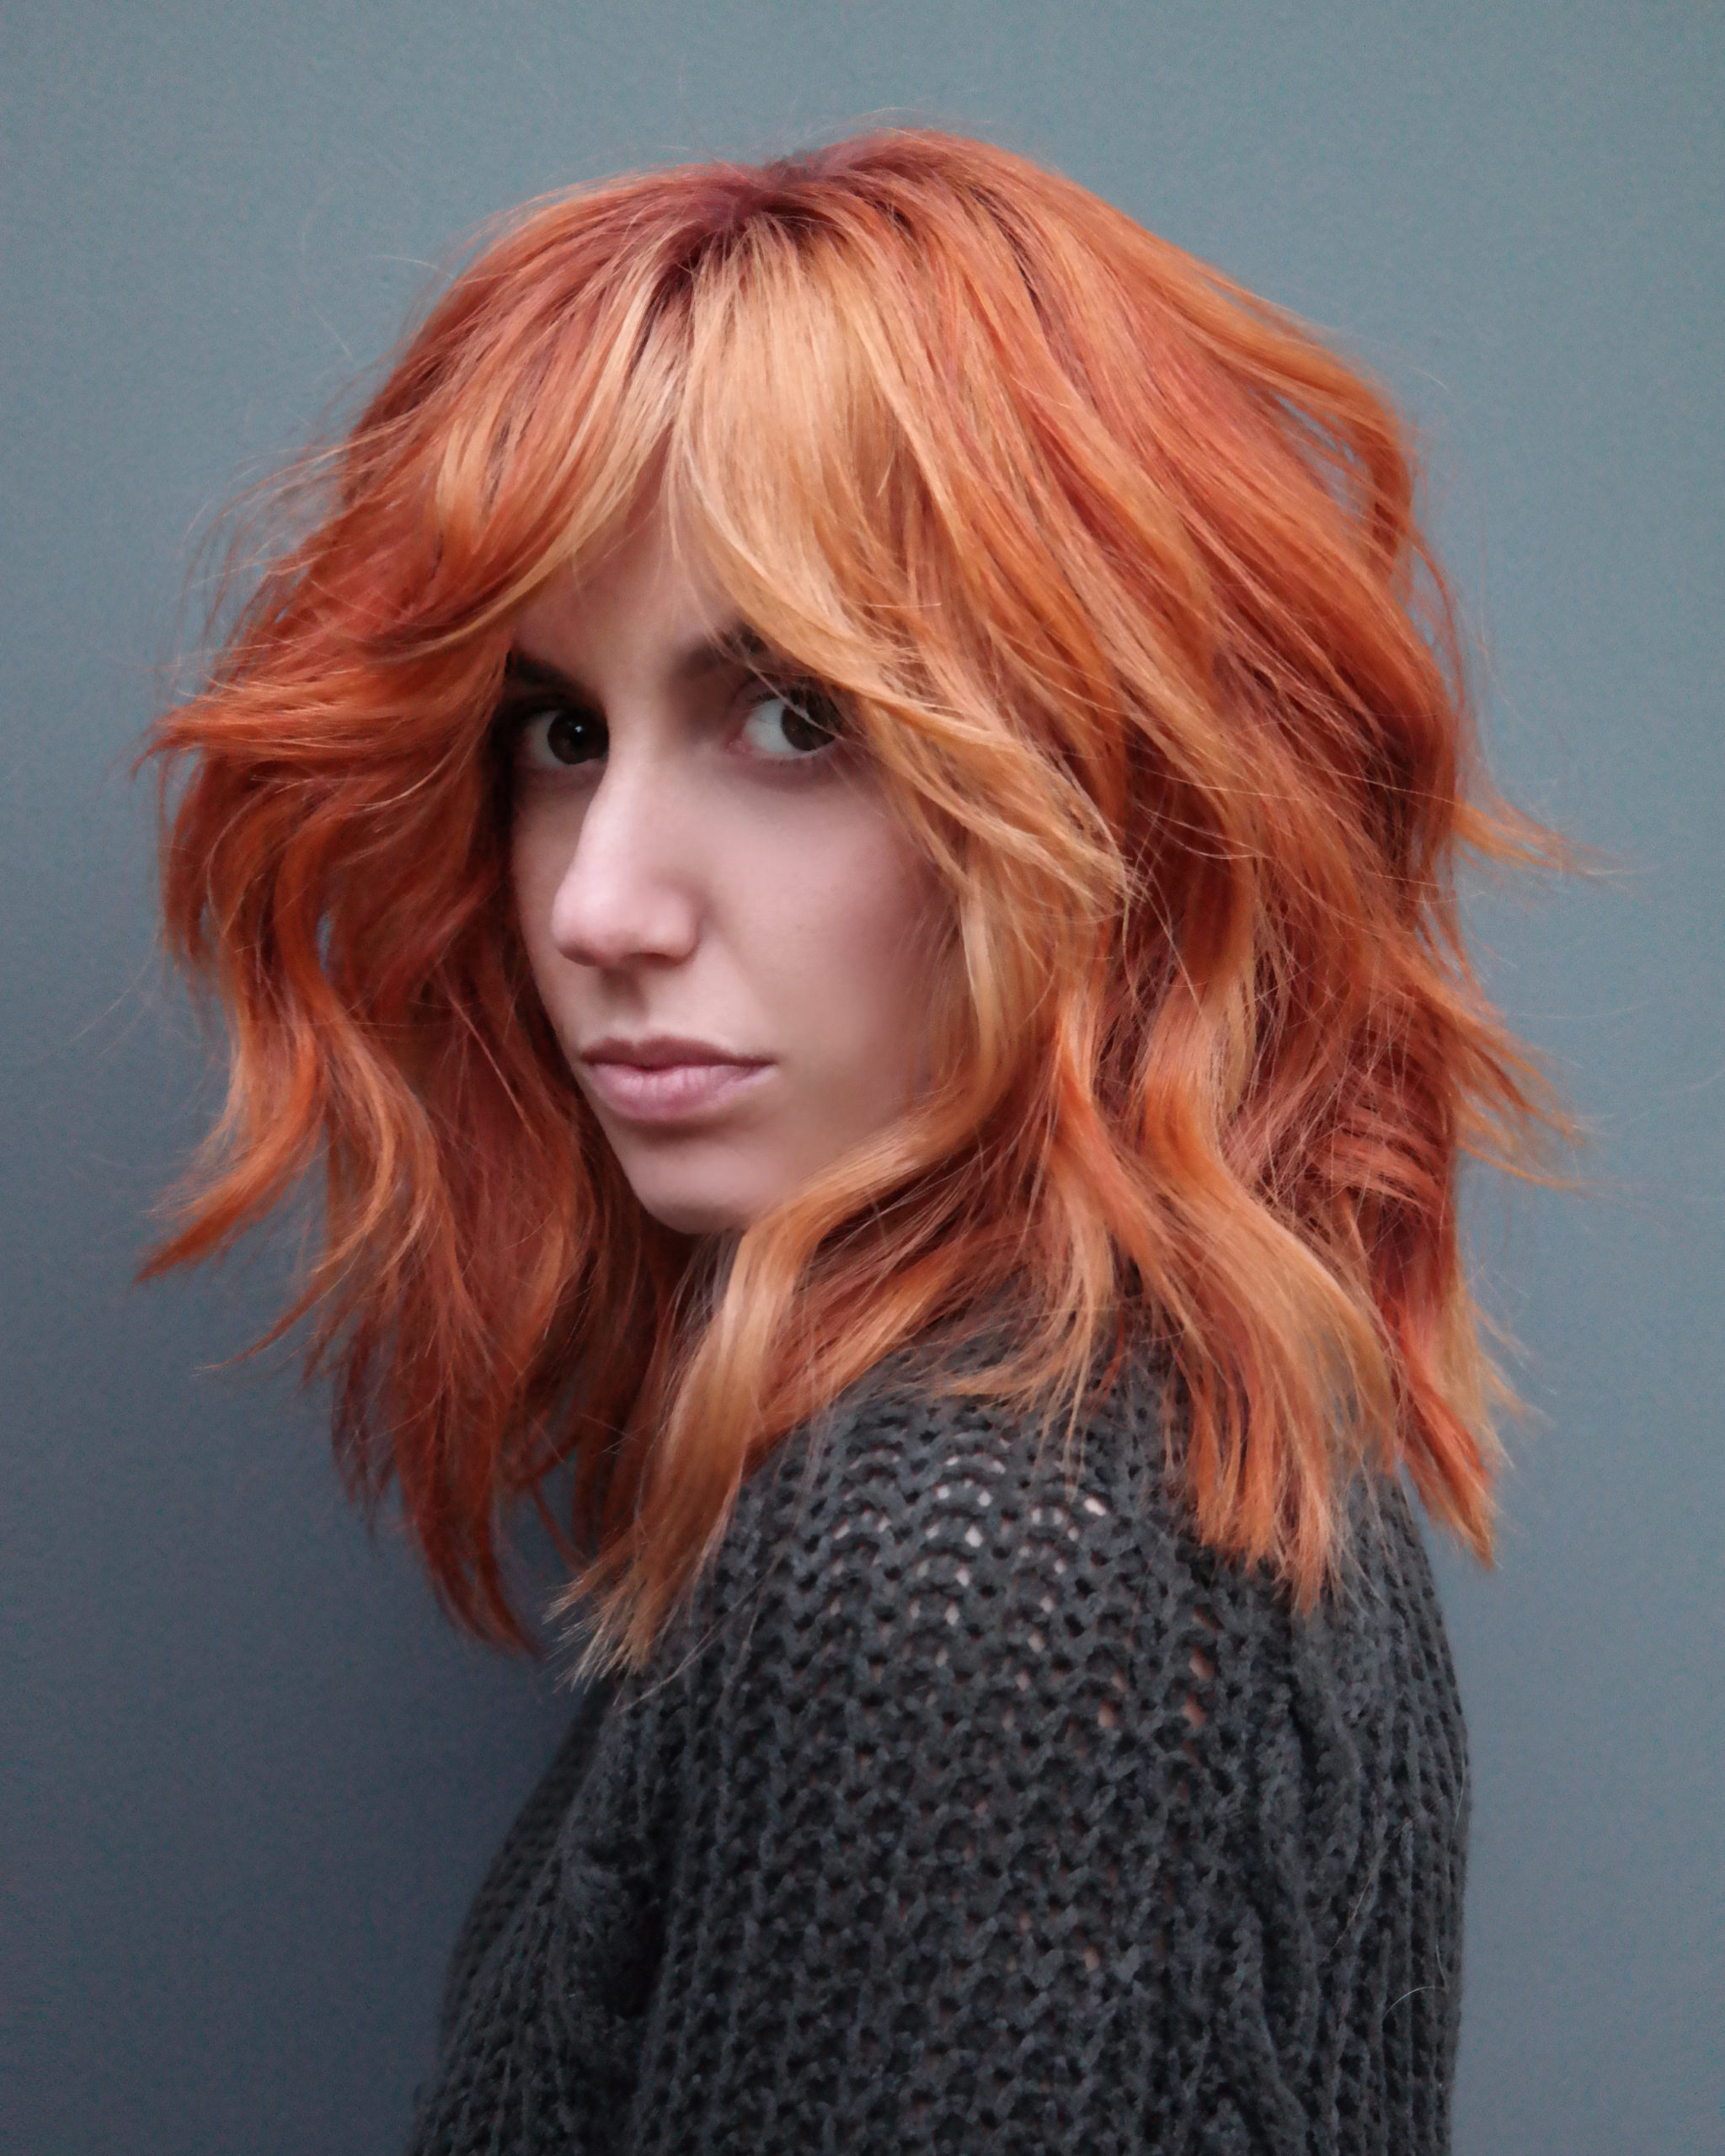
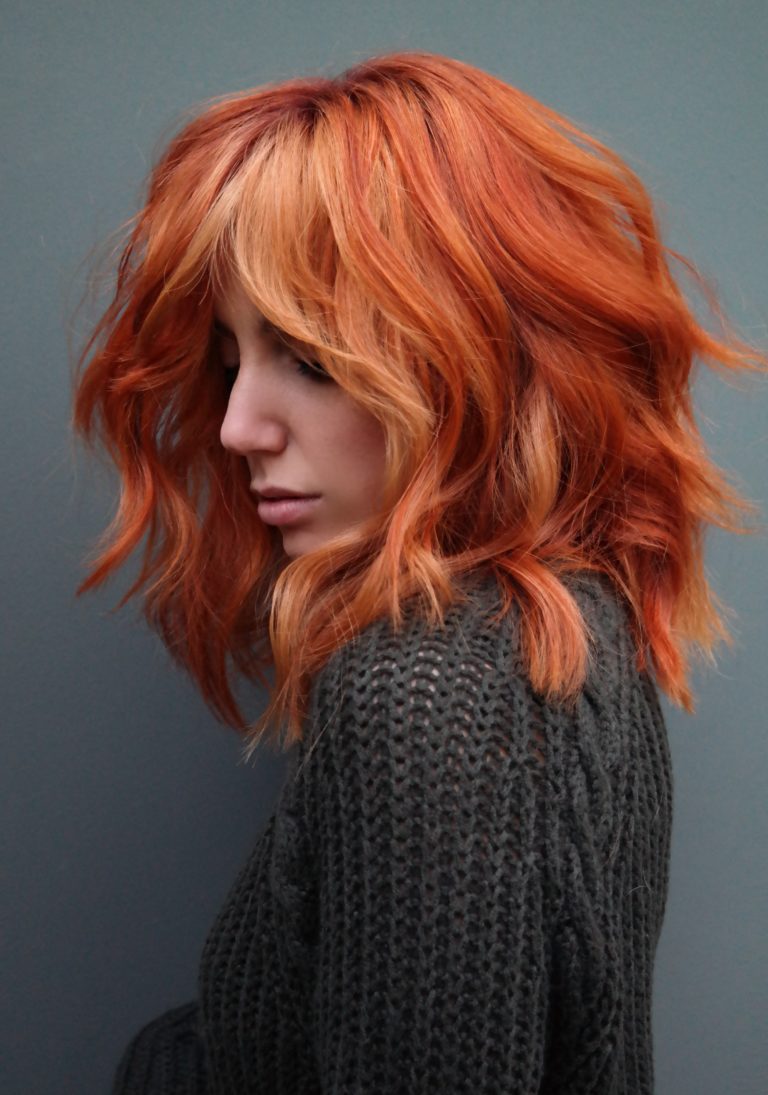
The most luxe and beautiful redheads look natural, almost lived-in. That’s why dimension is so important. Here’s how to achieve it: “Taking the time to mix a few extra formulas is what sets your redheads apart and gives them a more lived-in, natural appearance. I like to include a highlight and rich lowlight as well as a pocket of depth,” says Meg.
Placement is also important when creating contrast. “I am very visual so I place color where I see it organically. The key to creating dimension is to make sure you are layering formulas that will pop against each other, explains Meg.
3. Fill when necessary.
While filling isn’t necessary in every case, it can be crucial to achieving a red that has depth and longevity. Rule of thumb: Restore what is missing. There is an exposed color pigment for every level and when filling hair that has been lightened, it is important to reinstate those pigments before you formulate your red.
Example: “Dina was lifted to a Level 9 with little remaining yellow pigment. I decided to add a gold into my formula to restore that gold pigment and create a true Level 7/8 base for the Level 7 copper to live in,” explains Meg. Without this step, you could end up with a super bright, hollow looking root.
Slide to see the killer transformation!

BONUS SECRET TIP:
Shmeggs loves to finish all of her ginger colors with Schwarzkopf Professional Chroma ID Color Bonding Mask Orange to create that “glow” and just give the color an added boost. “Don’t underestimate this quick add-on service at the bowl. It packs a serious punch and creates a haze of color that is hard to take your eyes off,” explains Meg.
Tap The Beaker For Shmeggs’ Full Formula Breakdown!
Products Used
You had questions? Shmeggs had answers. Scroll through to hear what Shmeggs told our viewers live!
Q: How do you determine what shade of red your client wants?
A: Red is one of those colors that comes with a ton of different interpretations. What it really comes down to is undertone. Gingers tend to have an orange undertone, while cherry reds usually have a double dose of reds. Burgundies, maroons, and wine tones tend to have a violet undertone. Always ask your client for a picture because everyone interprets color differently
Q: How do your formulate for filling?
A: Remember when you are filling, you are adding pigment back in. Let’s break it down. Every level has an Exposed Contributing Pigment. The ECP is basically what you are left with when you lighten the hair, stripping it of its natural level. Here is what it looks like at each level:
Level 7: Orange and Yellow
Level 8: Yellow
Level 9: Pale Yellow
Level 10: Palest Yellow
When you are filling, here is the rule-of-thumb recipe: Level + ECP + Desired Tone.
Example: For Dina, she was lifted to a Level 9. So we formulated a Level 7 Gold Copper to restore the yellow and orange ECP. Then we added a Level 7 Copper Copper as our desired tone.
Pro Tip: The first number of every shade represents the level of the shade. The second and third numbers represent the primary and secondary tones in the color. So the primary tone will be the strongest tone in your shade and the secondary will be the complimentary tone.

