3 Tips For Painting Sun-Kissed Balayage On A Brunette Base
Sun-Kissed Balayage: 3 Tips For Painting On A Brunette Base
Painting a sun-kissed balayage on a brunette base is completely different than painting on a sun-kissed balayage on a blonde base. When working on darker levels, it’s important to keep everything soft and blended so the finish is natural-looking, not streaky. So while in San Antonio for THE BTC SHOW, Australia-based colorist Peter Thomsen (@chelseahaircutters) went live to share his signature technique for natural, kissed-by-the-sun strands. Get three of his top tips below, then click here to purchase the full video how-to!
Products Used
1. It All Starts With Sectioning
Here’s what Peter does: Start with a center profile parting from the front hairline to the nape. When sectioning from the apex of the head to the nape, switch to a zigzag part. Then from there, section out the face-framing area with a zigzag parting as well.
Note: Peter likes to work with zigzag partings because it helps diffuse his placement and results in a more natural finish.
2. Vary The Weave
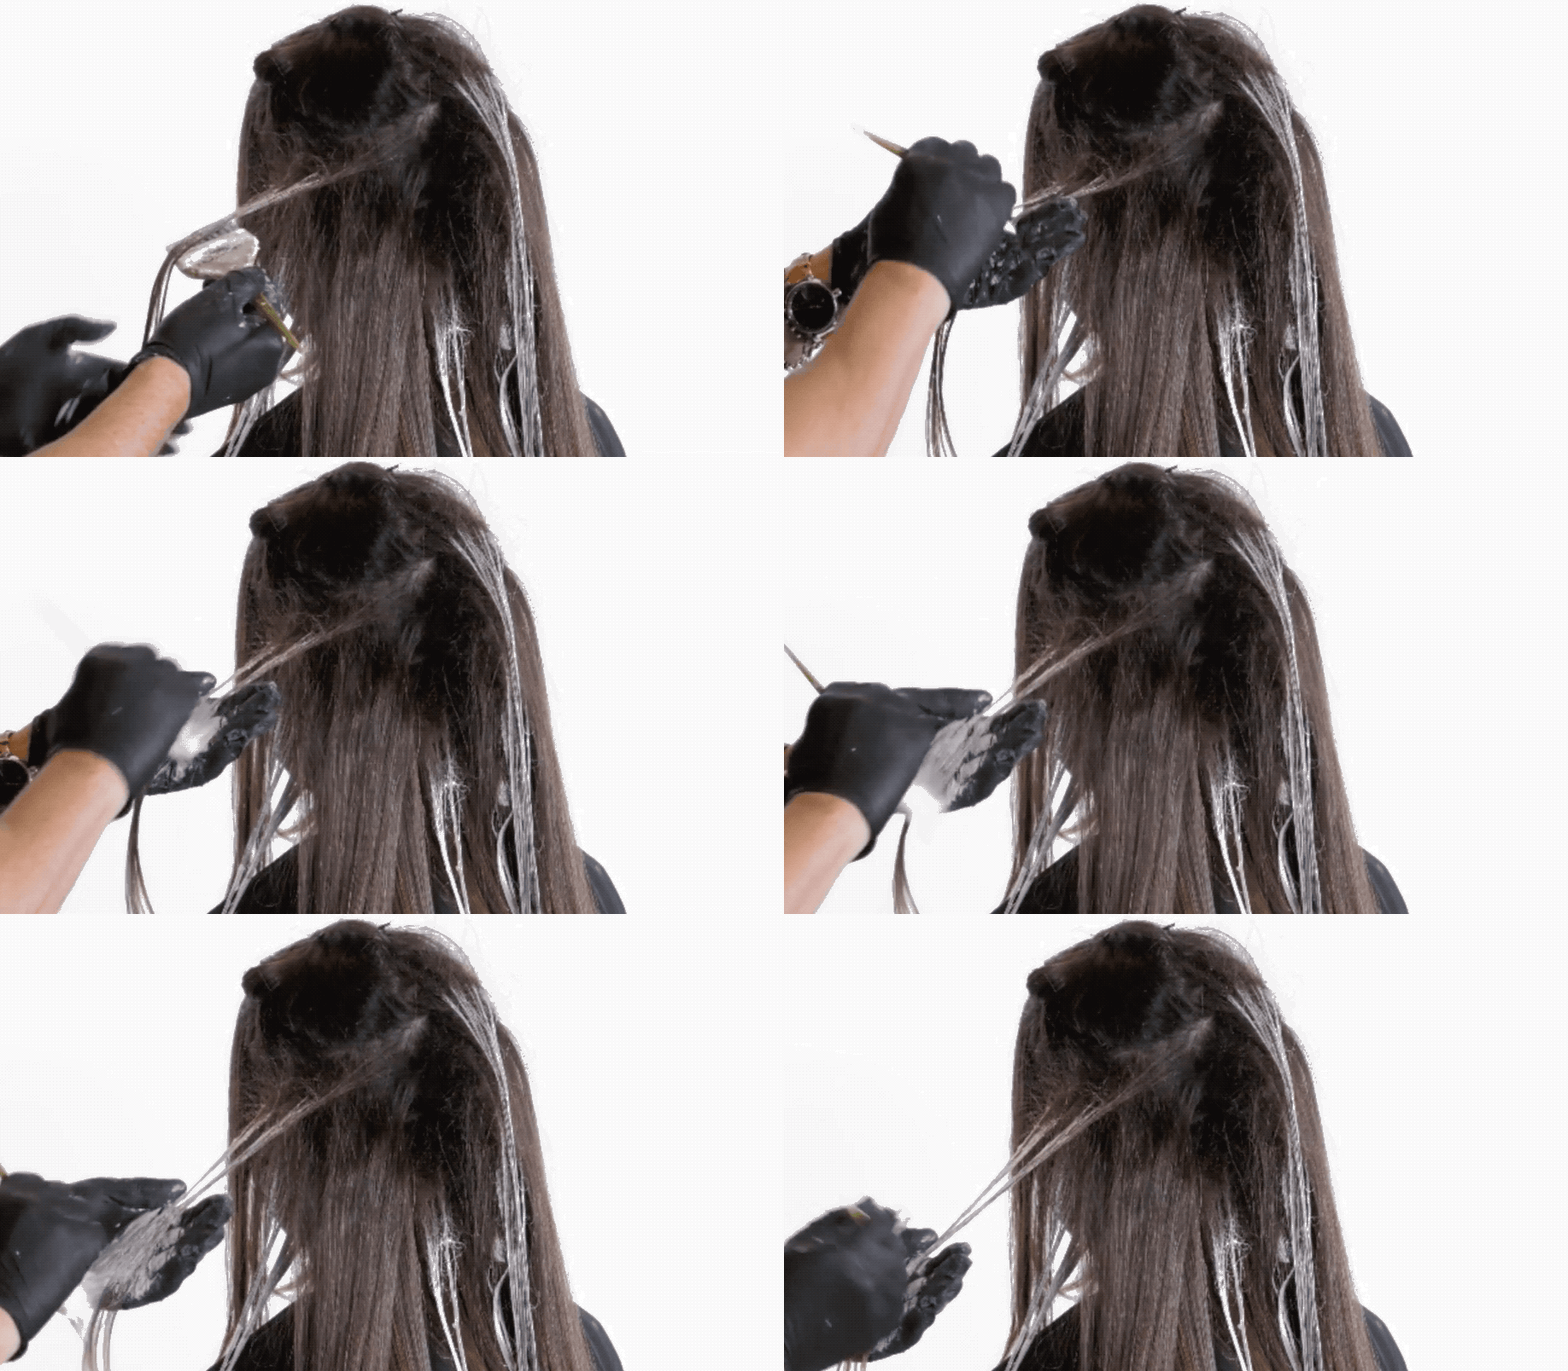
Beginning at the nape, take large triangular subsections and vary the thickness of each weaved parting. On the first one, Peter takes a heavier weave on the sides of the triangle and a softer weave in the center. Then, gently tease the roots—this results in a softer blend—and begin balayaging.
3. Soften As You Work Up The Head
To avoid over-coloring the hair, soften your weave, tease and the amount of hair you color as you approach the apex of the head. To ensure the overall blend is organic-looking, Peter still keeps the sides of his weave thicker than the center, however, his weaves and tease get slimmer as he works up the head.
Check out the finished look below—and tap the beaker for the formula!
Click Here To Purchase Peter’s Sun-Kissed Balayage Livestream And Enjoy Lifetime Access!
Want more haircolor education? Click here for seven tips that’ll have you hair painting like a pro!