
Instagram via @hairbychrissydanielle
Formulas
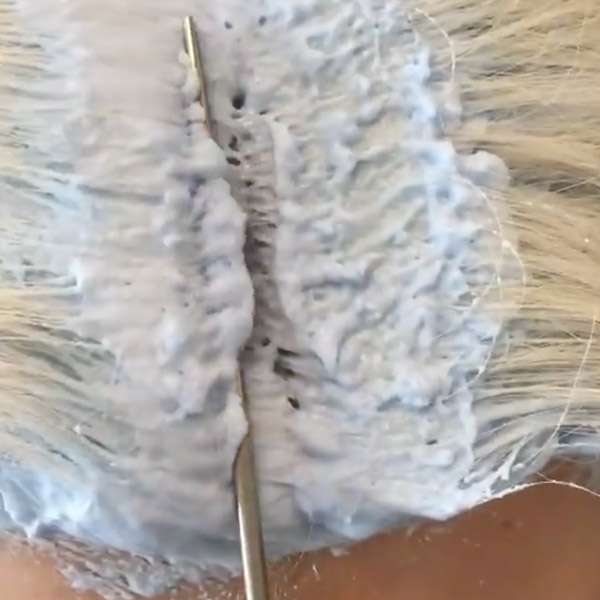
4 Prep Steps For the Perfect Bleach & Tone Retouch
Bleach & Tone Retouch: 4 Prep Steps To Never Skip Uneven lift, breakage and banding—OH MY! If you experience these issues during a bleach touch-up service, the problem could be with your prep process. So before you grab the lightener, check out these four crucial steps to set you (and your client) up for success. Create the bleach + tone of you (& your client’s) dreams: Click here! Step 1: Check the regrowth The less regrowth = the easier the bleach out. “My golden rule for retouches is 4-5 weeks, no more no less,” explains 2021...
Keep reading for free
Create a free account or sign in to continue
Use the same email and password across behindthechair.com, BTC-U, oneshothairawards.com, and Who Does Your Hair — one set of credentials, every site.
OR
We'll check if you have an account, or create one if you don't.
To save this article, create a free account or sign in.
Join BehindTheChair
Access the industry’s #1 source for hair trends, education and community now.
OR
We'll check if you have an account, or create one if you don't.


