4 Color Placement Tips To Work Smarter, Not Harder
Smart Color Placement Strategies
Let’s talk about impact. Strategic color placement not only saves time and product, but allows you to create a roadmap for brightness and depth for dimensional results on every client. That’s why we hand-picked four experts to share their best application strategies in the color co-lab at The BTC Show, A 2-Day Online Event—click here to watch TWO days of education with 24/7 lifetime access!
This class was PACKED with juicy info, so we’ve rounded up a few placement tips to get you started. Check them out below!
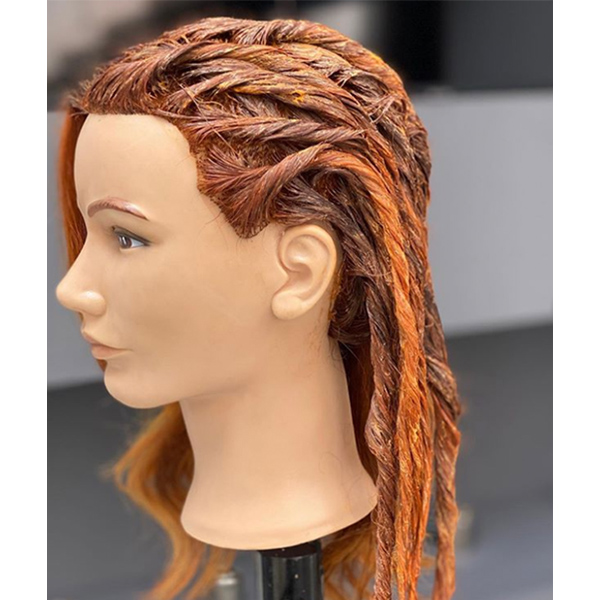
1. How To Create Natural Depth On Reds
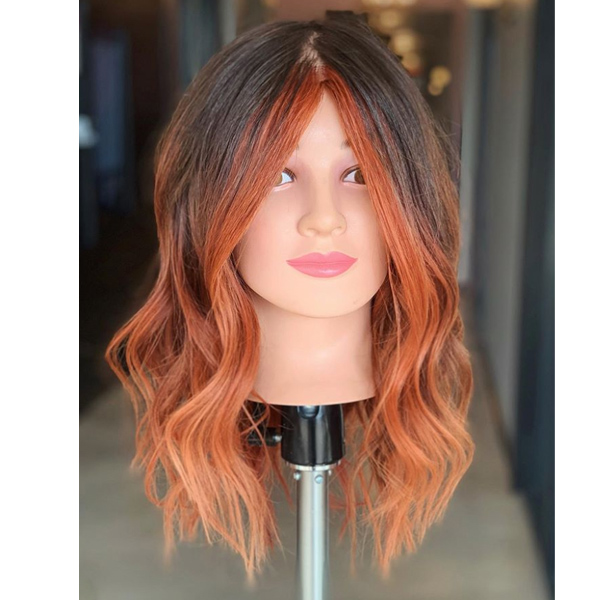
When Ulta Beauty Pro Team Member Sonya Dove (@sonyadove) uses her organic twisting technique to transition grown-out blondes into dimensional reds, she always starts with an elongated root retouch. By taking the darkest color down 3 to 4 inches at the root, this creates natural depth and helps melt into the lighter copper shades.
2. Bright Blondes With Less Foils
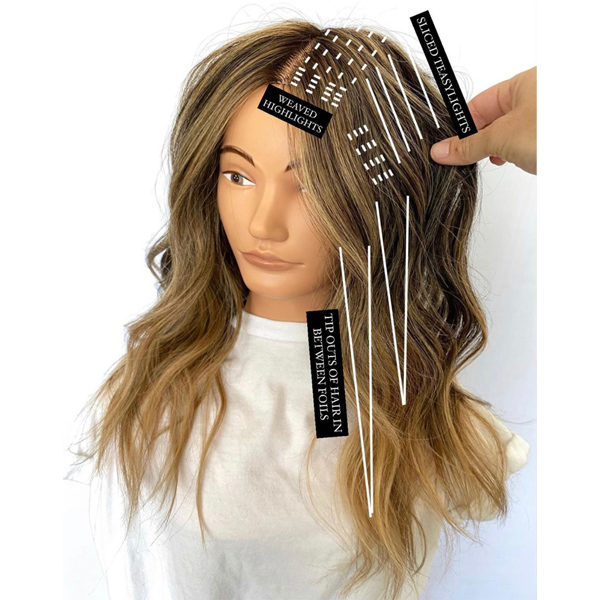
Here’s how Carly Zanoni (@the.blonde.chronicles) strategically places her foils, utilizing both teasylights and traditional highlights to create impact where it counts:
- Teasylights: Throughout the sides and back, Carly creates five vertical, sliced teasylights with Schwarzkopf Professional IGORA® VARIO BLOND Lightener. As she works further back on both sides, the sections get wider to create more dimension.
- Traditional Highlights: Throughout the top and around the face frame, Carly switches to traditional, horizontal highlights with Schwarzkopf Professional BLONDME® Powder Lightener.
Click here to watch the entire 60-minute color co-lab & download a digital workbook!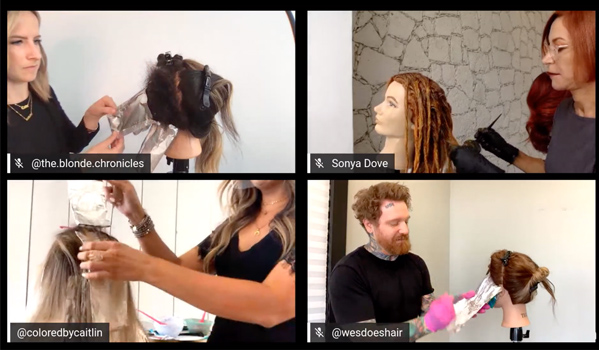
3. Break Up Harsh Foil Lines
If a client has harsh foil lines and wants to transition into a more low-maintenance look, Caitlin Dugan (@coloredbycaitlin) leaves space between teasylights to melt. After the foil work is done, she lowlights with Wella Professionals Color Touch and brings the color only halfway down to keep the ends bright and break up lines of demarcation.
4. Bold Money Piece Tip
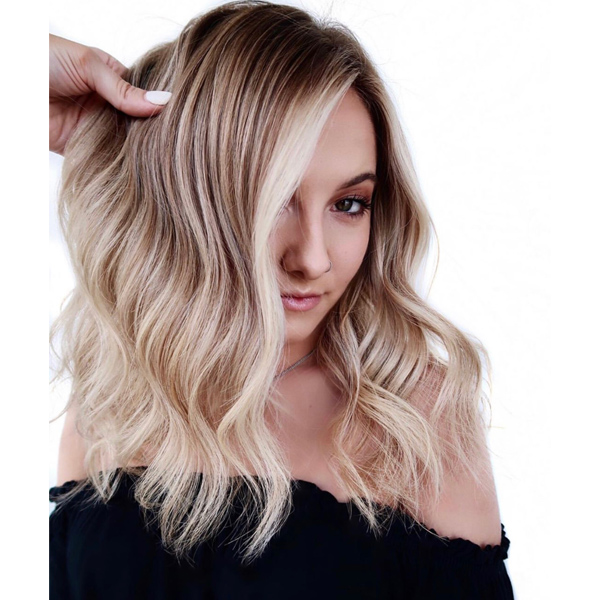
If you’re creating a bold money piece but want to add some natural depth at the roots, try this tip from TIGI® Copyright Brand Ambassador Wesley Palmer (@wesdoeshair). After weaving back-to-back foils around the face frame, take your last center-triangular section, tease and heavily saturate. In the last inch at the roots, fan the lightener up into the hair with a brush.
Here’s why: This will create a veil of color that will fall on top of the boldness to soften it. Remember, if you get any lightener on the teased section, use a glove to pull it out.
CLICK HERE for 24/7 lifetime access to The BTC Show, An ONLINE 2-Day Event!


