
Formulas
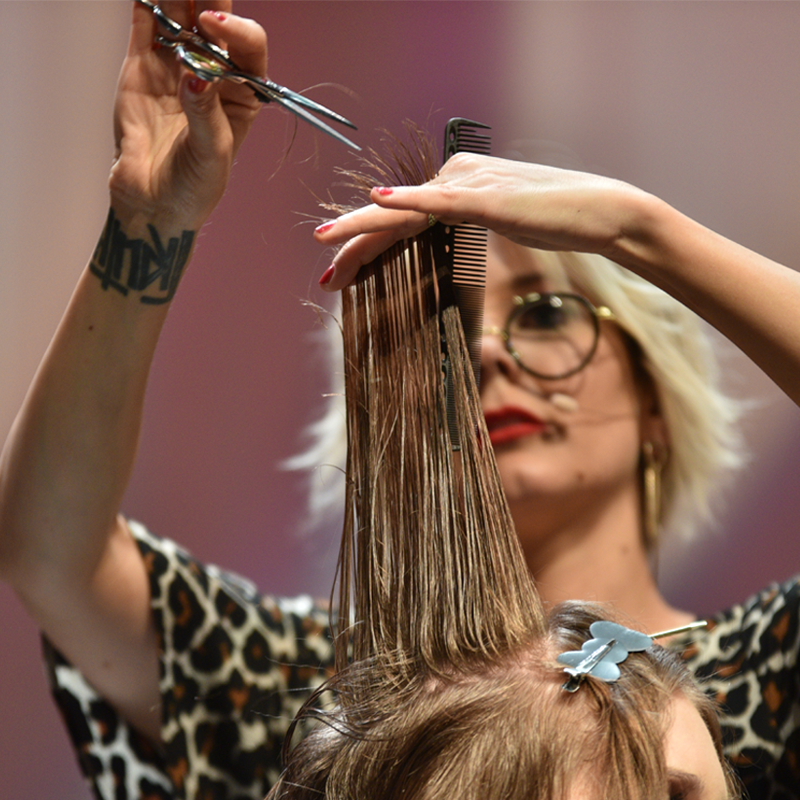
3 Texturizing Techniques For Shags & Layered Haircuts
Create Texture Using A Straight Razor, Scissors & Texturizing Shears Whether it's mastering a new technique, learning how to work with different tools or simply keeping up with the trends—you can really never get too much cutting education! That’s why we hosted our first cutting-only show, BTC’s One Night Stand, in our hometown (Chi-Town!) to dish out LIVE education from the best cutters on Instagram. Here’s what we learned about texturizing with three different tools: a straight razor, scissors and texturizing shears! Missed One Night Stand? No worries! Watch the full playback HERE. [btc-banner id="681680"] [btc-products] ...
Keep reading for free
Create a free account or sign in to continue
Use the same email and password across behindthechair.com, BTC-U, oneshothairawards.com, and Who Does Your Hair — one set of credentials, every site.
OR
We'll check if you have an account, or create one if you don't.
To save this story, create a free account or sign in.
Join BehindTheChair
Access the industry’s #1 source for hair trends, education and community now.
OR
We'll check if you have an account, or create one if you don't.


