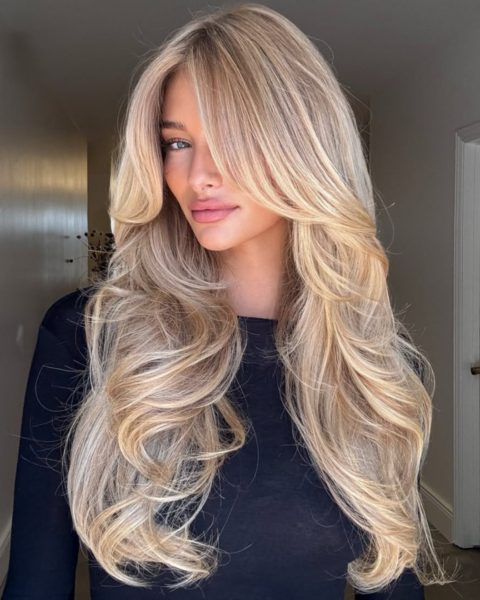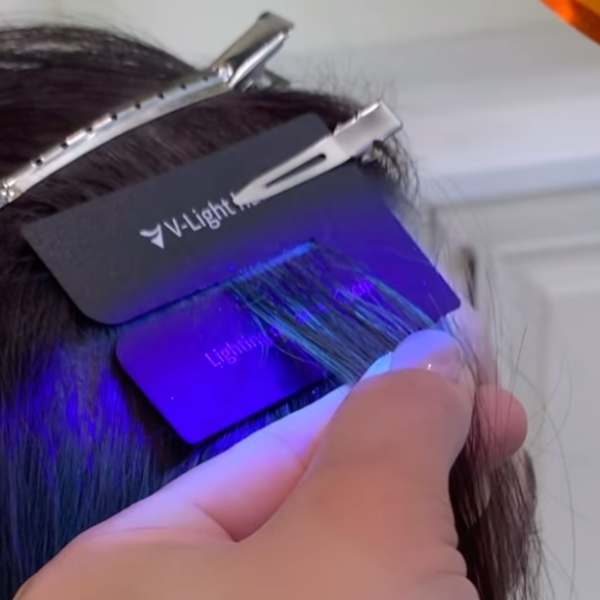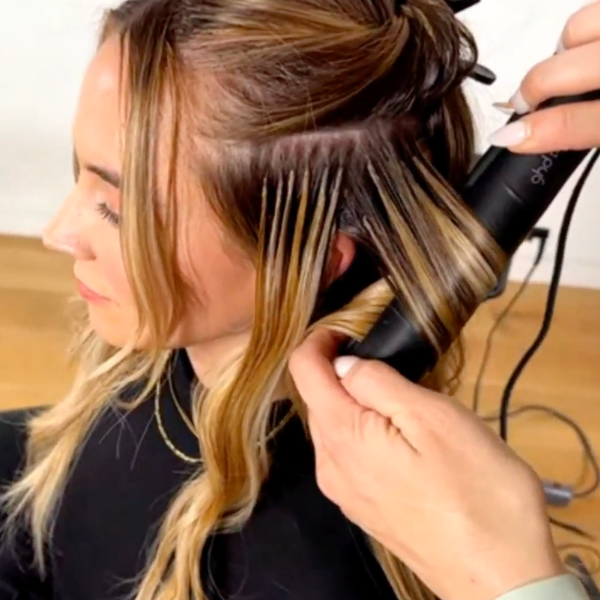
OH. EM. GEE. Can you believe this transformation is the same head of hair? Or that it only took one appointment to create? A little confused? We’ll explain—hair extensions! Instead of offering clients a color service that could require several hours (or multiple appointments), hairtalk® Extensions Master Educator Tucker Cinalli (@tuckerjstyle) turns to his trusty tape-ins to totally make over his clients. How much do hair extensions cost? And how much should you charge? Click here! Watch the video below to see how Tucker uses hairtalk’s Original(Plus), Petite(Plus) and Mini(Plus) to create a chemical-free hair paint that’s...
VIEW SLIDESHOW
GET THE STEP-BY-STEPS
Formulas
Show Steps
Before.
Pro Tip Before Starting: For a "painted" outcome, Tucker suggests creating peaks and valleys (or highs and lows) with the tape-ins by using both the hairtalk® rooted extensions and the Colormelts in the same row (shown in the photo below). Keep this in mind throughout the application!
Formula
Show Steps
Start applying the first row of extensions approximately 1 to 1½ inches above the nape—apply the hairtalk® Petites Plus color 25/4R with 6/24 Colormelts underneath for the peak and the hairtalk® Originals color 5/23 Colormelts with color 25 underneath for the valley.
Formula
Show Steps
To create the most natural outcome, use a bricklay pattern when placing the extensions and alternate colors. In the next row, use hairtalk® Originals color 4/8 Colormelts with color 25 underneath for the valley and hairtalk® Petites Plus color 25/4R with color 23 underneath for the peak.
Formula
Show Steps
Once reaching the hairline behind the ears, use hairtalk® Mini Plus color 23/6R with color 23 underneath. The Minis are 0.4 inches wide—making them almost totally undetectable when working in tough spots or when trying to create face-framing money pieces.
Formula
Show Steps
Once reaching the crown, move to each side of the head. Use the Mini Plus 23/6R with color 23 underneath for the peak and the Petite 6/24 Colormelts with color 4/8 Colormelts underneath for the valley.
Formula
Show Steps
Next, blend the extensions with the client’s hair by framing the face. Add soft/feathered layers from the client’s top layer to the top row of the extensions, and diffuse any heaviness from the client’s natural hair by texturizing the ends at a 45-degree angle (this avoids cutting any length from the hair).
Formula
Keep reading for free
Create a free account or sign in to continue
Use the same email and password across behindthechair.com, BTC-U, oneshothairawards.com, and Who Does Your Hair — one set of credentials, every site.
OR
We'll check if you have an account, or create one if you don't.
Keep reading for free
Create a free account or sign in to continue
Use the same email and password across behindthechair.com, BTC-U, oneshothairawards.com, and Who Does Your Hair — one set of credentials, every site.
New account
Create your free account
By creating an account, you agree to BehindTheChair.com's Terms of Service and Privacy Policy., and you consent to receive marketing emails from BehindTheChair.com. Unsubscribe anytime.
To save this article, create a free account or sign in.
Join BehindTheChair
Access the industry’s #1 source for hair trends, education and community now.
OR
We'll check if you have an account, or create one if you don't.
To save this article, create a free account or sign in.
Join BehindTheChair
Access the industry’s #1 source for hair trends, education and community now.
New account
Create your free account
By creating an account, you agree to BehindTheChair.com's Terms of Service and Privacy Policy., and you consent to receive marketing emails from BehindTheChair.com. Unsubscribe anytime.