The Belted Cut from Aveda
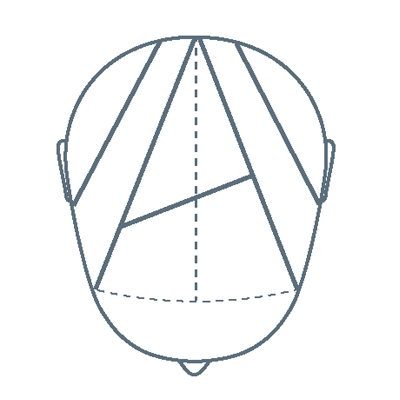
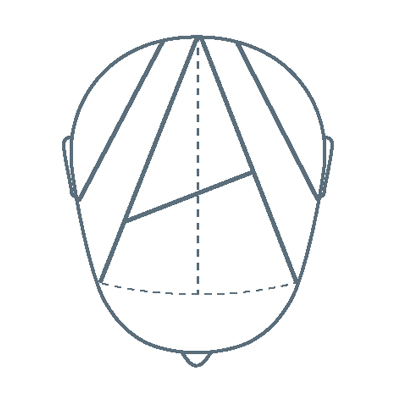
Begin in the back of the belt panel. Taking diagonal sections, use the tips of the scissors to cut while sliding your fingers upward as you cut, allowing the hair to remain longer and disconnected from the panel underneath. Continue to cut from short to long. Repeat on the other side.
Advertisement
Take horizontal sections through the fringe panel and, using low elevation, overdirect these sections to the temple and cut a fringe that gets progressively longer.
Starting through the center top, create a new guide. Continue to cut, allowing the hair to remain disconnected from the back. The next sections will radiate from the apex of the head. Cut using the tips of the scissors, allowing your fingers to slide out to the ends of the hair. Refine the hair cut by pointing and slicing.
The Belted Cut from Aveda
“Think of how clothing designers use belts to change the shape of an outfit,” says Ricardo Dinis, Aveda Global Artistic Director of Hair Cutting. “They may belt a dress in the middle to accentuate the natural waistline, or move it higher to create tightness on top. The belt creates separation and determines where the fullness goes. I think of a belt when I envision a silhouette for hair. I think of the shape we want, and create it by sectioning around the head horizontally, like a belt.”
To learn more, go to www.aveda.com
On Paper Keyword: neogoth
HOW-TO STEPS
-
1
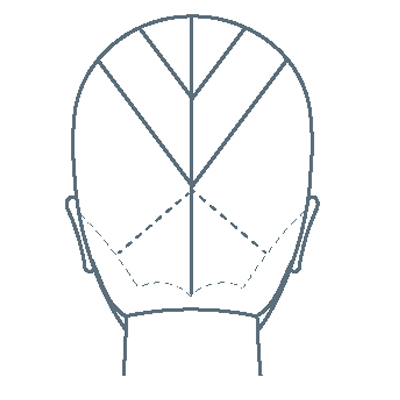
Section as shown.
-
2
Begin by taking a vertical section through the center back, lifting straight out from the head and elevating upward. Cut from short to long.
-
3
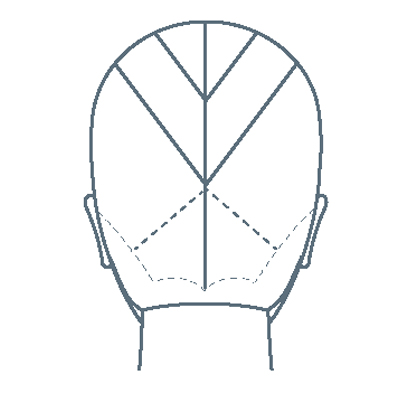
Using the previous section as your guide, take the next section diagonally and elevate slightly higher, continuing to cut and overdirect to the previous section as you move until you reach the ear. At this point your guide will become stationary. Repeat on the other side.
-
4
First belt
Begin in the back of the belt panel. Taking diagonal sections, use the tips of the scissors to cut while sliding your fingers upward as you cut, allowing the hair to remain longer and disconnected from the panel underneath. Continue to cut from short to long. Repeat on the other side. -
5
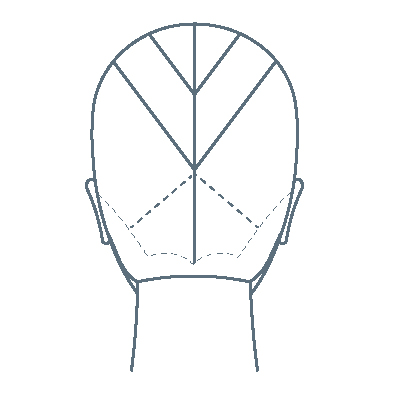
The fringe
Take horizontal sections through the fringe panel and, using low elevation, overdirect these sections to the temple and cut a fringe that gets progressively longer. -
6
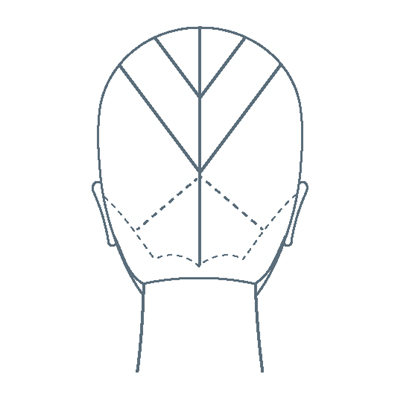
Top triangle
Starting through the center top, create a new guide. Continue to cut, allowing the hair to remain disconnected from the back. The next sections will radiate from the apex of the head. Cut using the tips of the scissors, allowing your fingers to slide out to the ends of the hair. Refine the hair cut by pointing and slicing. -
TRENDING NOW!
-
BTC Hair Trend Report
The Biggest Haircut Trends of 2024
-
Copper
What Is The "Cowboy Copper" Hair Trend? Here's What It Really Means...
-
Blonde
The Biggest Hair Color Trends of 2024
-
Haircuts
SHAG 101: The Dos And Don'ts
-
Blonde
How to Get Sabrina Carpenter’s Golden Blonde & Curtain Bangs—From Her Hairstylist
-
Business
5 Tips To Keep Clients Coming Back
-
Bobs
Textured Vs. Layered Bob: Read This To Learn The Difference!
-
Dry-Cutting
Bang Breakdown: How To Cut 2024's Top Fringe Trends