
Sculpted Bob Cut and Color How-To from Pivot Point

Advertisement
Advertisement
Sculpted Bob Cut and Color How-To from Pivot Point
HOW-TO STEPS 
-
 1
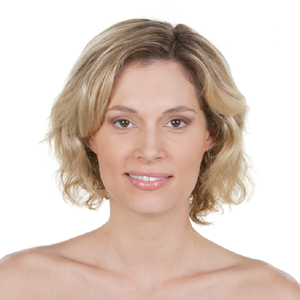
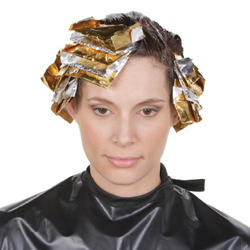
1This model’s hair has grown out from a previous cut. She’s ready for a new shape to add more manageability to her thick, wavy hair.
-
 2
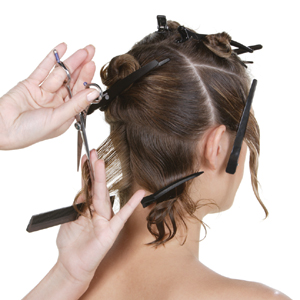
2Release a vertical parting in the center nape. Project at 45°, position your fingers for a high line of inclination and sculpt parallel. Work to one side using slight diagonal-forward partings and multiple stationary design lines. Repeat on the opposite side.
-
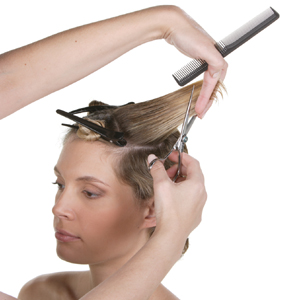
 3
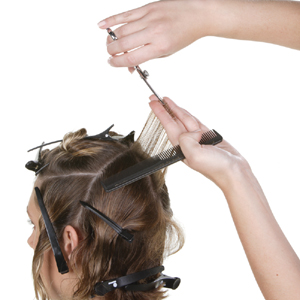
3Release a vertical parting at the center crown. Project at 90° and sculpt to create slightly shorter lengths at the top. Work toward the left converging vertical partings to the center parting project at 90°. Repeat on the right side.
-
 4
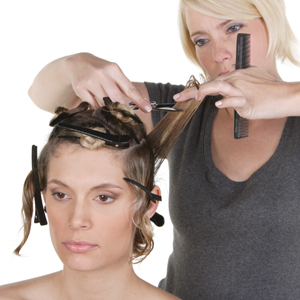
4Take a vertical parting at the back of the section. Project at 90° at the top of the parting. Slide cut from midstrand to the ends. Work to the front sculpting each parting individually. Repeat on the other side.
-
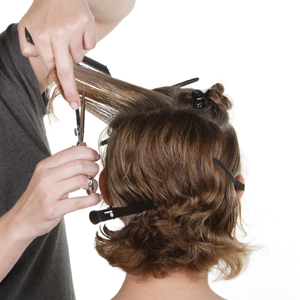 5
5In the top left section, take a vertical parting at the back and project 90° from the bottom of the parting. Slide cut from midstrand to ends, opening and closing the shears. Work toward the front.
-
 6
6From the apex, converge lengths back and continue to slide cut. Repeat on the right side.
-
 7
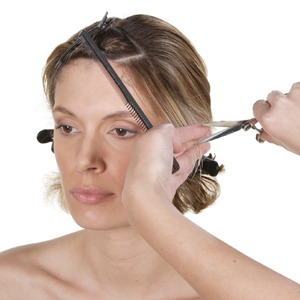
7Release a diagonal parting at the left side of the fringe. Distribute perpendicular with low projection and sculpt parallel.
-
 8
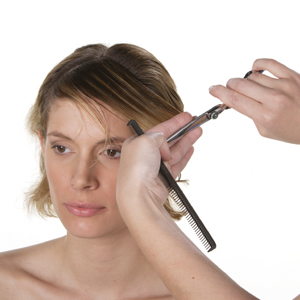
8Converge subsequent diagonal partings to the stationary design line and sculpt.
-
 9
9Use medium-thick, back-to-back diagonal slices to alternate level 8, golden blond and lightener. Apply level 9, caramel demi-permanent color to the remaining lengths. Process, rinse, shampoo and condition prior to styling.
-
 10
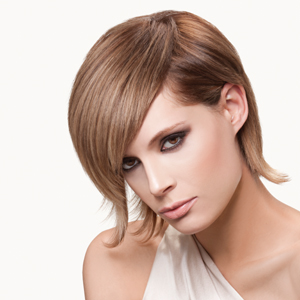
10When worn to one side, the graduated fringe is accentuated…
-
 11
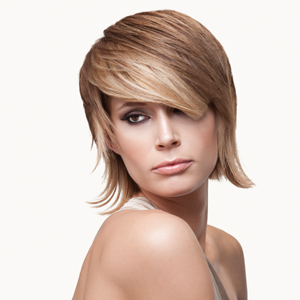
11…but when worn on the other side, the layers are accentuated.
-
 12
12Want more? Check out another step-by-step: Short Multi-Tonal Brunette Cut and Color from Pivot Point.
Credits
Artist | Robin Hain | Pivot Point International
Makeup | Rue Dufkis | www.ruegeinc.com
Fashion Stylist | Isaac King | kingfashion71@gmail.com
Jewelry/Accessories | Rossi Cole | www.jewelsbyrossi.com
Fashion Photographer | John Gress | www.johngress.com
Senior Photographer/Videographer | David Placek
YOU MIGHT LIKE THIS
-
Hair
Face-Framing Sculpted Cut and Color Formula
-
Hair Color

’60s Fringe + Warm Dimension
-
Hair
Pivot Point International “Roos” Mini-Tech
-
Bobs
Modern Shag Cut and Color from Pivot Point International
-
Hair Color
How-To: Fringe Frame
TRENDING NOW!
-
BTC Hair Trend Report
The Biggest Haircut Trends of 2024
-
Blonde
Conditioner Before Toner: Common Hair Myth Debunked
-
Monthly Product Launch List
11 New Game-Changing Hair Launches To Add To Your Arsenal
-
Copper
What Is The "Cowboy Copper" Hair Trend? Here's What It Really Means...
-
Frizz
Straighten & Smooth 2A, Fine-Medium Density Hair
-
Copper
Muted Bronze
-
Haircuts
SHAG 101: The Dos And Don'ts
-
BTC Hair Trend Report
WWYD: How Hairstylists Are Navigating Inflation

