Last updated: September 13, 2017
MICROWRAP™ by OPI
VIEW ALL PHOTOS
VIEW SLIDESHOW
GET THE HOW-TO

Show Steps
1
Experience OPI’s Microwrap FutureFiber Nail Wrap System. It’s different, better, stronger and clearer … a quantum leap in nail wrap technology!
For more information about OPI products, log on as a professional to http://www.opi.com, or ask your Authorized OPI Distributor.
Show Steps
2
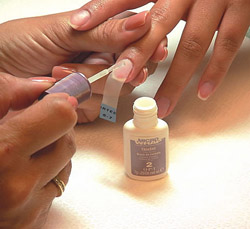
Choose the correct size of PRE/CUTS Self-Adhesive Nail Wraps to fit each nail. If necessary, trim to fit with FUTUREFIBER Scissors. Or, use UN/CUTS Self-Adhesive Nail Wraps for custom wrap. Apply wrap to each nail, staying 1/16” away from cuticle and nail groove.
Show Steps
3
Brush on a layer of THINSET Thin Resin. Allow to dry approximately 1 minute.
Show Steps
4
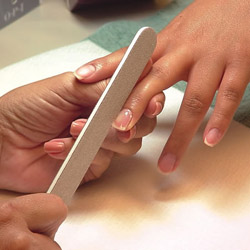
In a downward motion, file off excess wrap from around free edges using an OPI Silver Cushioned File (180-grit).
Show Steps
5
Apply a second layer of THINSET Thin Resin, to reinforce and seal wrap, capping free edges. Wait at least one minute after resin is applied to last nail before applying accelerator.
Show Steps
6
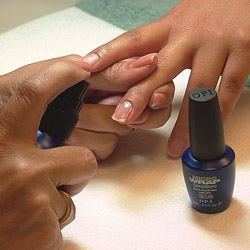
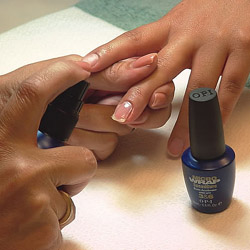
Apply Brush-On or Spray-On SPEEDCURE Resin Accelerator (Spray approximately 6 inches from nails.)
Show Steps
7
Working one nail at a time, apply THICKSET Builder Resin and, if desired, spread with SMOOTHSET Builder Resin Smoother.
Show Steps
8
Apply Brush-On or Spray-On SPEEDCURE Resin Accelerator to all ten nails.
Show Steps
9
Shape free edges, sidewalls and smooth nail surfaces using an OPI Silver Cushioned File (180-Grit). Finish nails as desired.

MICROWRAP™ by OPI
Experience OPI’s Microwrap FutureFiber Nail Wrap System. It’s different, better, stronger and clearer … a quantum leap in nail wrap technology!
For more information about OPI products, log on as a professional to http://www.opi.com, or ask your Authorized OPI Distributor for more information.
HOW-TO STEPS 
-
1
Experience OPI’s Microwrap FutureFiber Nail Wrap System. It’s different, better, stronger and clearer … a quantum leap in nail wrap technology!
For more information about OPI products, log on as a professional to http://www.opi.com, or ask your Authorized OPI Distributor.
-
2
Choose the correct size of PRE/CUTS Self-Adhesive Nail Wraps to fit each nail. If necessary, trim to fit with FUTUREFIBER Scissors. Or, use UN/CUTS Self-Adhesive Nail Wraps for custom wrap. Apply wrap to each nail, staying 1/16” away from cuticle and nail groove.
-
3
Brush on a layer of THINSET Thin Resin. Allow to dry approximately 1 minute.
-
4
In a downward motion, file off excess wrap from around free edges using an OPI Silver Cushioned File (180-grit).
-
5
Apply a second layer of THINSET Thin Resin, to reinforce and seal wrap, capping free edges. Wait at least one minute after resin is applied to last nail before applying accelerator.
-
6
Apply Brush-On or Spray-On SPEEDCURE Resin Accelerator (Spray approximately 6 inches from nails.)
-
7
Working one nail at a time, apply THICKSET Builder Resin and, if desired, spread with SMOOTHSET Builder Resin Smoother.
-
8
Apply Brush-On or Spray-On SPEEDCURE Resin Accelerator to all ten nails.
-
9
Shape free edges, sidewalls and smooth nail surfaces using an OPI Silver Cushioned File (180-Grit). Finish nails as desired.


