
Joico’s “Primaries” Cut Step-by-Step

Advertisement
Advertisement
Advertisement
Joico’s “Primaries” Cut Step-by-Step
HOW-TO STEPS 
-
 1
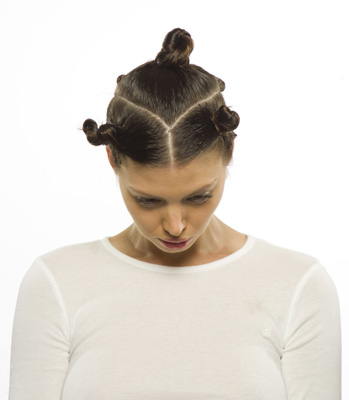
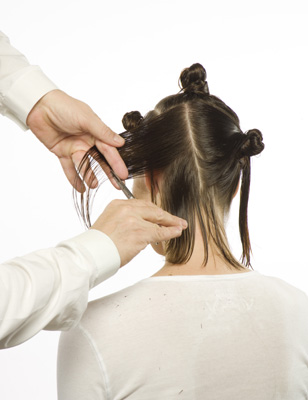
1View of sectioning pattern.
-
 2
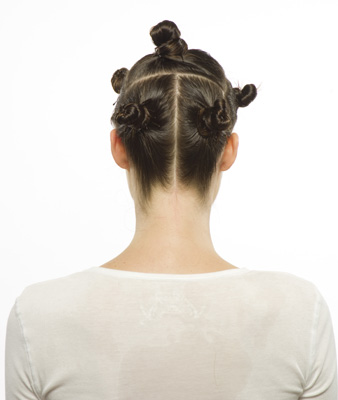
2View of sectioning pattern.
-
 3
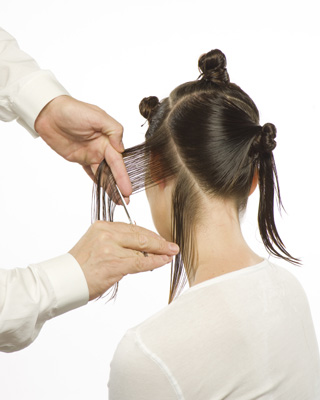
3View of sectioning pattern.
-
 4
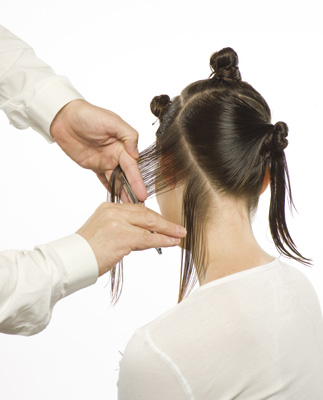
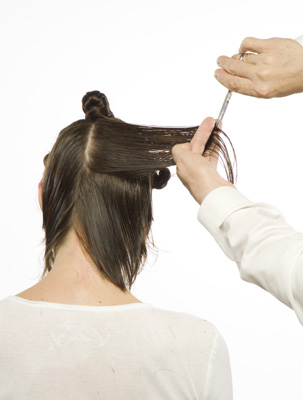
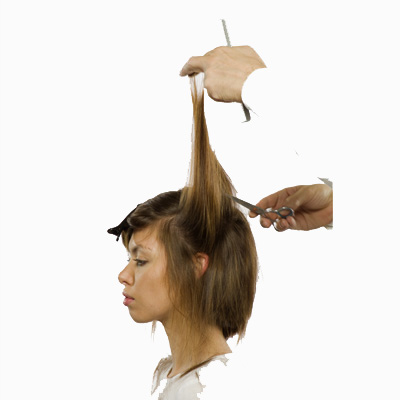
4Start first guide behind ear/ nape area, take a ¼-inch diagonal parting, elevate and cut a diagonal line.
-
 5
5Continue as before, over directing each parting to the first, and elavating each parting to create a graduated outline.
-
 6
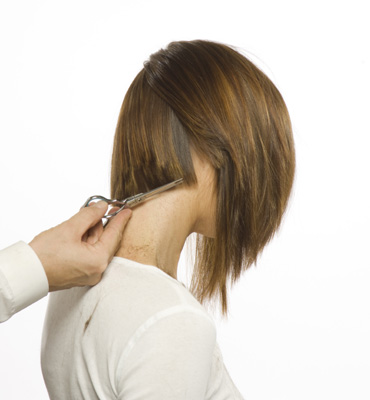
6View of last section over directed to first. Amount and degree of over direction/elevation may vary based on face shape, hairline and overall look.
-
 7
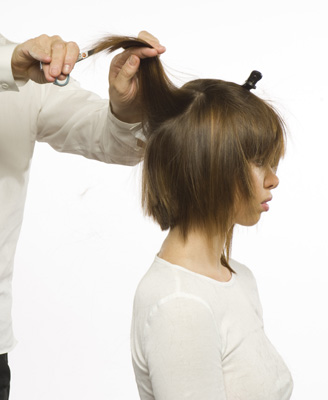
7Continue on opposite side. Note: Lengths can vary from side-to-side; symmetrical and asymmetrical.
-
 8
8Proceed to fringe area and cut a heavy, square or asymmetrical, pointed or rounded fringe to create the appearance of an oval face shape. Blow-dry hair with a Denman brush.
-
 9
9Refine outline by pointing/chipping into hair. Always work with and compliment the natural hairline growth pattern.
-
 10
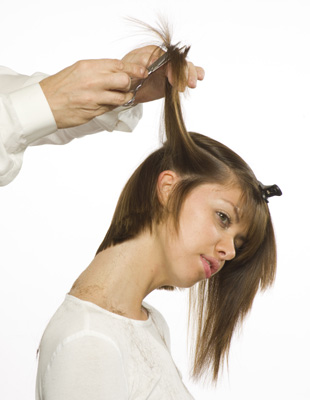
10Note: Side areas do not connect in to fringe and back areas. Take vertical partings and cut into hair liberally, creating a light, layered internal structure and translucent, ragged perimeter.
-
 11
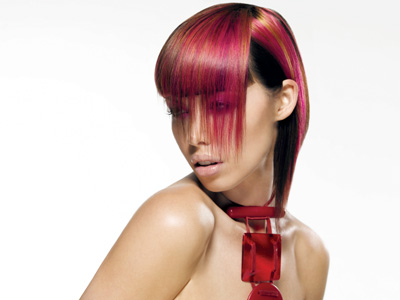
11Repeat process on opposite side. Note: Sides are not symmetrical, creating an off-balanced appearance.
-
 12
12 -
 13
13 -
 14
14
YOU MIGHT LIKE THIS
-
Hair Color
Joico’s “Primaries” Color Step-by-Step
-
Blonde

Caramel Contour
-
Color Melt
Larisa Love’s Temporary Color Melt
-
Hair Color
Vivid Color for Commitment-Phobes
-
Hair Color
On Paper Exclusive: Joico’s Less Is More
TRENDING NOW!
-
Hair Color
WWYD: How To Stop Your 6N From Turning Orange
-
Glossing/ Toning
How To Achieve "Glass Hair": Smart Hacks From Hairdressers
-
Bobs
How to Avoid a Bulky Bob: 4 Techniques To Try
-
BTC Hair Trend Report
The Biggest Haircut Trends of 2024
-
BTC Hair Trend Report
WWYD: How Hairstylists Are Navigating Inflation
-
Curly
Long Layers: 10 Pro Tips + Common Cutting Mistakes
-
Copper
What Is The "Cowboy Copper" Hair Trend? Here's What It Really Means...
-
Blonde
Conditioner Before Toner: Common Hair Myth Debunked

