
How-To: Cut Thinning Hair

Advertisement
Advertisement
How-To: Cut Thinning Hair
HOW-TO STEPS 
-
 1
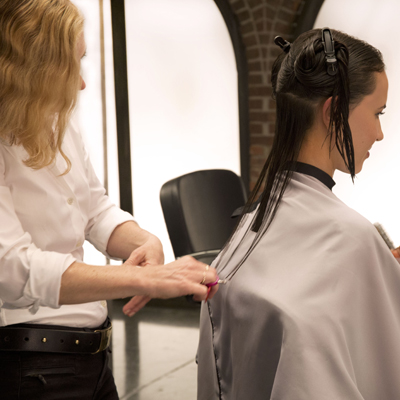
1The length is here, but it’s straggly with visible “holes.”
-
 2
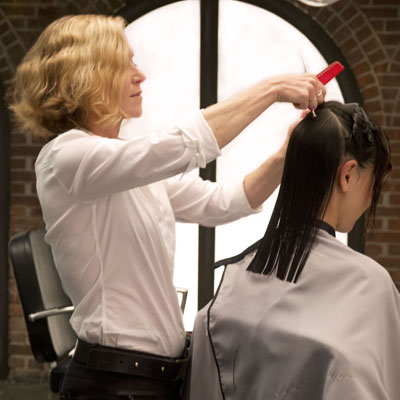
2To achieve added weight and fullness, go for a nice blunt cut right above the collar bone. It will instantly bring everything up and brighten the face.
-
 3
3Continue to cut in sections to ensure the cut is completely even.
-
 4
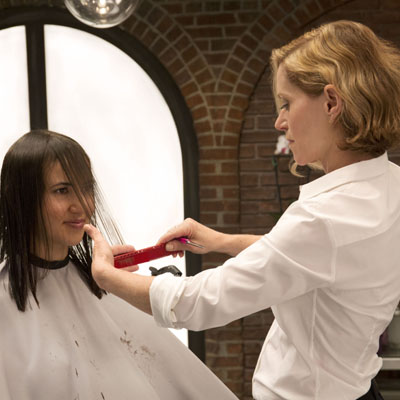
4Once you’ve removed the extra length, go in around the face and add some whispy, long layers. These are going to help create added texture and frame the face without taking away from the fullness of the style.
-
 5
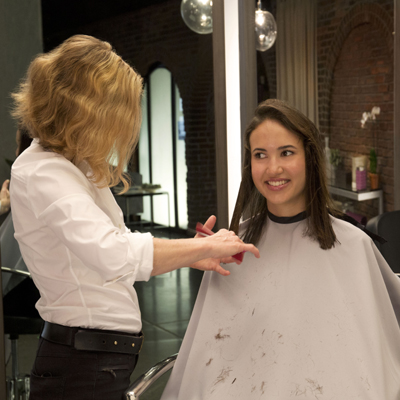
5Continue on the layers, making sure that they are perfectly blended.
-
 6
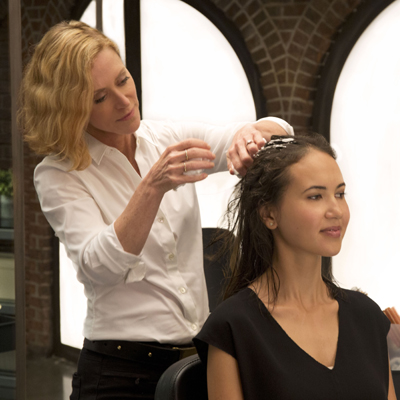
6Once the cut is complete, you’re ready to style. Apply a volumizing mousse or root lifter, gently working it in with your hands. Remember to be careful—thinning hair is often fragile.
-
 7
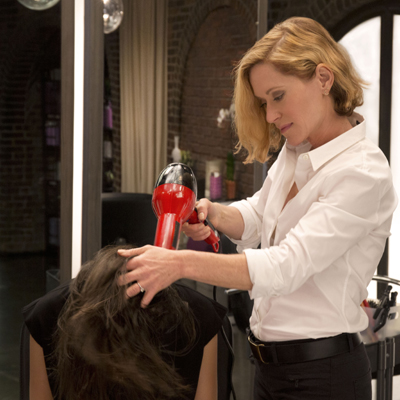
7Flip over and shoot some low to medium heat at the roots for added lift—remember, you don’t need to use high heat on thin or thinning hair.
-
 8
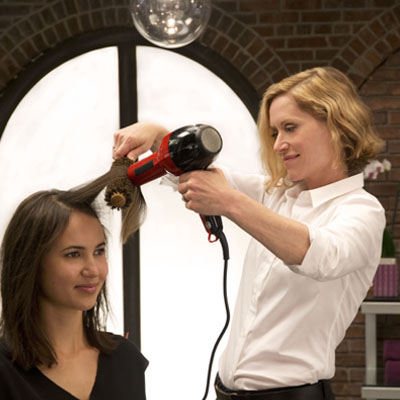
8With a large round brush, gently shape the layers around the face and blow the bottom under for a clean, polished look.
-
 9
9Use a touch of finishing spray for long-lasting style and embrace fuller, thicker, more beautiful hair!
-
 10
10 -
 11
11Get more looks on styling and coloring thinning hair!
-
12
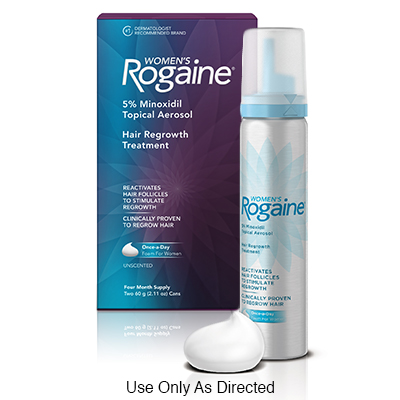
As a first step, suggest the client consider a long-term solution like Women’s Rogaine® scalp treatment to regrow more hair. Demonstrate to your client the quick and easy scalp application of Women’s Rogaine® Foam.
YOU MIGHT LIKE THIS
-
Hair
Styling Tips for Fine, Thinning Hair
-
Hair
How To: Add Volume to Fine, Thinning Hair
-
Bobs
Fuller-Looking Bob
-
Hair
How-To: Build Weight In Thinning Hair
-
Fine/ Thinning
Thicker-Looking Locks For Him
TRENDING NOW!
-
BTC Hair Trend Report
The Biggest Haircut Trends of 2024
-
Blonde
Conditioner Before Toner: Common Hair Myth Debunked
-
Monthly Product Launch List
11 New Game-Changing Hair Launches To Add To Your Arsenal
-
Copper
What Is The "Cowboy Copper" Hair Trend? Here's What It Really Means...
-
Copper
Muted Bronze
-
Haircuts
SHAG 101: The Dos And Don'ts
-
Frizz
Straighten & Smooth 2A, Fine-Medium Density Hair
-
Business
Don't Fall Victim To Hair Industry Greenwashing—Read This First

