
Bold Gold Hair Painting
Bold Gold Hair Painting
HOW-TO STEPS 
-
 1
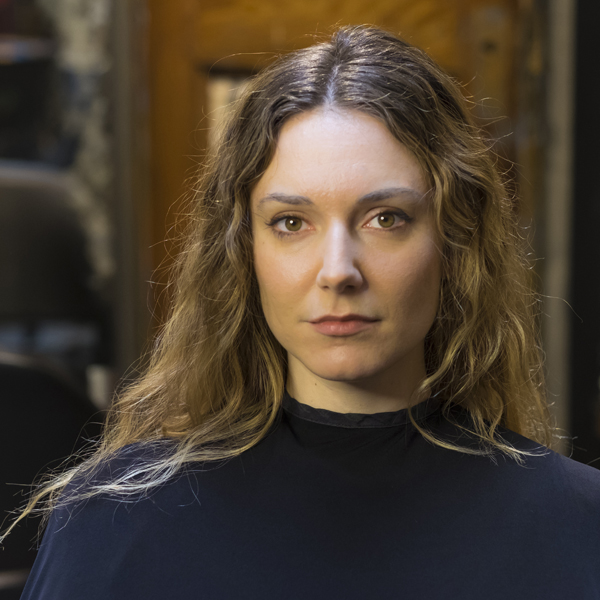
1Before
-
 2
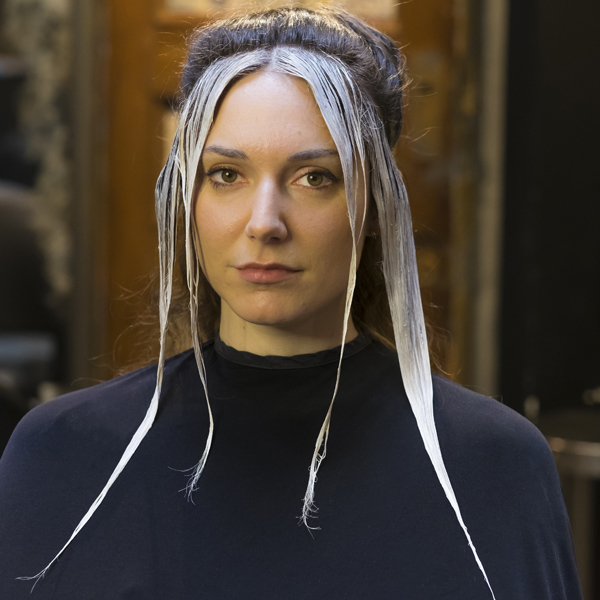
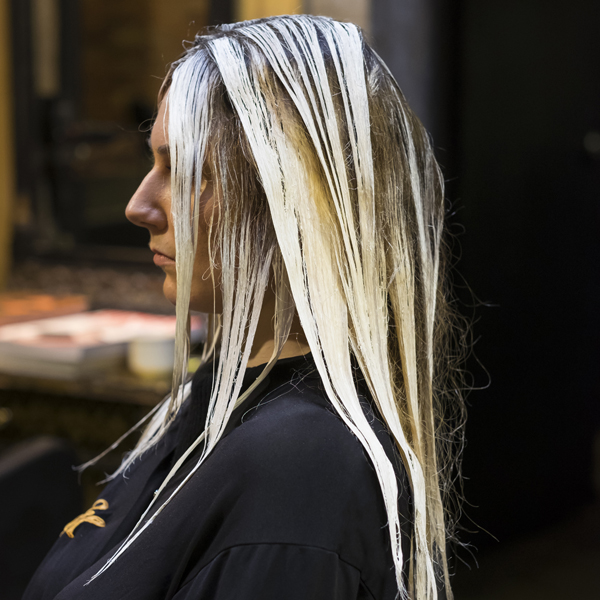
2Apply Whittemore House Hair Paint on the left and right hairline sections, framing the face and highlighting the features.
-
 3
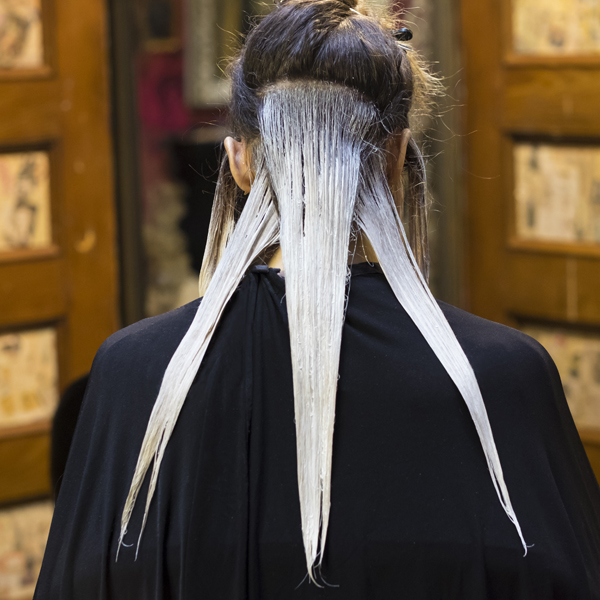
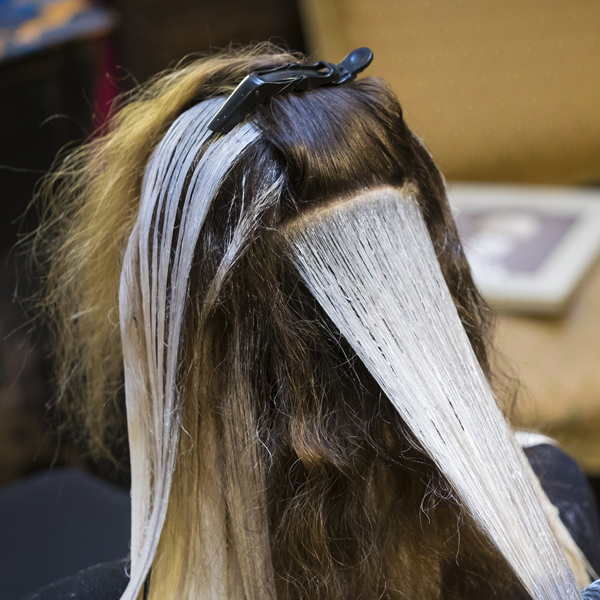
3Lay the foundation with three triangular sections below the occipital bone, at the nape. This creates the perimeter and acts as a guide for your next steps.
-
 4
4Finalize the perimeter/outline of the hair, preparing the rest of the hair to be filled in.
-
 5
5step 3 (in process)
-
 6
6step 3 (in process)
-
 7
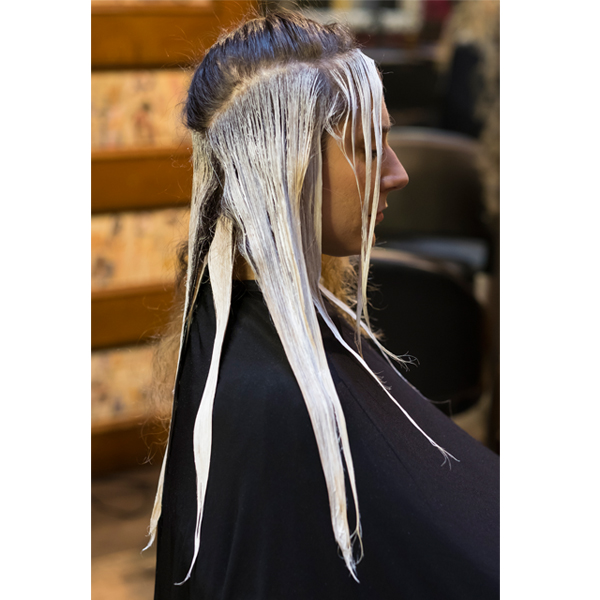
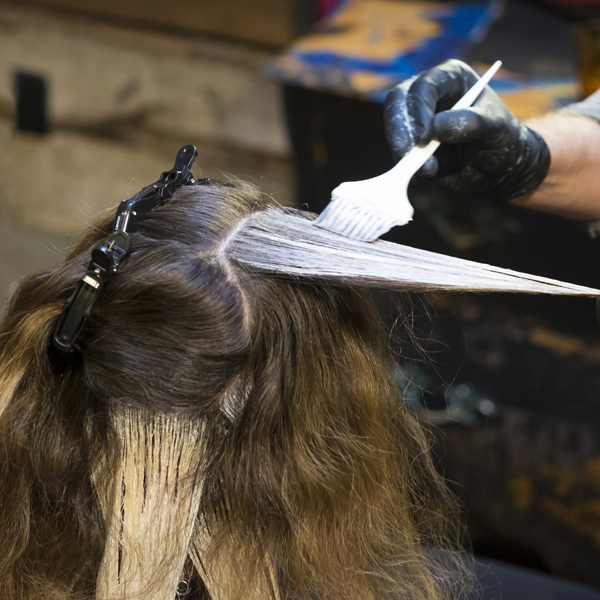
7Hair paint the inner sections behind the hairline, traveling with the round of the head.
-
 8
8To achieve this particular look, Larry and Victoria used wide panel sections. “Use your discretion and adjust according to your desired look,” they say. “Approach every head differently to achieve desired results.”
-
 9
9Repeat step four on the other side of the head. The application may vary from side to side. “Symmetry is important,” say Larry and Victoria, “but they need not be exactly the same.”
-
 10
10This step addresses a highly dense area of hair, above the occipital bone. The amount of saturation should vary based on the density of the hair and your desired effect.
-
 11
11Part the hair at its natural fall. Repeat application, as on all previous sections, with your desired level of saturation to achieve your desired result.
-
 12
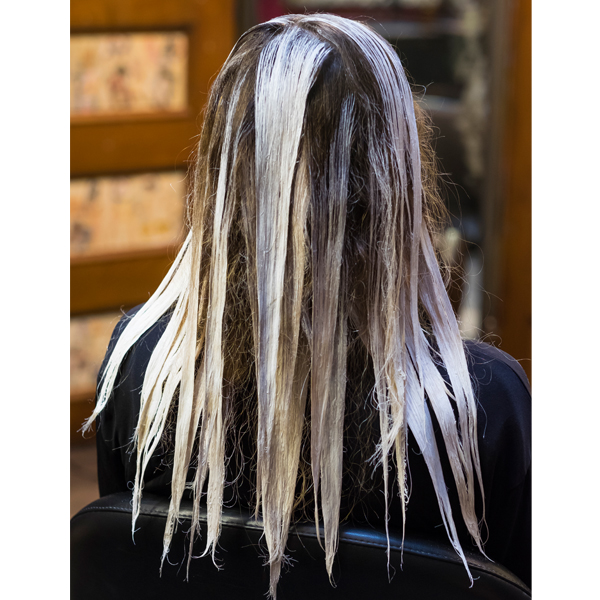
12Finish painting at the crown of the head. Note: Pressure, tension and saturation varied from roots to ends within the interior, perimeter and top of the head. Separation between sections also varied throughout the head, ranging from ¾ to 1½ inches.
-
 13
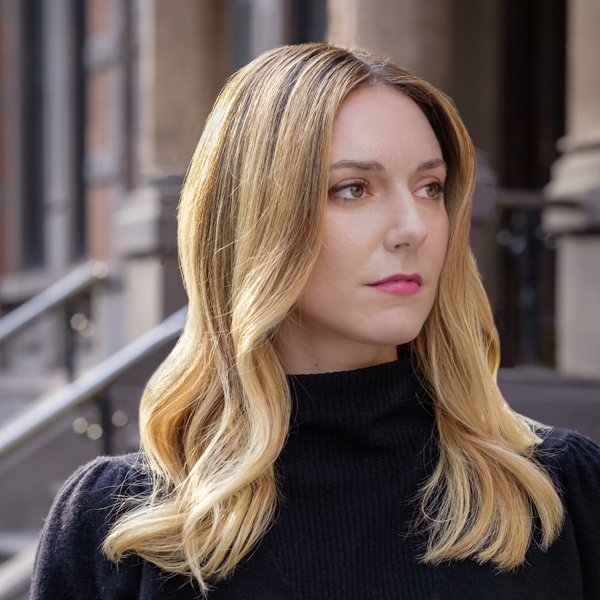
13Finished look.

More from
Larry Raspanti
YOU MIGHT LIKE THIS
-
Hair Color
Hair Painting: How It’s Done
-
Balayage
Braided Balayage
-
Balayage
A Wellness Approach to Balayage!
-
Hair Color
Flash Color Technique
-
Balayage

How-To: Open Air Balayage
TRENDING NOW!
-
BTC Hair Trend Report
The Biggest Haircut Trends of 2024
-
Blonde
Conditioner Before Toner: Common Hair Myth Debunked
-
Monthly Product Launch List
11 New Game-Changing Hair Launches To Add To Your Arsenal
-
Copper
What Is The "Cowboy Copper" Hair Trend? Here's What It Really Means...
-
Copper
Muted Bronze
-
Haircuts
SHAG 101: The Dos And Don'ts
-
Frizz
Straighten & Smooth 2A, Fine-Medium Density Hair
-
Business
Don't Fall Victim To Hair Industry Greenwashing—Read This First

