
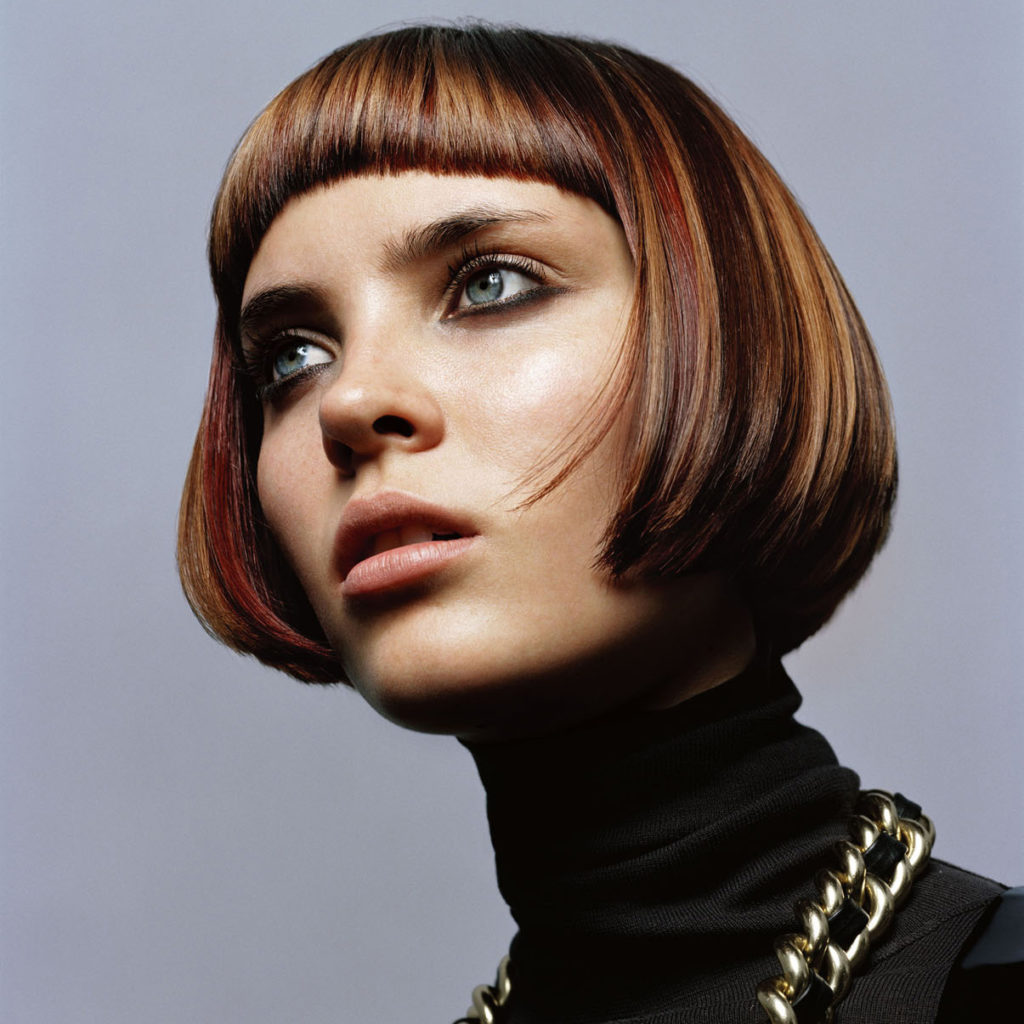
Aveda “Alison” Cut Step-by-Step

Advertisement
Advertisement
Advertisement
Advertisement
Aveda “Alison” Cut Step-by-Step
HOW-TO STEPS 
-
 1
1 -
 2
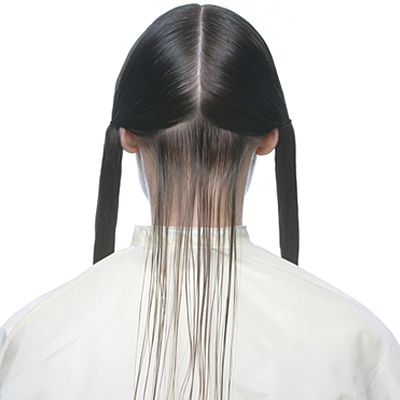
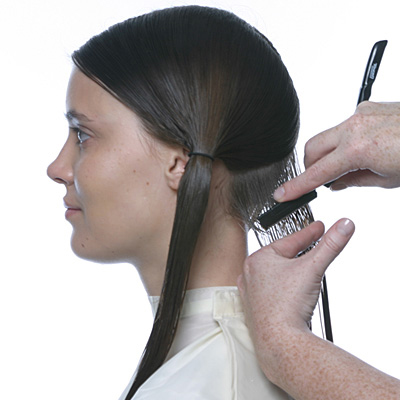
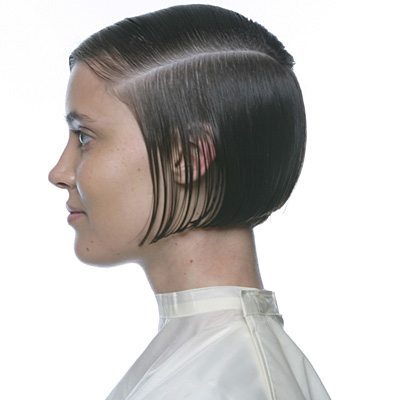
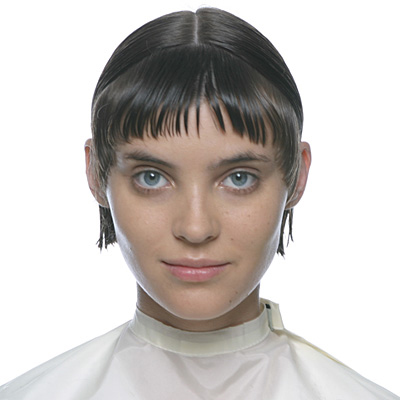
2Beginning at center of forehead, section hair in straight center part. Create a diagonal section from center part to bottom of ear.
-
 3
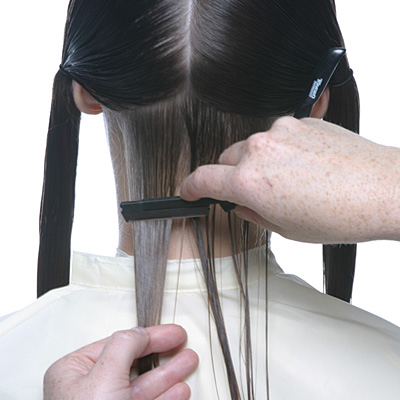
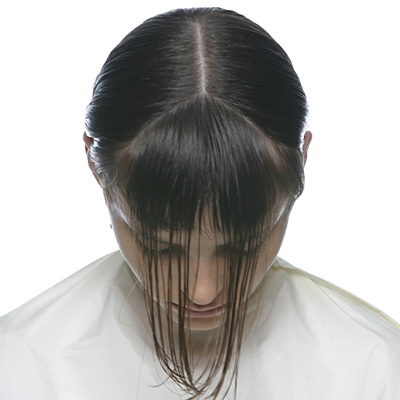
3Hold razor horizontally. Cut straight across, close to nape, beginning with the left side.
-
 4
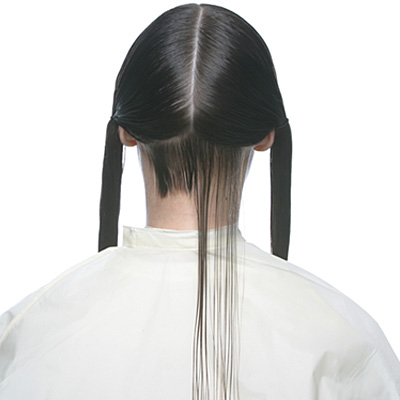
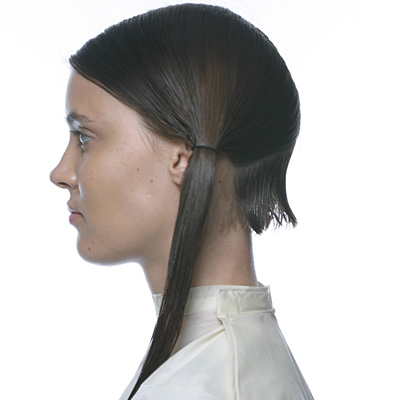
4Completed left side. Repeat on right side.
-
 5
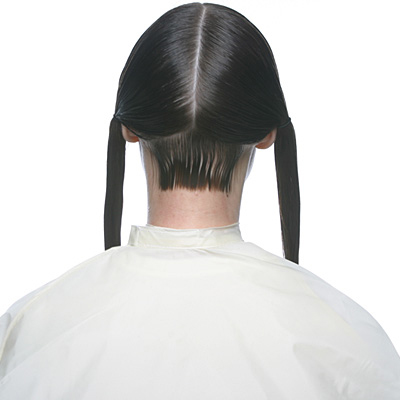
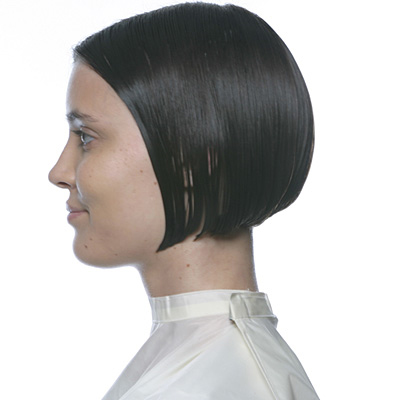
5Completed section.
-
 6
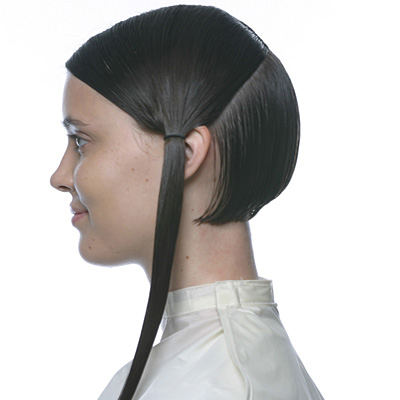
6Take next diagonal section from center part to ear. Beginning at left side, cut using underneath section as a guide.
-
 7
7Completed section.
-
 8
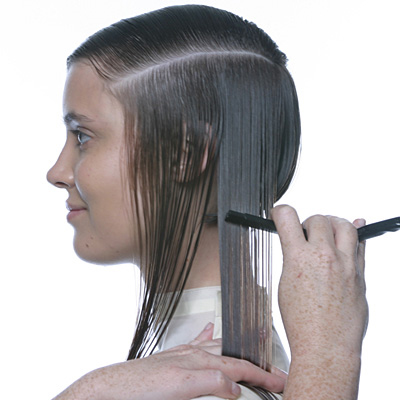
8Continue taking diagonal sections at increasing angles until you reach top of ear.
-
 9
9Create horizontal section from parietal ridge to front hairline. Using guide from the back, connect side to back.
-
 10
10Completed section.
-
 11
11Continue taking horizontal sections up to center part. Repeat on right side.
-
 12
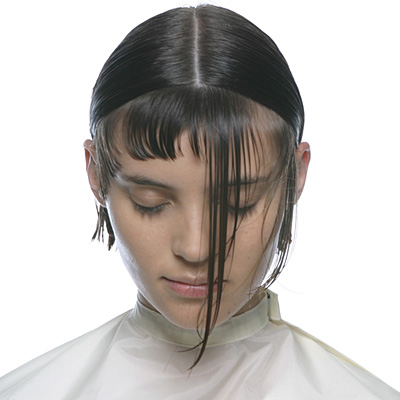
12Create curved section from ear to ear, behind hairline. Using razor at horizontal angle, create curved fringe. Repeat on left side.
-
 13
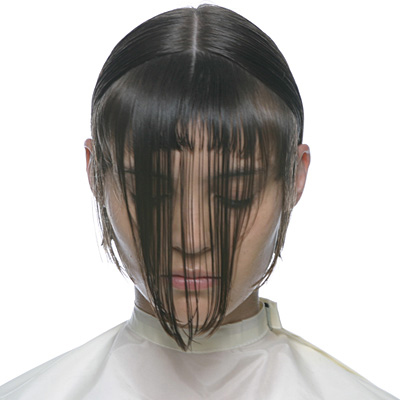
13Create section parallel to previous section and overdirect forward. Cut using underneath fringe as a guide.
-
 14
14Completed section. Note fringe length is same throughout section.
-
 15
15Create a diagonal section from center part to low point of recession. Overdirect forward and cut curved fringe, using previously cut section as a guide.
-
 16
16 -
 17
17
YOU MIGHT LIKE THIS
-
Hair
Styling How-Tos and Inspiration from Vivienne Mackinder
-
Hair Color
Prismatic Aurora by Keratin Complex
-
Hair
Redken Big Bang by Leah Freeman
-
Styling
How-To: Tousled Poof Ponytail
-
Balayage

Vanilla Bean Blonde
TRENDING NOW!
-
BTC Hair Trend Report
The Biggest Haircut Trends of 2024
-
Blowouts
Bombshell Blowouts: 4 Ways To Create Lift With Longevity
-
Copper
What Is The "Cowboy Copper" Hair Trend? Here's What It Really Means...
-
Curly
Long Layers: 10 Pro Tips + Common Cutting Mistakes
-
Ask A BTC Expert
5 Foil Tips & Tricks From @the.blonde.chronicles
-
Hair Extensions
Clients With Hair Loss? Read This To Get Their Pre-Thinning Density Back
-
Haircuts
SHAG 101: The Dos And Don'ts
-
Frizz
Straighten & Smooth 2A, Fine-Medium Density Hair

