
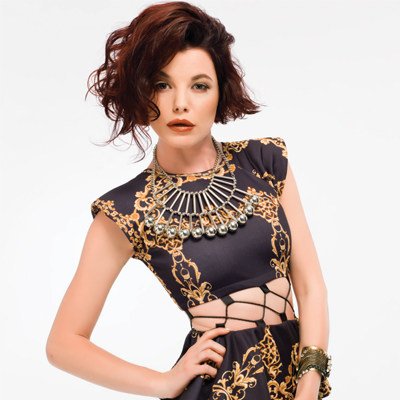
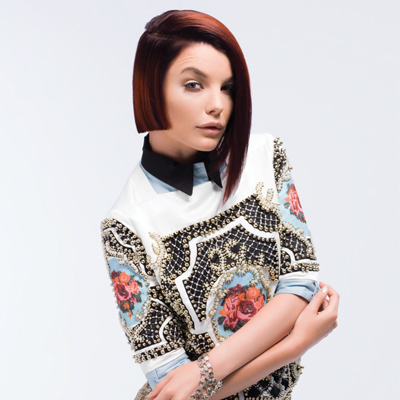
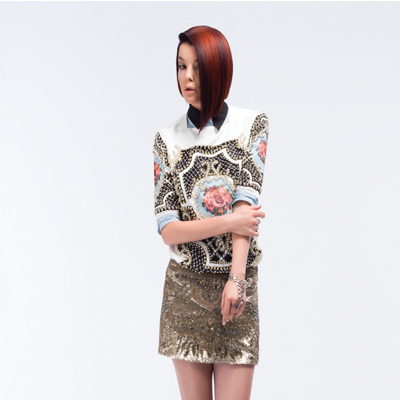
Asymmetrical Bob from TONIandGUY

Advertisement
Advertisement
Advertisement
Advertisement
Advertisement
Asymmetrical Bob from TONIandGUY
HOW-TO STEPS 
-
 1
1Horizontal graduation will be utilized to build weight throughout the perimeter while the internal layering pattern is independently disconnected in order to create an anti-directional feel.
-
2
Take a profile parting from the center forehead to the center nape. From the top of the crown, take a diagonal forward parting to the mid-recession on both sides.
-
3
From the top of the parietal ridge, take a curved diagonal back horseshoe from below the crown.
-
4
Below the horseshoe, take a central vertical parting. Take a horizontal section from below the occipital to the base of the ear. Comb the hair at the natural fall, elevate to one finger’s depth and blunt-cut parallel to the part.
-
5
Take a second horizontal section from the occipital to the middle of the ear, combing the hair at the natural fall. Elevate at two fingers’ depth and blunt-cut parallel to the part.
-
6
Take a horseshoe section from above the occipital to mid-recession. From behind the ear, comb at the natural fall, elevate to three fingers’ depth, and cut parallel to the part.
-
7
In the front of the ear, transition your elevation to one fingers’ depth. Repeat on the opposite side.
-
8
Release the remaining hair, working with the same distribution and elevation. Blunt-cut the hair onto the underneath guideline.
-
9
Cross check the line for balance.
-
10
From the top of the crown, take a vertical section using the guide created by the graduation underneath. Elevate the hair 90° from the round of the head and slice parallel to the head shape.
-
11
Sub-divide the guide and continue by taking pivoting diagonal backs from the top of the crown, combing the hair into a T-part and overdirecting the hair to the stationary guideline.
-
12
Release the top triangular section and take a central vertical section from the top of the crown to the center forehead. Elevate the hair to 90° from the section and cut an independent guide square, disconnected from the previous layering.
-
13
Sub-divide the guide and comb the remainder of the hair into a T-part, overdirecting up to the central stationary guide in order to create a square inversion.
-
14
Utilizing a wrap technique, blow-dry with a small cushion brush.
-
15
Detail the base line by cleaning up any unwanted graduation with a wide-tooth comb.
-
16
Elevate the side panels at a low 45 degree angle from the face and point-cut a deep parallel line to create a visual balance.
-
17
Continue with soft surface channel cutting towards the face for separation.
-
18
-
19
-
 20
20 -
 21
21 -
YOU MIGHT LIKE THIS
-
Hair
Men’s Disconnected, Asymmetric Undercut from Zak Mascolo
-
Hair
Men’s Undercut from TONIandGUY’s Zak Mascolo
-
Hair
TONIandGUY Reflective Collection How-To: Britni
-
Barbering
Low Skin Fade On Textured Hair
-
Hair
TONIandGUY Reflective Collection Men’s How-To: Ryan
TRENDING NOW!
-
BTC Hair Trend Report
The Biggest Haircut Trends of 2024
-
Monthly Product Launch List
11 New Game-Changing Hair Launches To Add To Your Arsenal
-
Blonde
Conditioner Before Toner: Common Hair Myth Debunked
-
Copper
What Is The "Cowboy Copper" Hair Trend? Here's What It Really Means...
-
Frizz
Straighten & Smooth 2A, Fine-Medium Density Hair
-
Copper
Muted Bronze
-
Haircuts
SHAG 101: The Dos And Don'ts
-
BTC Hair Trend Report
WWYD: How Hairstylists Are Navigating Inflation

