
Instagram via @kristen.lumiere
Formulas
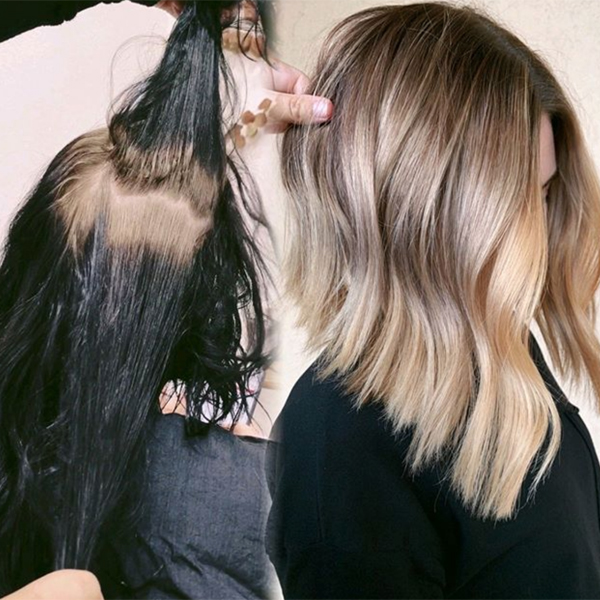
Color Correction: Box Dye Black to Beige Blonde
When she posted this omg transformation to her Insta, BTC Team Member Kristen Ewing (@kristen.lumiere) kept it real af in the caption, “Sixteen hours, 1 million foils, hundreds of bumps in the road, 1 fried brain and we are here.” Color corrections take WORK, but when a client walks in with at-home black box dyed strands with the desire to be blonde, you know you're in for quite the journey. Keep scrolling to learn how Kristen tackled this corrective color in two sessions with six different formulas! Total Chair Time: 16.5 hours Pricing: "I charge...
Keep reading for free
Create a free account or sign in to continue
Use the same email and password across behindthechair.com, BTC-U, oneshothairawards.com, and Who Does Your Hair — one set of credentials, every site.
OR
We'll check if you have an account, or create one if you don't.
To save this story, create a free account or sign in.
Join BehindTheChair
Access the industry’s #1 source for hair trends, education and community now.
OR
We'll check if you have an account, or create one if you don't.


