
Instagram via @jackhowardcolor
Formulas
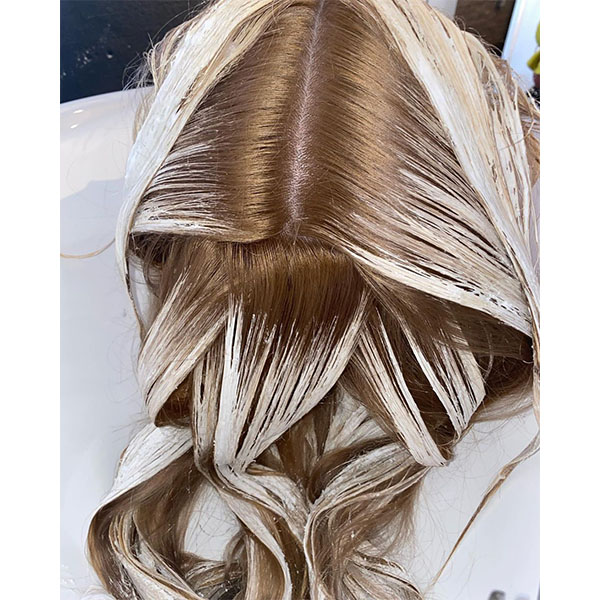
Hair Painting Basics: The 4 Gestures of Balayage
Balayage For Beginners: What You Need To Know Real talk: "Balayage" is one of the most commonly used words in the salon. But oftentimes, clients think of balayage as a finished look—natural looking ribbons of brightness—versus an actual technique. Do you feel comfortable tailoring your hair painting methods to every client? To do this, you must truly understand the four main gestures of balayage, and how they work. L'Oréal Professionnel Color Artist and educator Jack Howard (@jackhowardcolor) breaks it down. Get the full rundown in Jack's 3-part series: Balayage 101: From Basics To Advanced 1....
Keep reading for free
Create a free account or sign in to continue
Use the same email and password across behindthechair.com, BTC-U, oneshothairawards.com, and Who Does Your Hair — one set of credentials, every site.
OR
We'll check if you have an account, or create one if you don't.
To save this story, create a free account or sign in.
Join BehindTheChair
Access the industry’s #1 source for hair trends, education and community now.
OR
We'll check if you have an account, or create one if you don't.


