Balayage Placement: The 15 Commandments
15 Tips To Help You Balayage Like A Pro
Perfect balayage placement may take years to master and since balayage is one of the most popular coloring techniques right now, you better get started ASAP (if you aren’t already)! These 15 commandments of balayage will help you to achieve a better application with seamless results that your guests will obsess over. Keep reading to find out what they are!
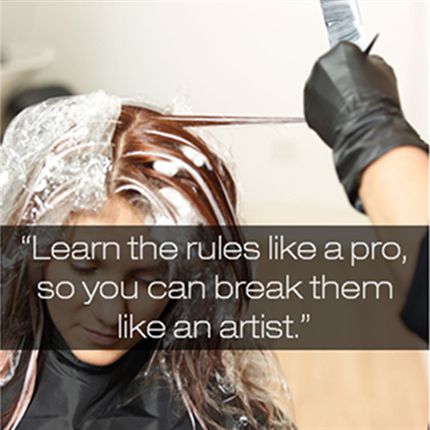
1. Balayage placement looks easier than it is, so to develop the proper skill level you must be prepared to practice, practice, practice. Commit to learning the technique—develop a passion to excel.
2. Balayage placement is always dictated by the cut so if you plan to balayage your client, always cut the hair first.
3. Consistency is key. “Place the desired quantity of lightener into your mixing bowl with half the amount of Nutri-developer desired. Mix thoroughly until the texture of the lightener is smooth and dense, like fondant icing. Finally, add the remaining developer needed for application and whisk until blended for a creamy Greek yogurt consistency,” says L’Orèal Professionnel Artist Nancy Braun.
4. BTC Team Member Sarmad Najem (@hairbysarmad) says whether you tone with a brush or a bottle depends on the consistency of the product you’re using. He prefers to tone with a bowl and brush when using the thicker Schwarzkopf Professional Igora Vibrance Activator 13-volume and with an applicator bottle when using the runnier Schwarzkopf Professional Igora Vibrance Activator Gel 6-volume.
Products Used
5. Observe the hair carefully as you work, looking for areas of contrast and variances of light and dark. This is what makes balayage different from foil highlights—the placement of color is guided by the natural movement of the hair.
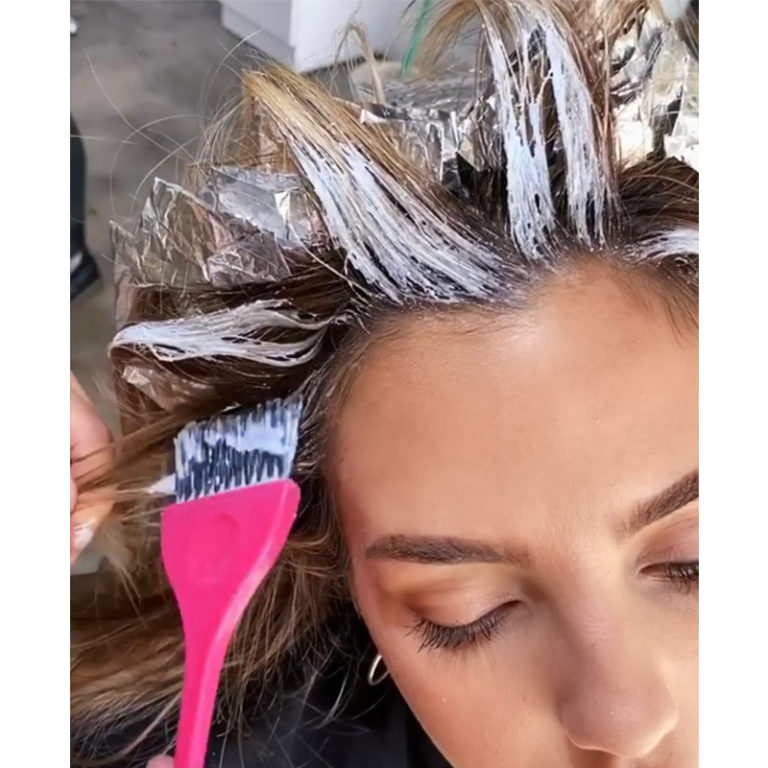
6. When placing highlights, remember that the hairline and part areas are crucial. This is where clients want to see light. You might only place one or two highlights in this area, but doing so gives the hair a pop of brightness on top. The idea is to lighten the hair as if a spotlight is shining on top of the head. The result will look as if your client has been luxuriating on the beach for weeks!
7. Be conscious of the money piece. This is a highlighted section one-to-two inches behind the hairline at the part that contrasts with the base color. The balayage placement here is the focal point of the highlight design that draws the eye and really POPS.
8. Create babylights around the face for a brighter effect. Foiling these pieces allows for more controlled placement. The result? A pop of light and dimension!
9. The brush that you choose to work with is critical—the right brush makes all the difference! Avoid brushes that are too wide or that have an uneven surface that may grab or skip sections of the hair. Work slowly to ensure even saturation and consistent application along the entire strand.
10. Choose a smooth, creamy lightener when doing balayage highlights—nothing gritty or lumpy. The goal is to work with a product that has the consistency of cream cheese at room temperature. For developer, 30-volume is usually the best choice because strands are exposed to air and not wrapped in foil. (Darker hair might require heat.) Control your application by scooping the bleach off of a comb or board before you lay it on the hair. Reload the brush every time you paint a section of hair. Develop to pale yellow on blondes; gold on brunettes.
11. Make sure that you are always looking underneath each section to be sure the ends are fully saturated. Keep midlengths clean and the finish will be dimensional balayage perfection.
12. Put away the foils! Instead, separate horizontal balayage sections with clear plastic wrap. This will allow you to observe the progression of the development.
13. Balayage can be done on any base color because the effect is so natural, and lowlights can be balayaged, too! If you’re highlighting and lowlighting the hair, apply the balayage highlights first and then place the lowlights in-between the lightened sections.
14. The biggest balayage mistake is placing too much product at the root, causing the highlight to look chunky or blotchy. The ideal balayage highlights are narrow and diffused at the root and gradually widen through the midlengths and ends.
15. Keep your skills visible for your clientele. “Promote an accent piece! Catch your client’s eye by guiding them to their perfect balayage service,” says L’Oréal Professionnel Artist DJ McGinley. “Place service menus in your retail center, front desk, sinks or processing areas to suggest an add-on service for the perfect highlighted accent piece.”


