6 Tips To Get A Brighter Balayage
How To Get Brighter, Blonder Balayage
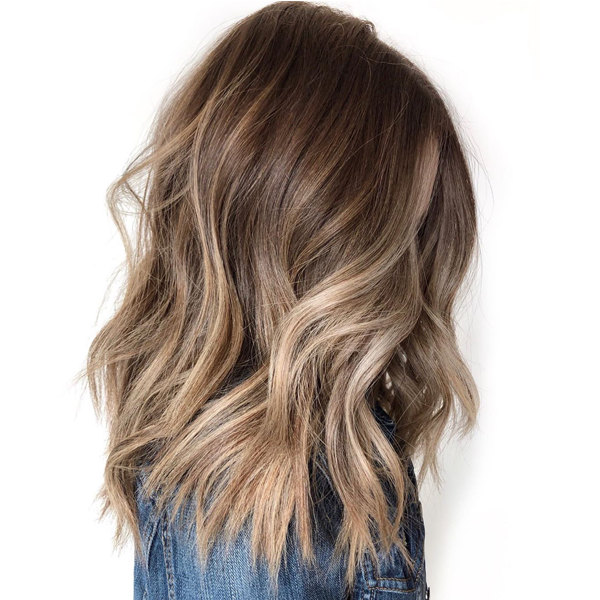
Love the technique of hand painting, but seeking more LIFT? Check out these tips from hand painting expert and BTC Team member Farhana Premji (@xo.farhana.balayage). Farhana found a new trick to getting serious brightness without sacrificing her signature hand painting technique, and she spilled them all!
Products Used
Choose the appropriate tools.
Farhana has been reaching for Redken Flash Lift Bonder Inside for hand painting because it has a more powdery texture (which she prefers for painting) and it stays moist with no puffing. Plus, the built-in bond protection is extra insurance in keeping her clients’ hair super healthy. She applies lightener with a chip brush for the ultimate blend.
Mix to consistency.
“I almost prefer [Redken Flash Lift Bonder Inside] thicker than my clay lightener,” Farhana shared. To mix, she starts with two scoops of lightener—about 1 ounce—and mixes with 1.2 to 1.5 ounces of developer. This particular lightener thickens in the bowl, so “keep that in mind when you are mixing!” Farhana said. “Your consistency is ultimately determined by hair texture.”
Examine the hair texture.
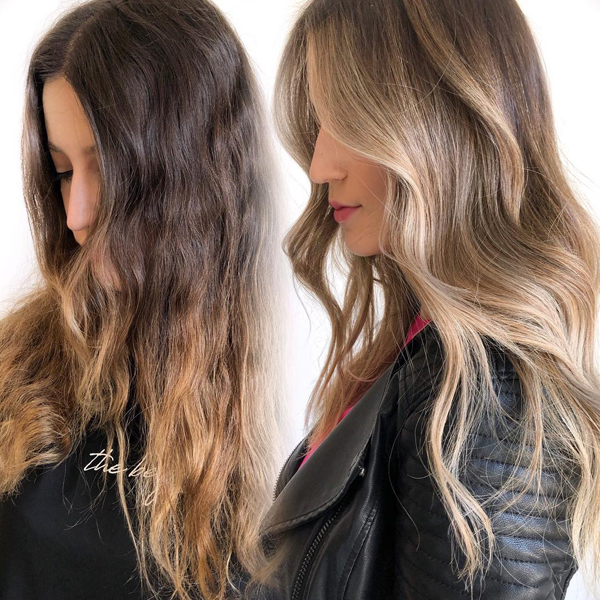
Speaking of texture, it’s pretty important. “While natural level and color history contribute to the end result, hair texture plays an even bigger part in how hair will behave in all color services,” Farhana shared on Instagram. Check out the below photo—even though the client had previous color (Redken Shades EQ), Farhana was able to achieve high lift because the client’s texture is slightly fuzzy and porous, which lifts easier but also requires extra care and attention.
Insulate for even lift.
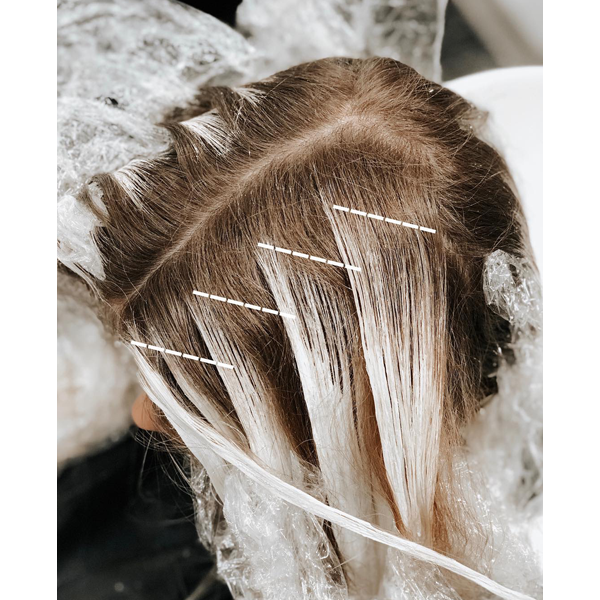
Unlike clay lightener, traditional lightener isn’t meant to be used open-air, so incubation is important to maintaining moisture and achieving even lift. Farhana recommends using plastic wrap or balayage film at the minimum, or separate painted panels with foils for even more lightening power. “Just make sure it’s incubated from top to bottom for the most even lift,” she said—nobody wants a splotchy finish!
Paint with purpose for the most brightness.
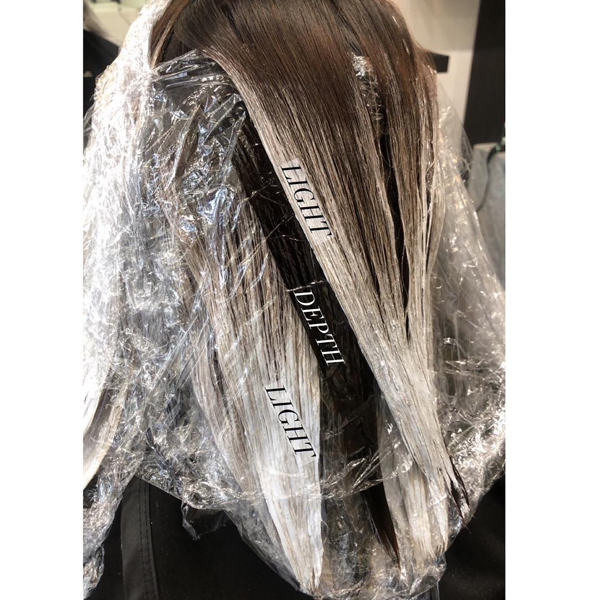
You know that brightness needs depth to really pop, so keep that in mind when painting. Farhana’s tips? “It’s all about leaving out panels or sections where you want to see pockets of depth,” she said. “And SATURATE, SATURATE, SATURATE the panels you want the brightest!”
Determine placement by considering the desired result.
Horizontal or diagonal sections? Here’s what to remember:
- Horizontal sections create seamless transition.
- Diagonal sections are ideal for breaking up harsh lines or adding serious pop at the front of the face.
More from
Redken
-
Celebrity
11 Questions With Celebrity Colorist Tracey Cunningham
-
Blonde
Lived-In Blonde With Warm Vivid Pops
-
Glossing/ Toning
How To Achieve “Glass Hair”: Smart Hacks From Hairdressers
-
Monthly Product Launch List
The Best Hair Launches Of March 2024
-
Blonde
The Biggest Hair Color Trends of 2024
-
Brunette
Caramel Chocolate Brunette With Gray Coverage
-
Awards Shows
The Best Celebrity Hair Colors & Formulas From The 2024 Golden Globes
-
Blonde
Guide To Gray: 5 Tips To Blend or Cover Stubborn Grays
-
News
How Maui Hairdressers Are Rebuilding Post-Lahaina Fires
-
Blonde
Blonde Ribboned Root Smudge
-
Balayage
Warm Glow Lived-In Blonde Balayage
-
BTC Hair Trend Report
Quiet Luxury Blonde: The “Old Money” Trend Explained
-
Blonde
Dear Colorists, Do You Enforce A Healthy Hair Policy?
-
BTC Hair Trend Report
Your Guide To Fall & Winter 2023’s Hair Color Trends
-
Blonde
Muted Honey Blonde
-
Industry News
Redken’s Safe Space Course Creates A More Inclusive Salon Experience
-
Haircare
ACIDIC BONDING CONCENTRATE 5-MINUTE LIQUID MASK
-
BTC Events
AI, Mental Health & Social Media: 7 Business Tips You Can’t Live Without
-
Copper
What Is The “Cowboy Copper” Hair Trend? Here’s What It Really Means…
-
Celebrity
Margot Robbie’s ’60s-Inspired Ponytail at the “Barbie” Premiere
-
Additive
4 Tricky Hair Color Scenarios & What You Should Do!
-
Gray Coverage
These 8 Steps Will Soften & Cover Grays In Just A Few Minutes
-
Hair Color
WWYD: How To Stop Your 6N From Turning Orange
-
Glossing/ Toning
Coral Crush


