5 Tips For Creating Better Fades
These 5 Tips Will Instantly Improve Your Fade Game
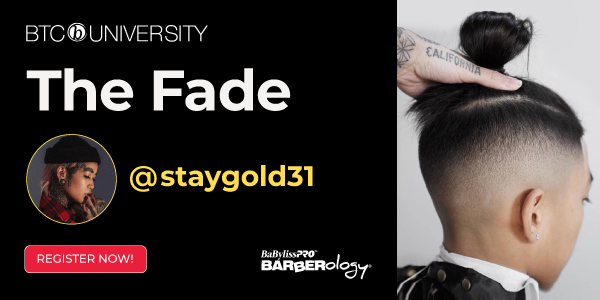
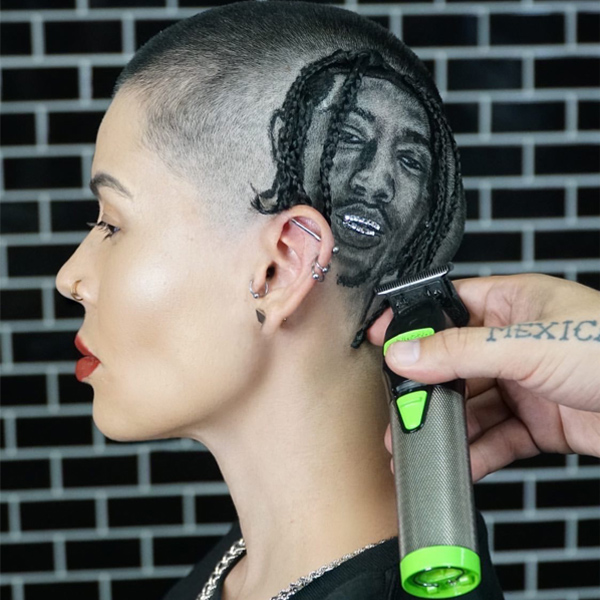
Have you ever turned a client’s low fade into a high fade because you got lost along the way? If so, you’re not alone. BaBylissPRO® Artist Sophie Pok (@staygold31) has been there, so she shared her tips to help keep you on track and instantly improve your fade skills. Scroll down to get the deets!
1. Start With The End Result In Mind
Picture the finished result before fading to get an idea of where the fade should start. Then blend up to that area using the BaBylissPRO® FX3 Professional High Torque Clipper to avoid getting lost in the haircut.
Note: The FX3 Professional High Torque Clipper features five locking detent adjustments instead of a classic lever, so it’s easy for beginners to remember their place when blending out lines.
Have you seen the new BaBylissPRO® FX3 Collection with Ferrari-designed engines? Click here to learn more!
2. Cut Guide Zones In Parallel Lines
When fading, make sure the guide zones are parallel to each other for a blurred finish. Sophie stresses staying organized when blending in the guide zones to achieve the seamless fade you and your client want.
3. Work From The Top Down To Blend
Start with the skin fade first, then work from the top down to blend out the rest of the guide zone. Gradually close the clippers the further down the head you go for a seamless finish.
Watch How Sofie Fades With The FX3 Clipper!
View this post on Instagram
4. Create Detailed Lines
When a more precise touch is needed, use the BaBylissPRO® FX3 Ferrari-Designed Engine Trimmer to maneuver tight spaces for custom designs and detailed work. It features two speeds, with the faster setting for bulk removal and the slower for blending.
5. Clean Up The Cut
Tighten up the fade by going over the neckline with the BaBylissPRO® FX3 Professional High Speed Foil Shaver. If the client’s natural hairline is still visible after using clippers or trimmers, go over the line with the shaver to further blend for a seamless finish. Here’s how Sophie does it:
- Lightly tap and drag the shaver over the trimmer line for a closer shave.
- Use the furthest part of the shaver to detail, then turn it completely flat to remove any excess hair for a polished look.
Want more barbering education? Click here to learn how to create custom clipper designs!
More from
BaByliss Pro
-
Industry Events
America’s Beauty Show 2024 Announced: What You Need To Know
-
Blowouts
Bob Styling Guide: 5 Ways To Style Short Hair
-
Fades
Line Ups: Dos & Don’ts Every Barber Should Know
-
Barbering
How To Style The Biggest Men’s Summer Trends
-
Business
15 FREE Classes To Take For Hairstylist Appreciation Week
-
Barbering
Clipper & Trimmer Blade Guide: When To Use Each One
-
Barbering
@staygold: Choosing the Right Fade For Every Client
-
Barbering
2023’s Top 9 Hair Trends For Men
-
Styling Products
What’s Inside The Winter BTC Beauty Box
-
Barbering
4 Pro Barbering Tips You’ll Want In The Shop
-
Styling Products
Hello Fall: What’s Inside This Season’s BTC Beauty Box
-
#ONESHOT HAIR AWARDS
The BTC Show 2022: 10 Things We Saw
-
The BTC Show
#THEBTCSHOW 2022
-
Product Launches
Monthly Launch List: EARTH MONTH 2022
-
Barbering
5 Genius Blonding, Color + Cutting Cheats To Try Now
-
Blowouts
How To Choose Rollers For Every Hair Type
-
Blow Dryers
GOLDFX Dryer
-
Barbering
Barbers: 4 Ways To Use A Blow Dryer You Didn’t Know
-
Blow Dryers
ROSEFX Dryer
-
Barbering
FX3 Professional High Torque Clipper
-
Barbering
FX3 Professional High Speed Foil Shaver
-
Barbering
FX3 Ferrari-Designed Engine Trimmer
-
BTC Events
#thebtcshow 2021
-
BTC Events
Connection Center at #thebtcshow 2021


