
Instagram via @mickeycolonjr
Formulas
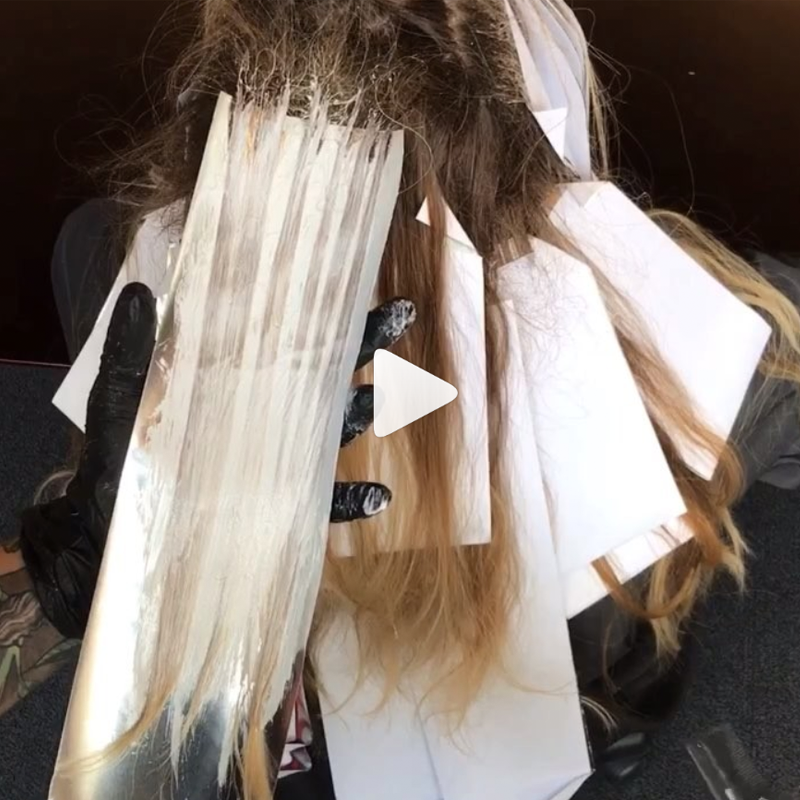
3 Brazilian Balayage Tips For Bold Blends
Brazilian Balayage: Painting Techniques, Formulas & Wave Quickies When your clients bring in their blonde inspo pics, they’re probably screenshotting Brazilian balayage photos from Instagram—the technique that creates rich, high-contrast blends paired with a burst of brightness that contours the face! But it’s not only the high-impact color that makes this look #HairGoals…Brazilian-inspired balayage is typically styled with long, face-framing waves that emphasize the blended highs and lows. Everyone loves a little balayage and blonding breakdown, so we snagged TRUSS Professional Ambassador Mickey Colon's (@mickeycolonjr) top painting and waving techniques to achieve Brazilian balayage results, PLUS formulas...
Keep reading for free
Create a free account or sign in to continue
Use the same email and password across behindthechair.com, BTC-U, oneshothairawards.com, and Who Does Your Hair — one set of credentials, every site.
OR
We'll check if you have an account, or create one if you don't.
To save this article, create a free account or sign in.
Join BehindTheChair
Access the industry’s #1 source for hair trends, education and community now.
OR
We'll check if you have an account, or create one if you don't.


