
Sunkissed Pixie from Alfaparf Milano

Advertisement
Advertisement
Advertisement
Sunkissed Pixie from Alfaparf Milano
HOW-TO STEPS 
-
 1
1Starting Level: 7
Mix in a bowl Supermeches+ Fast with Oxid’o Alfaparf Milano 20-volume, dillution ratio 1:2. Take a section roughly 2cm behind the hairline that follows the shape of the hairline. It is easiest to begin this technique at the outside of the longest part of the shape. -
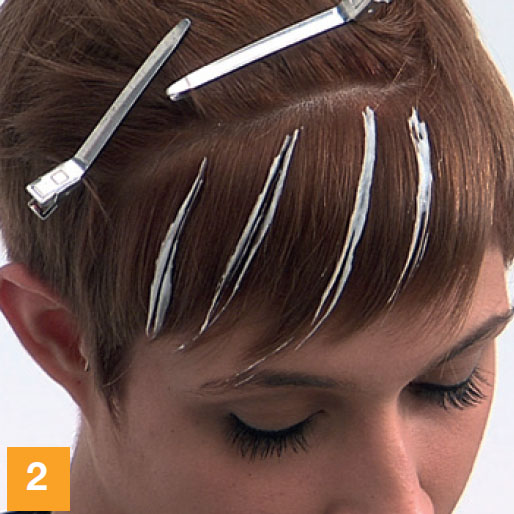 2
2Using a wide tooth cutting comb, dip the comb into the bowl of the bleaching mixture and gently comb the product down the hair shaft. Dip the comb into the product before each application. Wipe any excess product off the comb onto the side of the bowl to help ensure a delicate application. You are aiming to create delicate yet visible sweep of color. Comb on any amount of ‘lights’ that you wish. A better result is created by leaving strong spaces between each light – between 1 and 2cm is ideal.
-
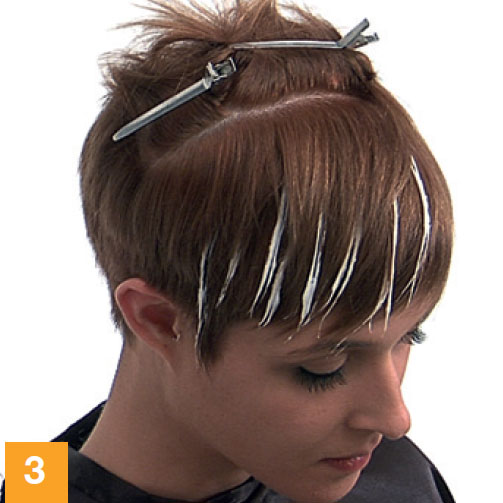 3
3After finishing the row, gently release the hair above that has been clipped away.
-
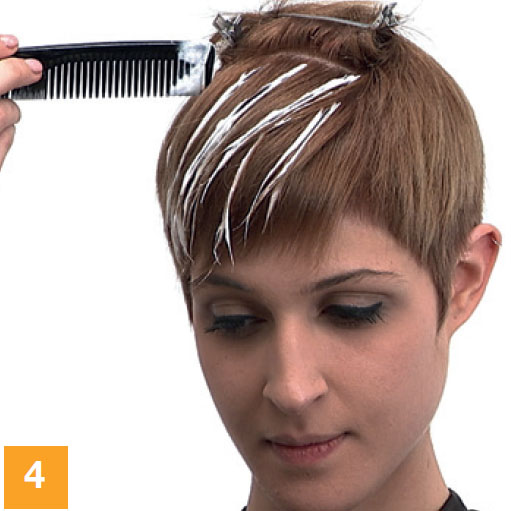 4
4Continue working in the same way to the top of the section. Avoid positioning the lights directly above those in the row directly below.
-
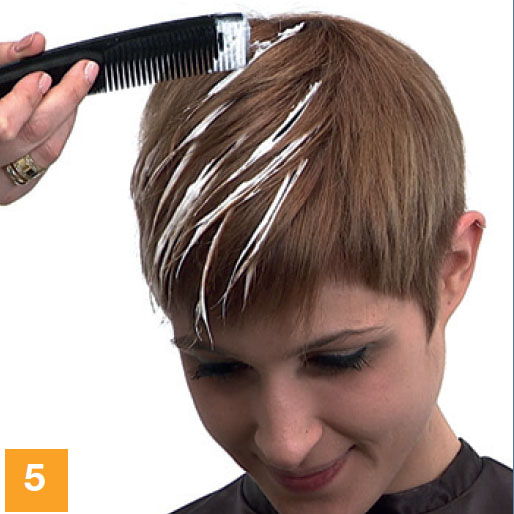 5
5Continue working in the same way to the top of the section. Avoid positioning the lights directly above those in the row directly below.
-
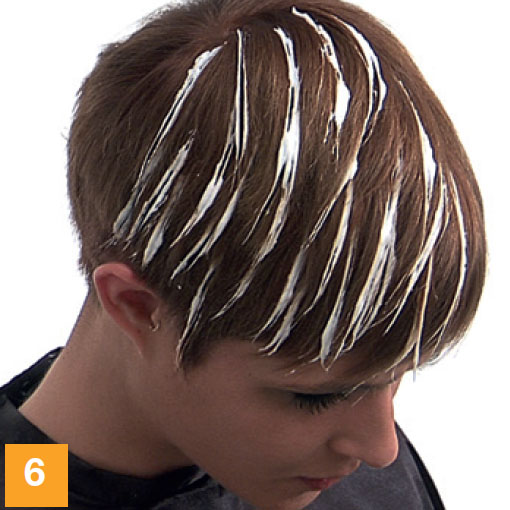 6
6Continue working in the same way to the top of the section. Avoid positioning the lights directly above those in the row directly below.
-
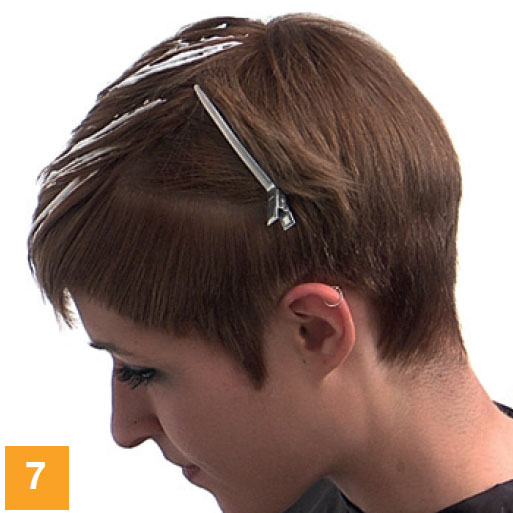 7
7Take another section on the opposite side of the head, again following the shape of the hairline.
-
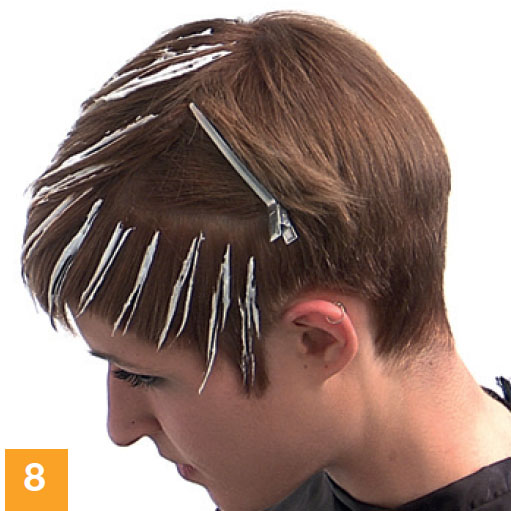 8
8Comb on the lights in the same manner, remembering to space them apart from each other.
-
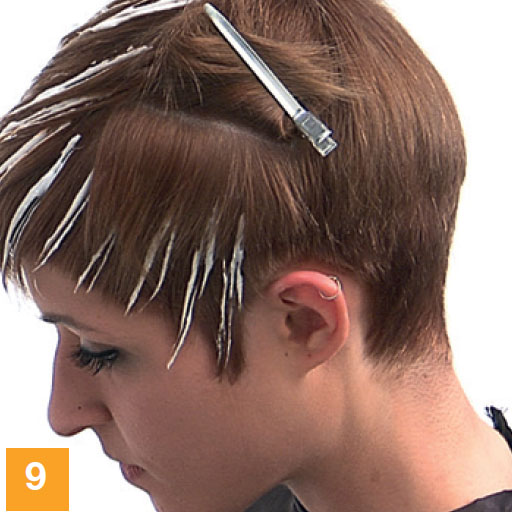 9
9Let the next section down and comb it gently into place without disturbing the colored hair beneath.
-
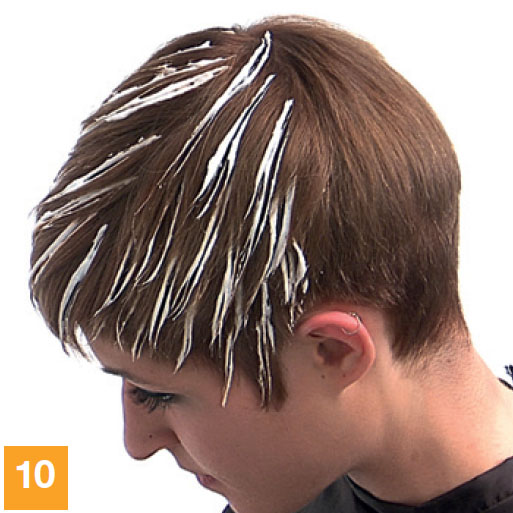 10
10Continue combing the lights onto the next section. Remember to place the lights so they sit in between those of the row below. Continue all the way to the top of the section.
-
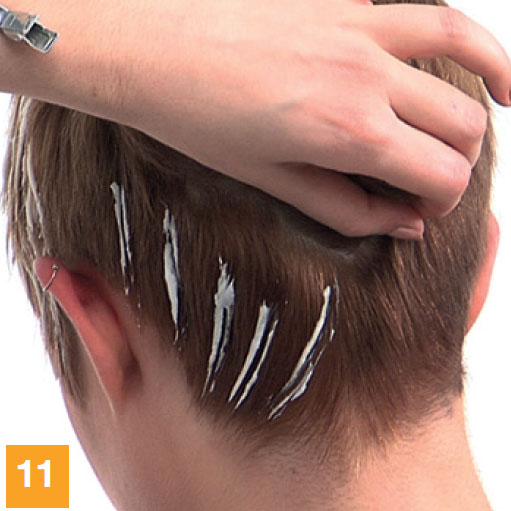 11
11Now start the application in the back of the head. It is easiest to work with diagonal sections. If the hair is very short, use the heel of the hand to hold the hair out of the way. Position your hand so that you do not obstruct the area to be colored. Apply the color in the same way. Where the hair is very short, pay attention to make the color application very delicate. It is important to not overload the short hair with color.
-
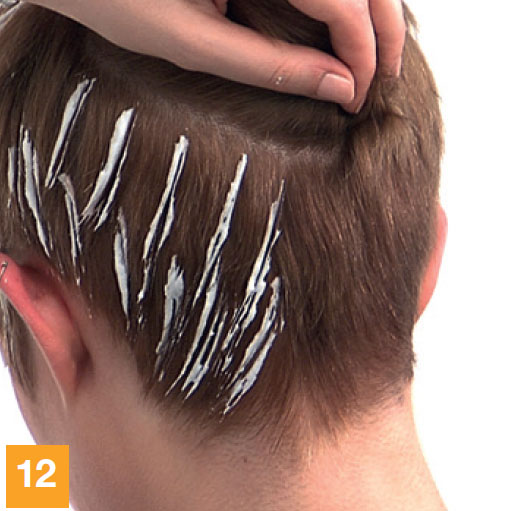 12
12At the end of the first section, create a new section above the first in the same way as you did at the front of the head. Again, remember to position each row of lights in between the lights of the row below. It is important that you do not create heavy areas of color by stacking the lights on top of each other.
-
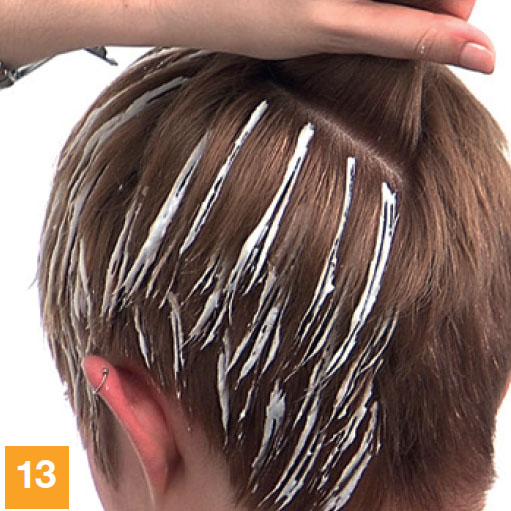 13
13As you move up through the sections, gently comb the hair into the correct position. Be careful not to disturb the color on the section below. Continue working the same way to the top of the section and then repeat the same application technique on the opposite side.
-
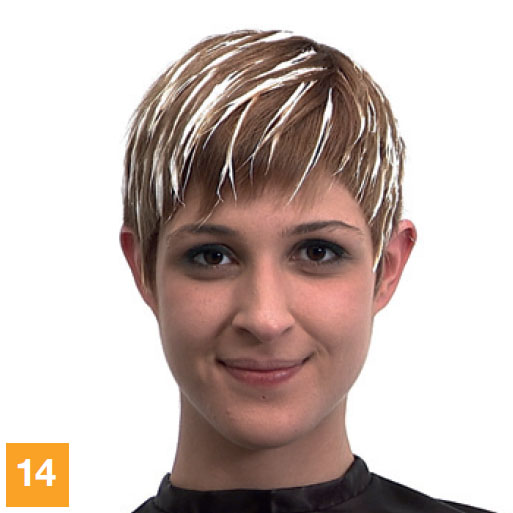 14
14When the application is complete, turn the model around in front of a mirror to check that you have created an even distribution of color. Process until the desired amount of lightening is achieved.
-
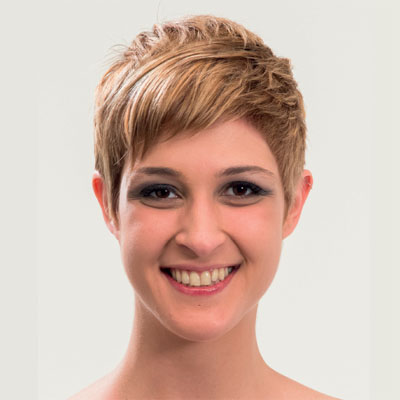
 15
15The finished effect is a classic highlighted look that can also be used on short and graduated shapes.
-
YOU MIGHT LIKE THIS
-
Hair Color
A Hint of Ombré
-
Hair Color
Shades of Plum Brunette Ombré
-
Hair Color
Balanced Chestnut Brunette
-
Hair Color
Spicy Tangerine Ombré from Alfaparf Milano
-
Hair Color
Sunlit Auburn from Alfaparf Milano
TRENDING NOW!
-
BTC Hair Trend Report
The Biggest Haircut Trends of 2024
-
Copper
What Is The "Cowboy Copper" Hair Trend? Here's What It Really Means...
-
Frizz
Straighten & Smooth 2A, Fine-Medium Density Hair
-
Monthly Product Launch List
11 New Game-Changing Hair Launches To Add To Your Arsenal
-
Copper
Muted Bronze
-
BTC Hair Trend Report
WWYD: How Hairstylists Are Navigating Inflation
-
Haircuts
SHAG 101: The Dos And Don'ts
-
Ask A BTC Expert
5 Foil Tips & Tricks From @the.blonde.chronicles

