Last updated: May 31, 2017
Sonic Curve from Sebastian Professionals
GET THE HOW-TO
Show Steps
1
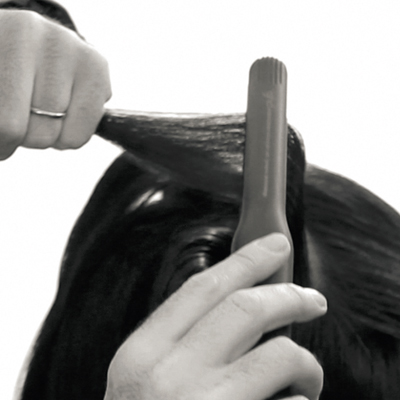
After the hair was blow-dried straight, the roots of the hair were bent at the top using small flat irons and Sebastian Professional Re-Shaper.
Show Steps
2
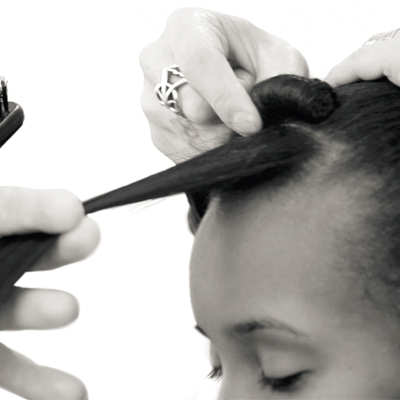
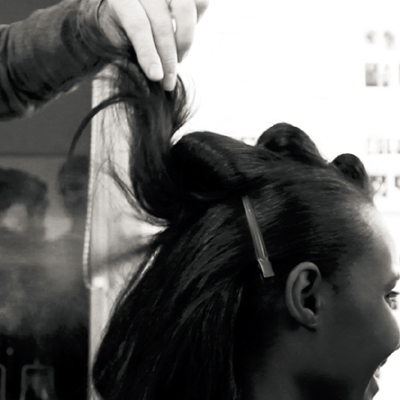
A horizontal parting was then taken 1½ inches away from the front hairline. The cylindrical form was then placed on the parting and pinned securely in place.
Show Steps
3
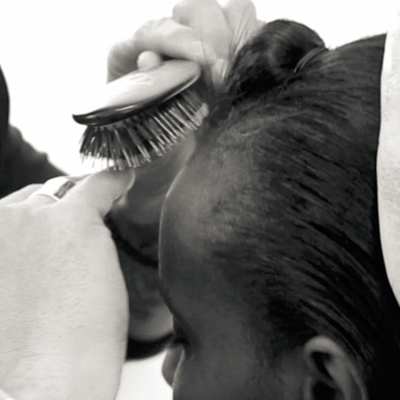
The roots of the first section were gently back-brushed, placed over the form and fixed in place using the Cinching Technique.
Show Steps
4
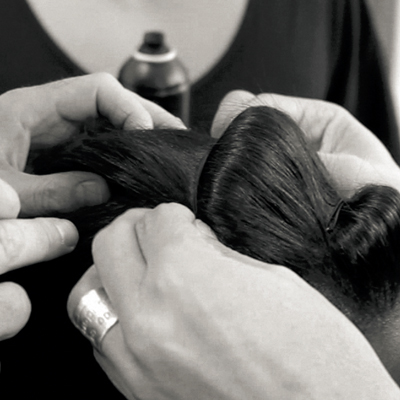
The same technique was repeated to build two more shapes on the top, placed on after the other.
Advertisement
Show Steps
5
The look was finished by creating texture at the back: Sebastian Professional Texture Maker was sprayed to the roots and blow-dried, before the hair was gently back-brushed and defined by hand. Sebastian Professional Re-Shaper was used to fix the movement.
Sonic Curve from Sebastian Professionals
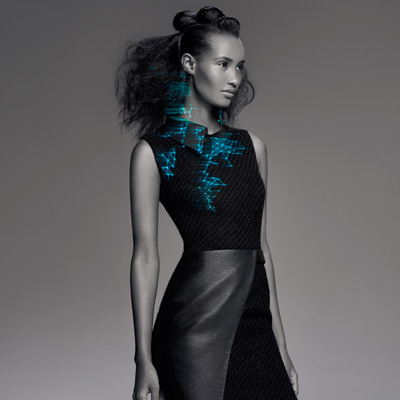
Sebastian Professional’s EvoTech is all about the here and now—technology meeting technique to create a whole new aesthetic. This look, called Sonic Curve is ideal for ethnic, textured hair. It creates a unique style that showcases three rippled elements at the top of a half done ‘do. The ideal length should be no longer than above mid-back. The best color is dark, treated with Sapphire Blue Cellophanes. The ideal texture is relaxed, not kinky. Here’s how to create this futuristic look on your clients.
Who did it:
Global Art Directors: Michael Polsinelli and Shay Dempsey
For more information visit www.sebastianprofessional.com.
Subscribe to behindthechair.com
On Paper Magazine! SUBSCRIBE NOW!
Who did it:
Global Art Directors: Michael Polsinelli and Shay Dempsey
For more information visit www.sebastianprofessional.com.
Subscribe to behindthechair.com
On Paper Magazine! SUBSCRIBE NOW!
HOW-TO STEPS
-
1 After the hair was blow-dried straight, the roots of the hair were bent at the top using small flat irons and Sebastian Professional Re-Shaper.
-
2 A horizontal parting was then taken 1½ inches away from the front hairline. The cylindrical form was then placed on the parting and pinned securely in place.
-
3
The roots of the first section were gently back-brushed, placed over the form and fixed in place using the Cinching Technique.
-
4 The same technique was repeated to build two more shapes on the top, placed on after the other.
-
5 The look was finished by creating texture at the back: Sebastian Professional Texture Maker was sprayed to the roots and blow-dried, before the hair was gently back-brushed and defined by hand. Sebastian Professional Re-Shaper was used to fix the movement.
-
TRENDING NOW!
-
BTC Hair Trend Report
The Biggest Haircut Trends of 2024
-
The 2025 Pantone Color of the Year is Mocha Mousse—Here's What it Means for Hair
-
Copper
What Is The "Cowboy Copper" Hair Trend? Here's What It Really Means...
-
BTC Hair Trend Report
Quiet Luxury Blonde: The "Old Money" Trend Explained
-
Blonde
The Biggest Hair Color Trends of 2024
-
Blonde
5 Key Tips & Toning Formulas to Make Blondes Look “Expensive”
-
Haircuts
SHAG 101: The Dos And Don'ts
-
Brunette
2 Rich Mocha Brunette Color Formulas