
Short Multi-Tonal Brunette Cut and Color from Pivot Point

Advertisement
Advertisement
Advertisement
Short Multi-Tonal Brunette Cut and Color from Pivot Point
HOW-TO STEPS 
-
 1
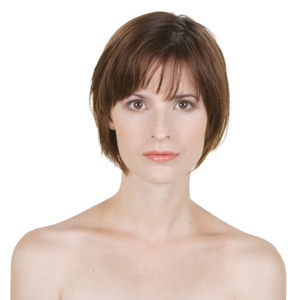
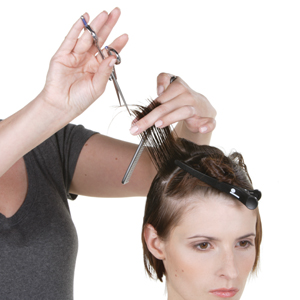
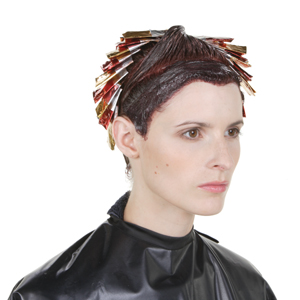
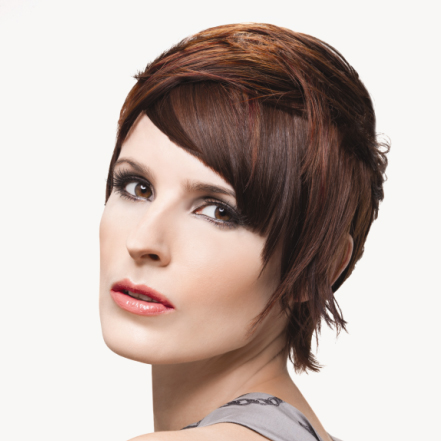
1Dawn’s hair has grown out from a previous shorter hairstyle. She would like a fresher, shorter style that offers versatile, textural movement.
-
 2
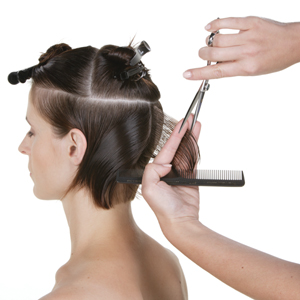
2Part vertically in the center back, distribute and project at a high angle. Position your fingers along a high angle and sculpt parallel. Work toward the left to the middle of the ear. Then work from the center back toward the right with the same technique.
-
 3
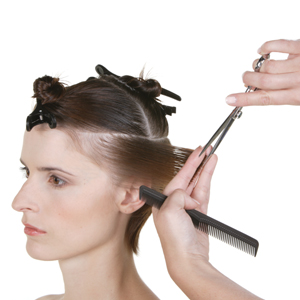
3Move to the left side section. Use diagonal-forward partings and converge to a stationary design line at the middle of the ear. Repeat on the right side.
-
 4
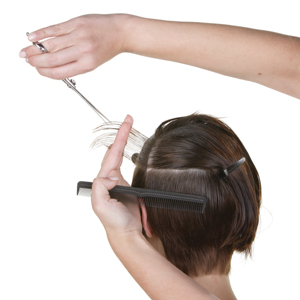
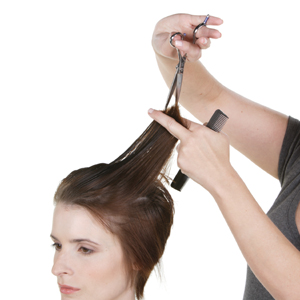
4In the crown take a pivotal parting from the left, adjacent to the sectioning line. Project at 90°, position your fingers for a length increase toward the right and notch.
-
 5
5Near the end of the first parting only, adjust your fingers to connect to the longer lengths from the right exterior.
-
 6
6In the front interior, part parallel to the sectioning line. Establish a stationary design line, which increases in length from right to left. Converge all lengths back to the stationary design line and notch.
-
 7
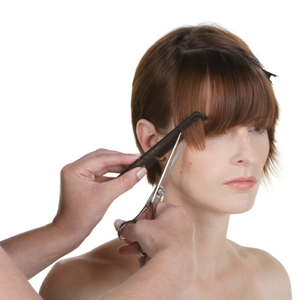
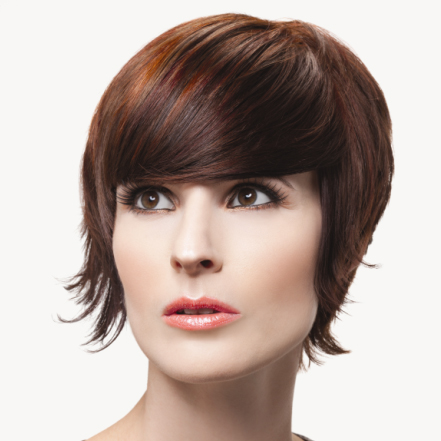
7Dry the hair, then take a diagonal parting extending from the right side across the fringe to the middle of the left eye. Notch an asymmetrical curved line using natural distribution and comb control.
-
 8
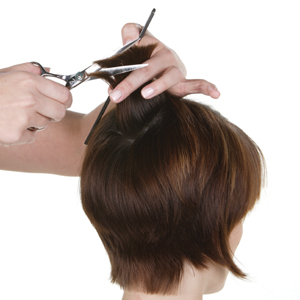
8In the crown, use wide pivotal partings, part approximately 90° and point cut. Work from the center to either side.
-
 9
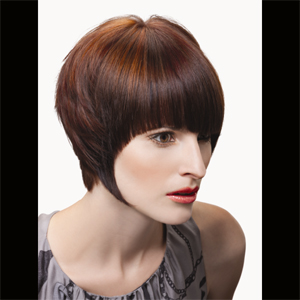
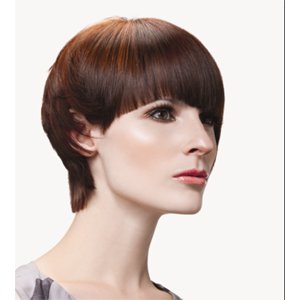
9Alternate level 7, copper and level 6, red colors within an off-center, eye-shaped section. Apply level 5, copper brown to the back and to a crescent-shaped section behind the fringe. Apply level 4, red-violet brown to the remaining lengths. Process, rinse, shampoo and condition prior to styling.
-
 10
10 -
 11
11 -
 12
12 -
 13
13Want more Pivot Point? Check out the step-by-step for Carlijn, a long, layered cut and style!
Credits
Artist | Robin Hain | Pivot Point International
Makeup | Rue Dufkis | www.ruegeinc.com
Fashion Stylist | Isaac King | kingfashion71@gmail.com
Jewelry/Accessories | Rossi Cole | www.jewelsbyrossi.com
Fashion Photographer | John Gress | www.johngress.com
Senior Photographer/Videographer | David Placek
YOU MIGHT LIKE THIS
-
Brunette

Color Correction: Brassy to Ashy
-
Hair
Long and Layered Men’s Cut from Pivot Point
-
Hair
Futuristic Layered Cut and Color from Pivot Point International
-
Hair
Pivot Point International “Carlijn”
-
Hair
Pivot Point International “Lauren” Mini-Tech
TRENDING NOW!
-
Hair Color
WWYD: How To Stop Your 6N From Turning Orange
-
Glossing/ Toning
How To Achieve "Glass Hair": Smart Hacks From Hairdressers
-
BTC Hair Trend Report
The Biggest Haircut Trends of 2024
-
Bobs
How to Avoid a Bulky Bob: 4 Techniques To Try
-
BTC Hair Trend Report
WWYD: How Hairstylists Are Navigating Inflation
-
Curly
Long Layers: 10 Pro Tips + Common Cutting Mistakes
-
Copper
What Is The "Cowboy Copper" Hair Trend? Here's What It Really Means...
-
Blonde
Conditioner Before Toner: Common Hair Myth Debunked

