Last updated: May 01, 2019
Larisa Love’s Dip Dye Technique
VIEW ALL PHOTOS
VIEW SLIDESHOW
GET THE HOW-TO
Show Steps
1
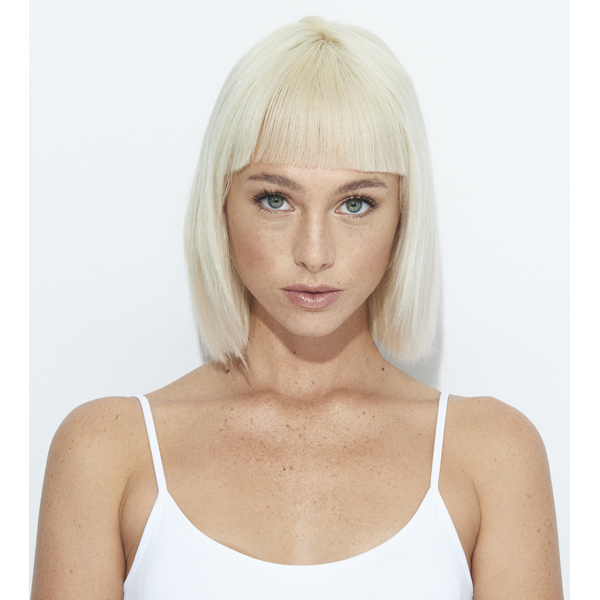
Before // This model had previously colored Level 5 hair, which Larisa then prelightened to a Level 11. Keep scrolling for her process!
Show Steps
2
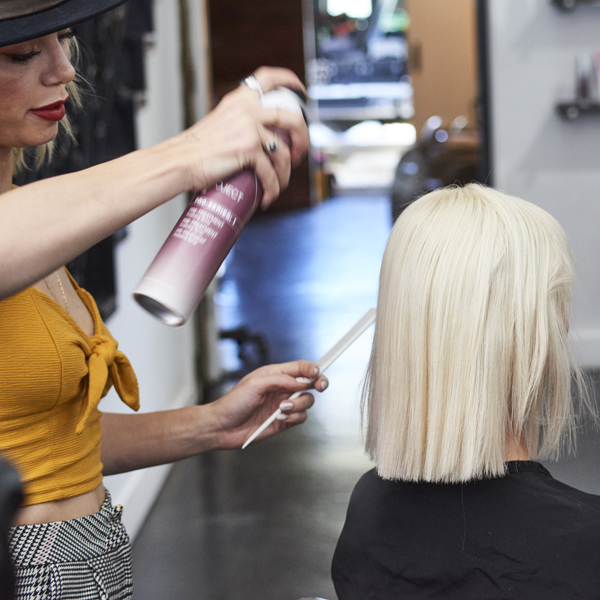
Working with 2-inch sections, prep the entire head with Joico Defy Damage Pro Series 1: Bond-Protecting Color Optimizer. Then, prelighten the hair by applying Formula A and let process until she reaches a Level 11 or a pale yellow tone.
Show Steps
3
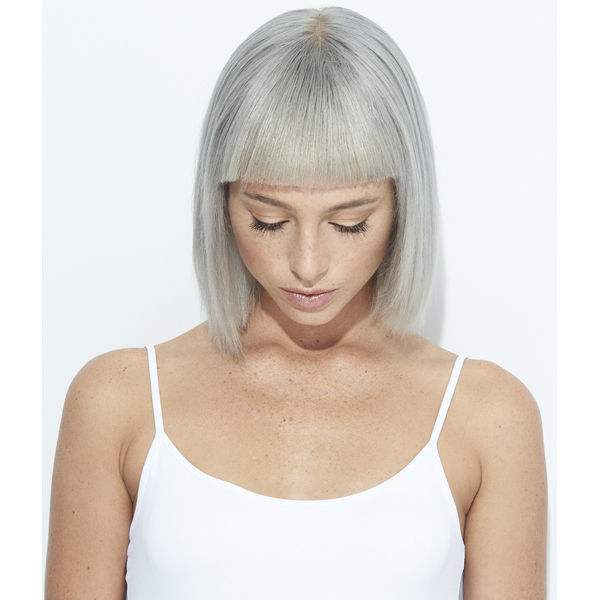
Shampoo, condition and dry the hair. Then, tone by applying Formula B from roots to ends and process for 3 minutes or until a silver tone is achieved.
Pro Tip: To ensure the "Love Dip" looks as perfect and as graphic as possible, be sure to flat iron the hair first before applying any color.
Show Steps
5
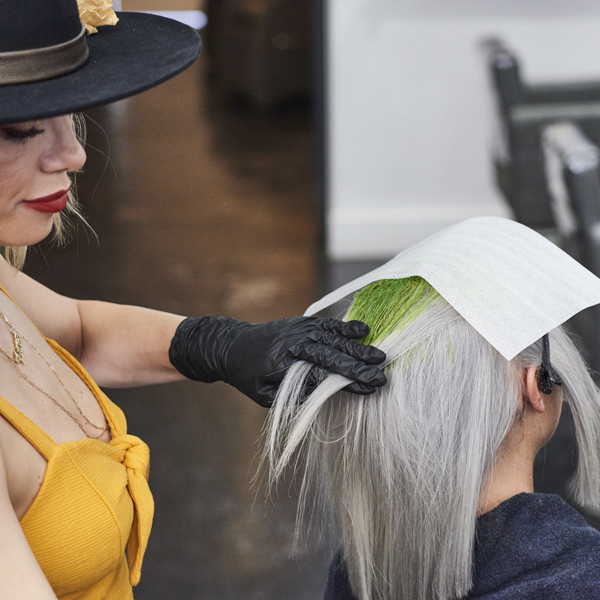
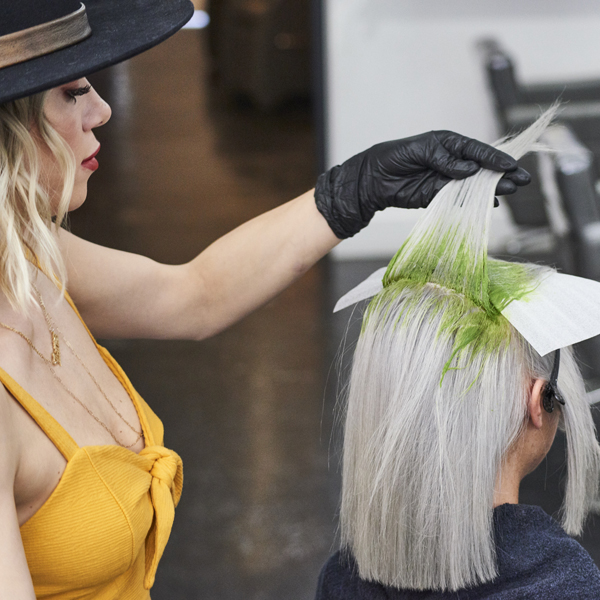
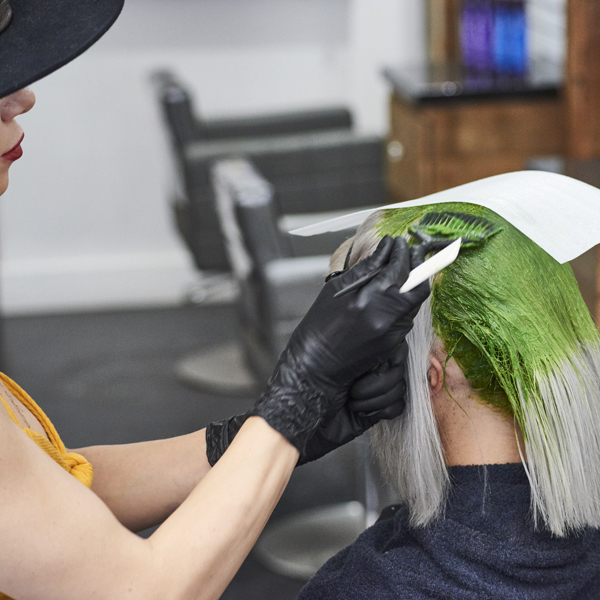
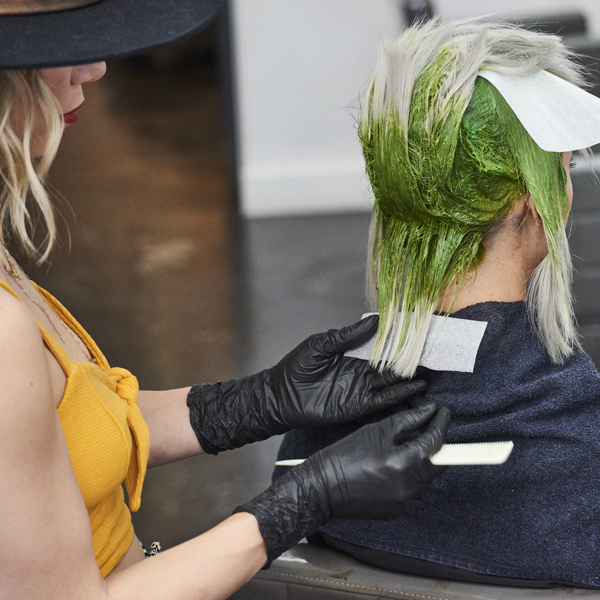
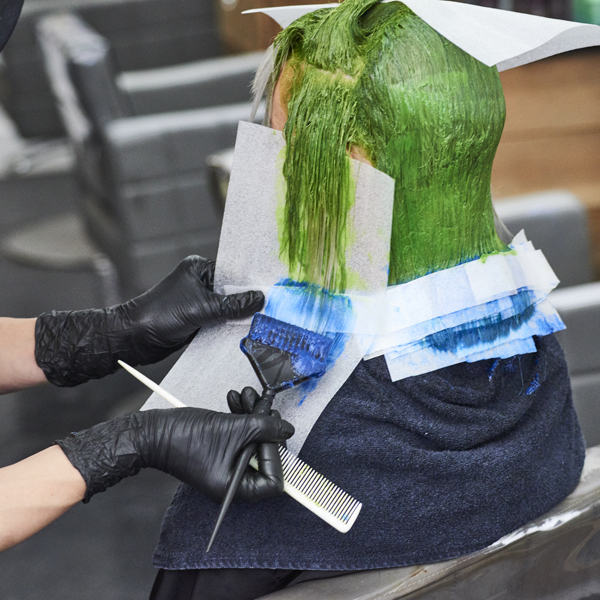
Next, divide the hair into four sections, clip the fringe (if she has any) out of the way and lay meche at the hairline to prevent color from bleeding or transferring to the other sections. Then, starting in the back, take a ½-inch horizontal slice and apply Formula C from the scalp to about halfway down the slice, creating a teardrop shadow root.
Show Steps
6
Continue applying Formula C to the back section, fully saturating the top and bottom of each parting.
Show Steps
7
Next, move to the front side sections and use the same technique to continue applying Formula C.
Note: Remember to lay a new meche over the top parting area to prevent any color transfer.
Show Steps
8
Repeat on the other side of the head.
Show Steps
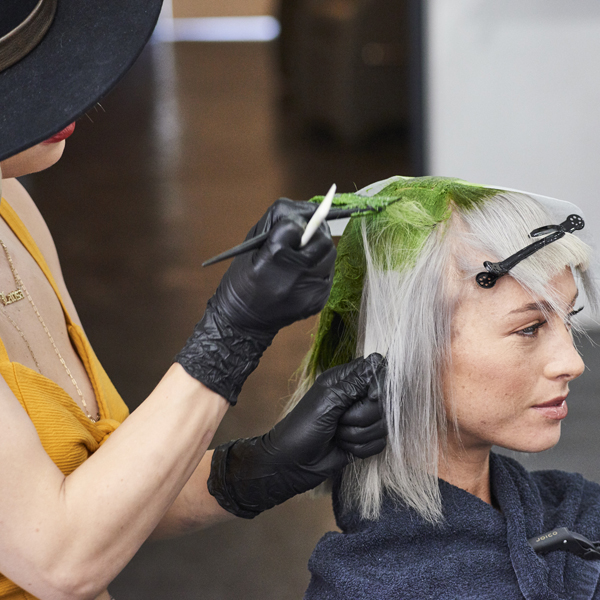
Moving on to the fringe, slice finer partings and apply Formula C from the scalp to about halfway down. Work from the top of the section down toward the hairline for maximum control.
Show Steps
10
Move to the back and lay a fresh meche over the previously colored hair.
Show Steps
11
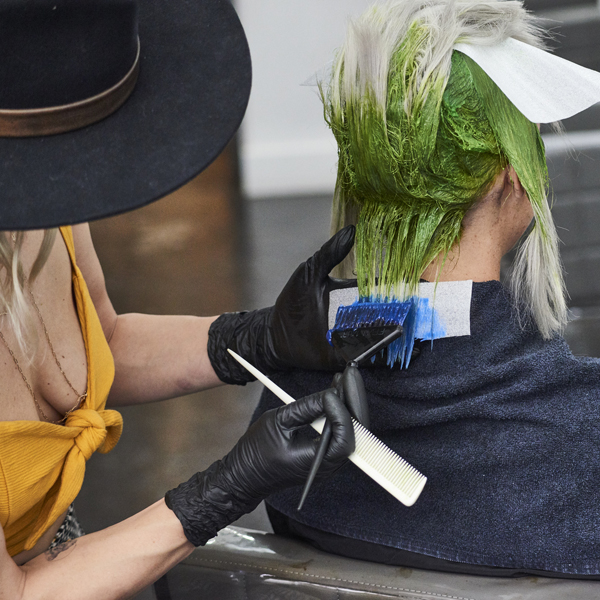
Take a 1-inch horizontal slice parting from the back nape area and place a pre-cut 2-inch rectangular meche strip as a guide to create a precise line. Then, apply Formula D to the bottom 2 inches of hair. Be sure to fully saturate the thin section.
Pro Tip: To prevent Formulas C and D from bleeding together, place another pre-cut meche strip over where Formula D was just applied.
Show Steps
12
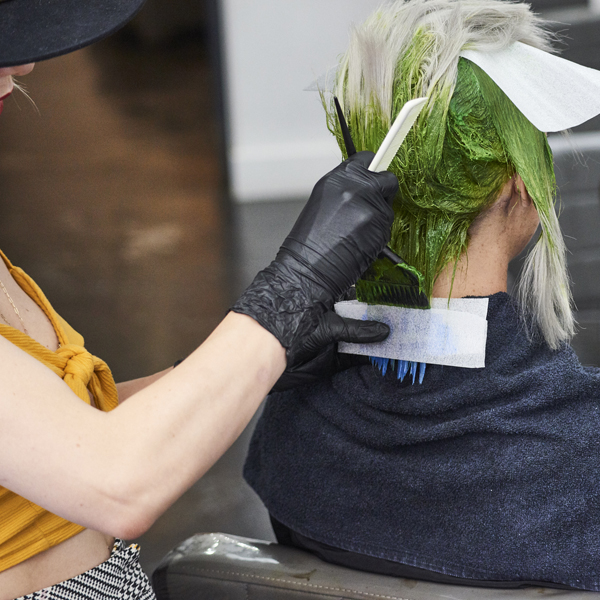
Next, apply a little more of Formula C directly above where Formula D was just applied. "I use the tip of my brush and carefully apply it in an upward motion to keep my lines straight," advises Larisa.
Note: Doing this ensures maximum saturation AND that the two colors are applied in a precise color blocking method.
Show Steps
13
Continue working up the head in 1-inch partings with Formula D on the ends and touching up Formula C directly above it, ensuring the top and bottom of each parting is fully saturated.
Show Steps
14
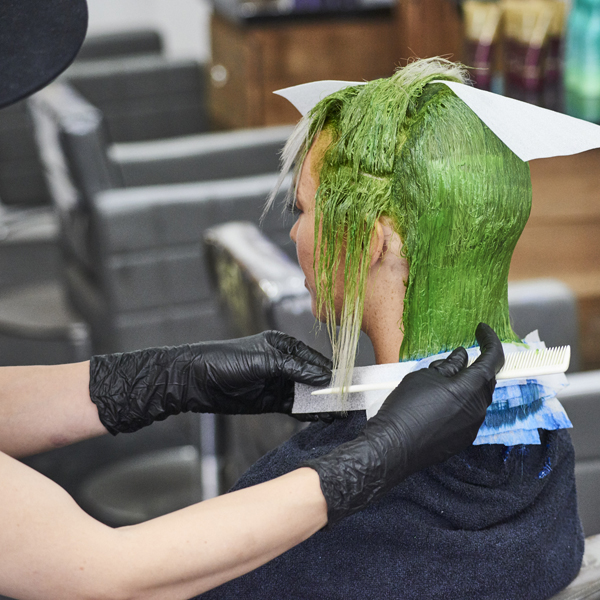
Move to the side sections and use the same technique that was used in the back, working with thin, horizontal sections from the bottom to the top. Lay a new meche at the top of the section to maintain a clean working area and use a longer meche along the side of the face to keep color off the client's skin.
Show Steps
15
Continue this application method until each section is complete.
Show Steps
16
For the fringe, place meche against the hairline, take a horizontal slice parting and apply Formula D to the ends. "Since the hair is shorter here, I only take the color up a ½ inch," shares Larisa.
Show Steps
17
Repeat this process until the fringe area is complete and let everything process for 20 minutes. Then, rinse the hair thoroughly and shampoo with Joico Defy Damage Protective Shampoo.
Show Steps
18
Apply Joico Defy Damage ProSeries 2 Bond-Strengthening Color Treatment all over the hair and then let sit for 5 minutes before rinsing. Then, apply Joico Defy Damage Protective Shield, focusing on the midlengths and ends, then blow-dry and style as desired.
Show Steps
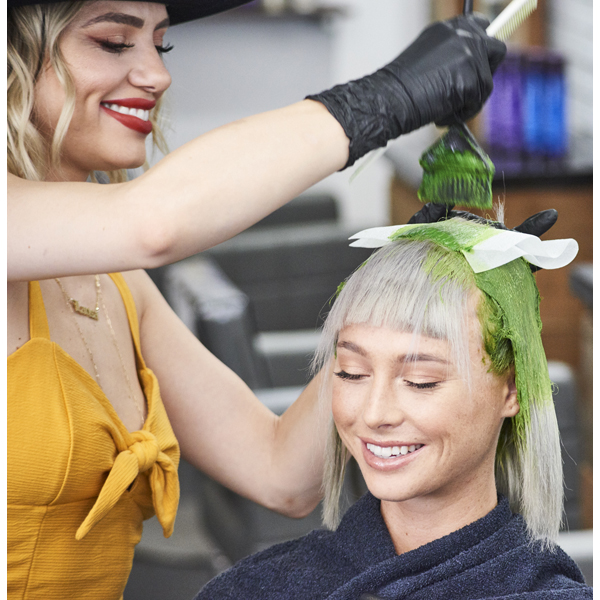
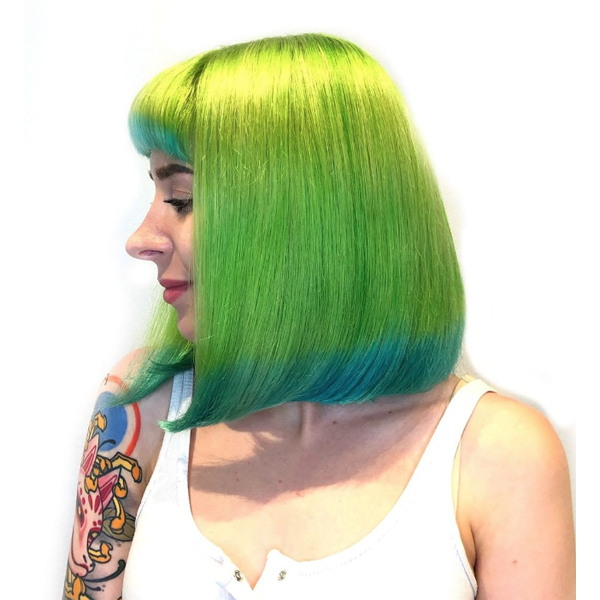
Finished look // This was an after shot from when Larisa recreated the look for a Facebook Live with Joico and Cosmoprof.
Larisa Love’s Dip Dye Technique
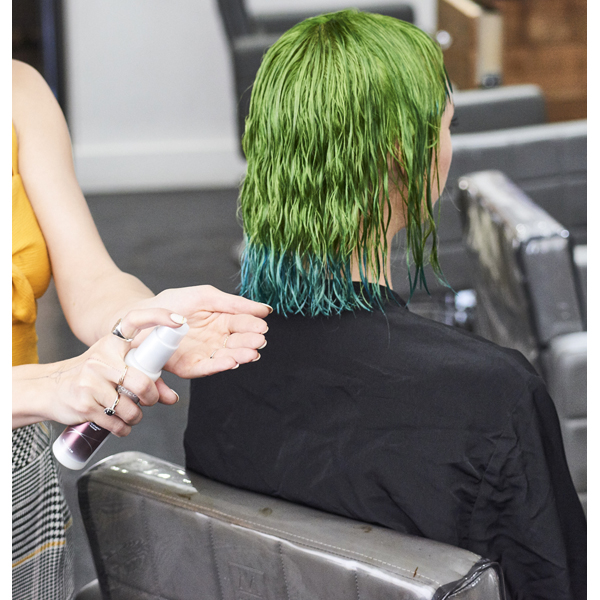
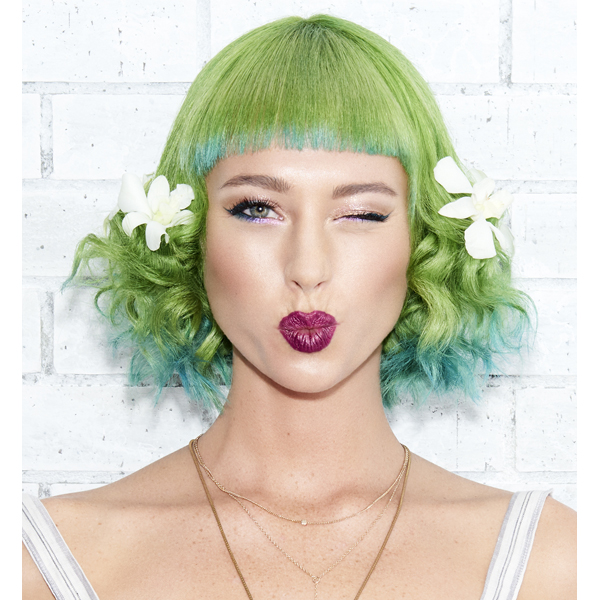
Spring is in the hair and its got some clients wanting to ditch dark, muted hues for vibrant pastel blends! And you can seamlessly fuse two fashion colors together—like blue and green—without the bleeding and color transfer using Joico Brand Ambassador Larisa Love’s (@larisadoll) signature dip dye technique, “Love Dip.” Keep scrolling to find out her formulas, which include the new Color Intensity LoveFest Collection, AND to get a step-by-step breakdown that details how to keep the colors separated and the key to a precise dip dye line.
HOW-TO STEPS
-
1
Before // This model had previously colored Level 5 hair, which Larisa then prelightened to a Level 11. Keep scrolling for her process!
-
2
Working with 2-inch sections, prep the entire head with Joico Defy Damage Pro Series 1: Bond-Protecting Color Optimizer. Then, prelighten the hair by applying Formula A and let process until she reaches a Level 11 or a pale yellow tone.
-
3
Shampoo, condition and dry the hair. Then, tone by applying Formula B from roots to ends and process for 3 minutes or until a silver tone is achieved.
Pro Tip: To ensure the “Love Dip” looks as perfect and as graphic as possible, be sure to flat iron the hair first before applying any color.
-
-
4
Next, divide the hair into four sections, clip the fringe (if she has any) out of the way and lay meche at the hairline to prevent color from bleeding or transferring to the other sections. Then, starting in the back, take a ½-inch horizontal slice and apply Formula C from the scalp to about halfway down the slice, creating a teardrop shadow root.
-
5
Continue applying Formula C to the back section, fully saturating the top and bottom of each parting.
-
6
Next, move to the front side sections and use the same technique to continue applying Formula C.
Note: Remember to lay a new meche over the top parting area to prevent any color transfer.
-
7
Repeat on the other side of the head.
-
8
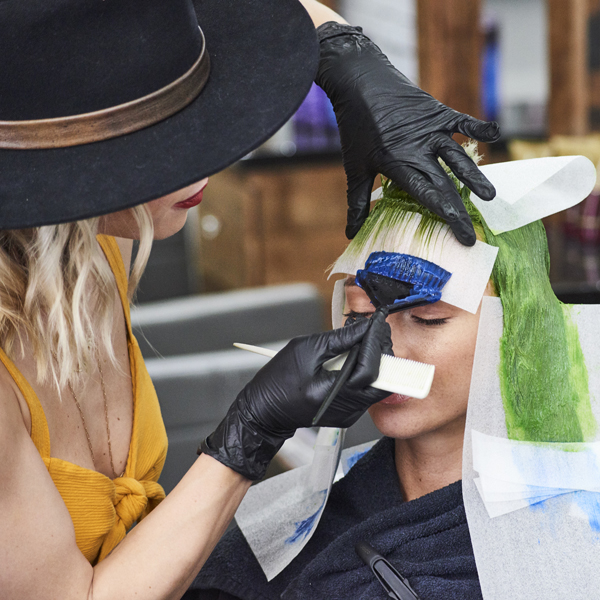
Moving on to the fringe, slice finer partings and apply Formula C from the scalp to about halfway down. Work from the top of the section down toward the hairline for maximum control.
-
9
Move to the back and lay a fresh meche over the previously colored hair.
-
10
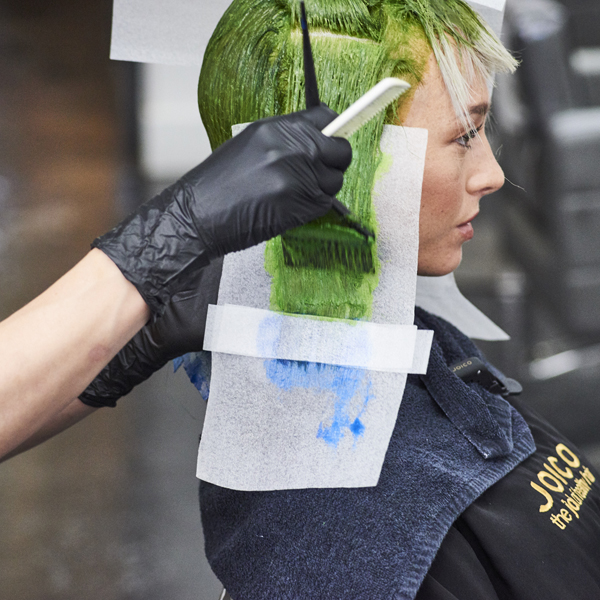
Take a 1-inch horizontal slice parting from the back nape area and place a pre-cut 2-inch rectangular meche strip as a guide to create a precise line. Then, apply Formula D to the bottom 2 inches of hair. Be sure to fully saturate the thin section.
Pro Tip: To prevent Formulas C and D from bleeding together, place another pre-cut meche strip over where Formula D was just applied.
-
11
Next, apply a little more of Formula C directly above where Formula D was just applied. “I use the tip of my brush and carefully apply it in an upward motion to keep my lines straight,” advises Larisa.
Note: Doing this ensures maximum saturation AND that the two colors are applied in a precise color blocking method.
-
12
Continue working up the head in 1-inch partings with Formula D on the ends and touching up Formula C directly above it, ensuring the top and bottom of each parting is fully saturated.
-
13
Move to the side sections and use the same technique that was used in the back, working with thin, horizontal sections from the bottom to the top. Lay a new meche at the top of the section to maintain a clean working area and use a longer meche along the side of the face to keep color off the client’s skin.
-
14
Continue this application method until each section is complete.
-
15
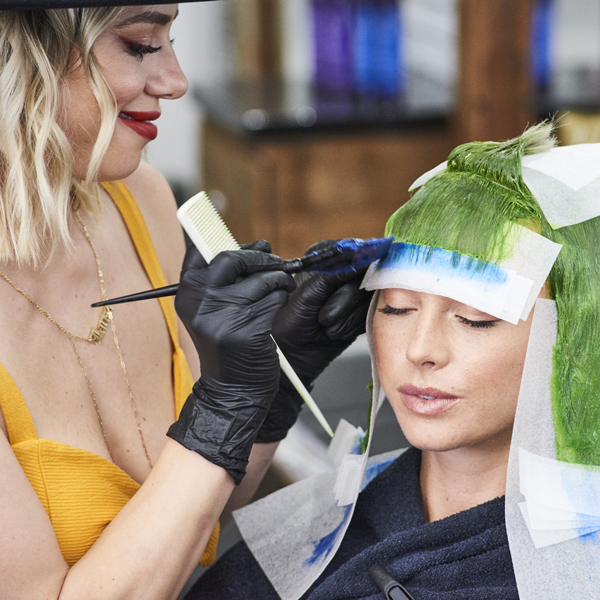
For the fringe, place meche against the hairline, take a horizontal slice parting and apply Formula D to the ends. “Since the hair is shorter here, I only take the color up a ½ inch,” shares Larisa.
-
16
Repeat this process until the fringe area is complete and let everything process for 20 minutes. Then, rinse the hair thoroughly and shampoo with Joico Defy Damage Protective Shampoo.
-
17
Apply Joico Defy Damage ProSeries 2 Bond-Strengthening Color Treatment all over the hair and then let sit for 5 minutes before rinsing. Then, apply Joico Defy Damage Protective Shield, focusing on the midlengths and ends, then blow-dry and style as desired.
-
-
19
Finished look // This was an after shot from when Larisa recreated the look for a Facebook Live with Joico and Cosmoprof.