
Photo Credit: Instagram via @rachelwstylist
Formulas
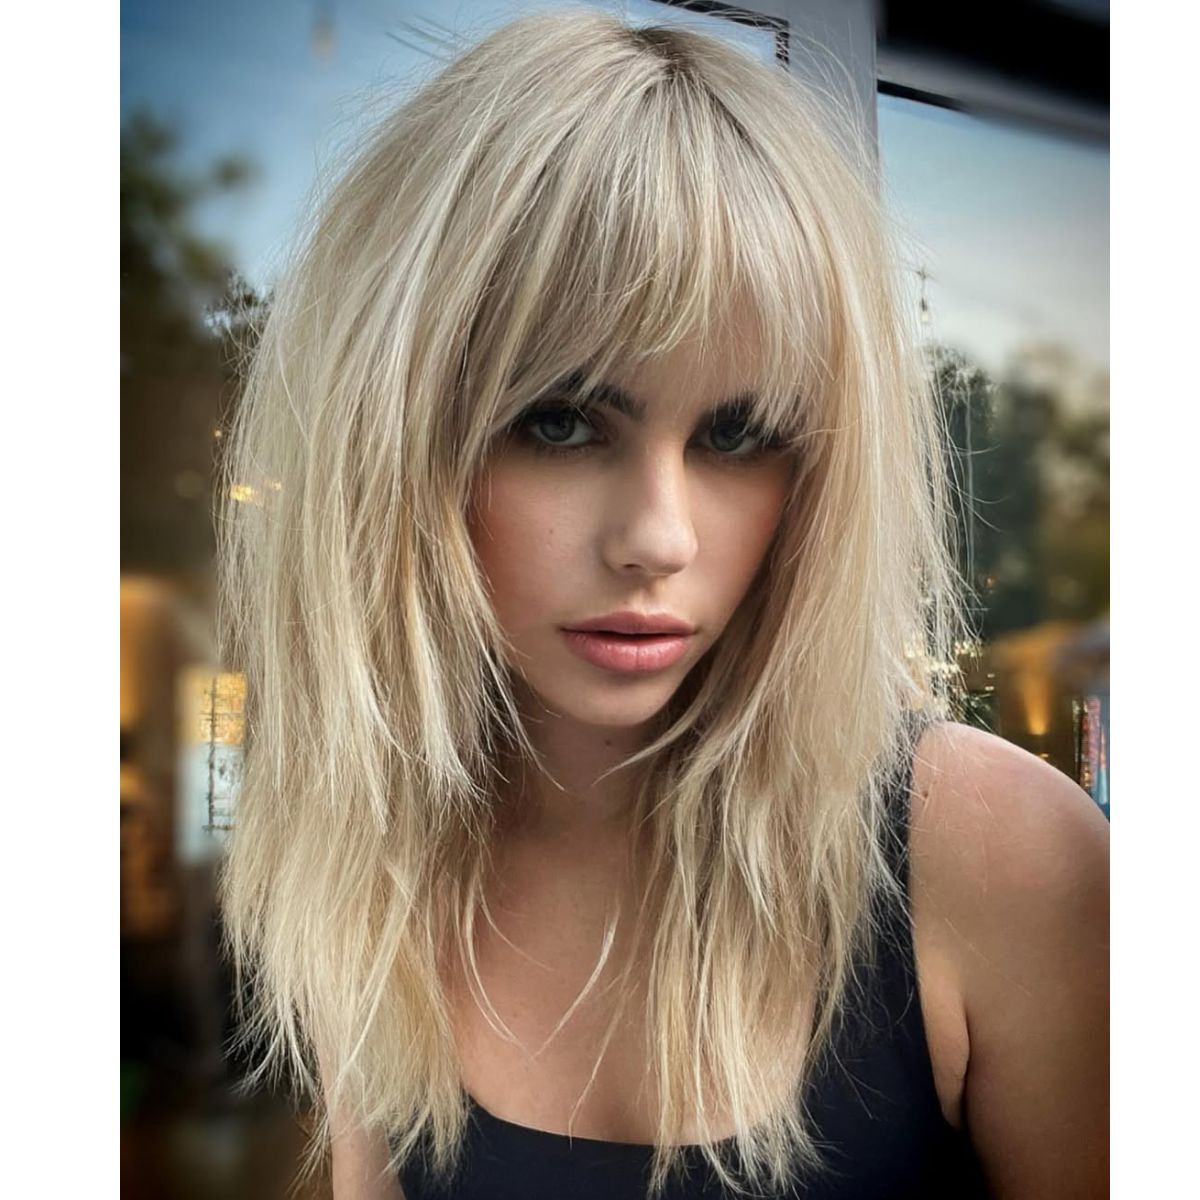
Shag Haircut Mistakes: How to Maintain Balance, Movement & Shape
Common Shag Haircut Mistakes & How to Fix Them If you struggle to keep a shag haircut from veering into mullet territory, you’re not alone. The balance between effortless texture and unwanted disconnection can be tricky. That’s why we hit up Rachel Williams (@rachelwstylist), Moroccanoil® Global Ambassador, ARC™ Scissors Artistic Team Member and expert in all things shags and dry detailing, for the mistakes she sees most (and how to fix them). [btc-img id="784475"] Mistake #1: Over-Layering the Crown Leaving the back too long disconnects the shape, creating a mullet effect. This often happens when the crown...
Keep reading for free
Create a free account or sign in to continue
Use the same email and password across behindthechair.com, BTC-U, oneshothairawards.com, and Who Does Your Hair — one set of credentials, every site.
OR
We'll check if you have an account, or create one if you don't.
To save this article, create a free account or sign in.
Join BehindTheChair
Access the industry’s #1 source for hair trends, education and community now.
OR
We'll check if you have an account, or create one if you don't.


")


