
Holographic Hair How-To: Tips & Techniques

What Placement To Use, How To Section and Achieve The Holographic Effect Clients Want
Did you think holographic everything was a thing of the past? Think again because this iridescent pattern is back in a big way and bold clients everywhere are here 👏🏼 for 👏🏼 it 👏🏼! Watch the quickie technique video to see how the mesmerizing process is done, then keep reading for BTC Team Member Kristina Cheeseman (@kristinacheeseman)’s biggest tips and takeaways.
Holographic Hair Technique Deets
1. The “Magneto” Placement Technique
Kristina follows her “magneto” technique meaning she literally layers color on top of color to create a magnetic-like application where uncolored hair will stick to colored hair. To create a magic eye effect instead, bring the hair all the way to the side they part their hair and apply your color on top of color in that direction. It’s tedious but worth it!
2. Sectioning
Start with multiple quadrants, then take subsections that are small and thin enough to read a newspaper through. For a magic eye effect, paint the holographic effect on the top horseshoe section only with a fun color underneath.
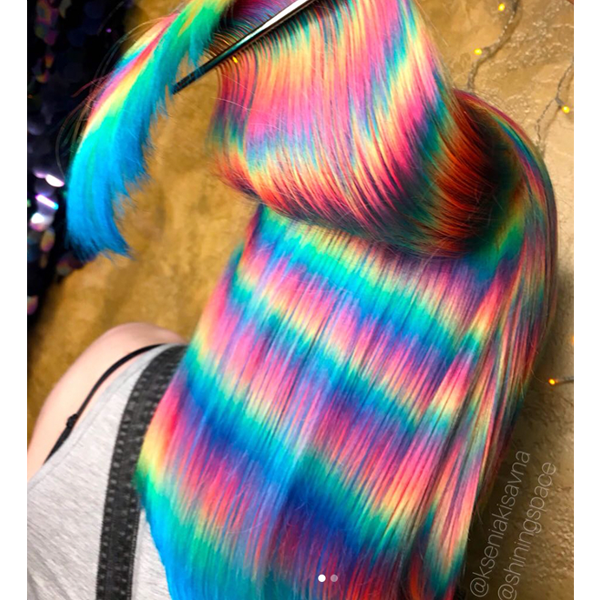
3. How To Achieve That Holographic Effect
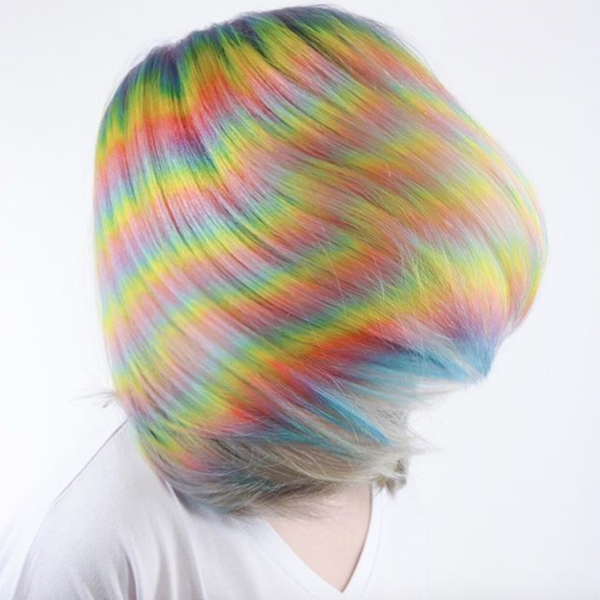
The secret is overdirecting to the opposite side. That way, when bringing the hair back down to lay in its natural position, the colors are in slightly different spots on the head and are perfectly broken up to create that iridescent illusion.
4. Choosing Colors
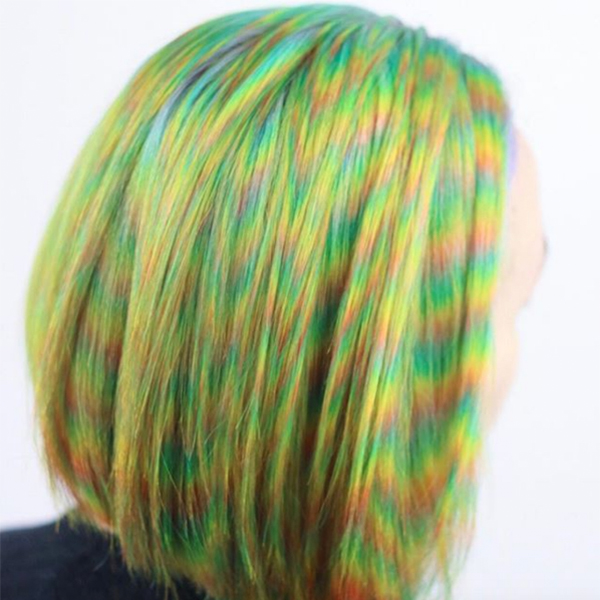
Keep it simple and stick to primary colors like red, yellow and blue to create a rainbow effect. Want to add another color? Krsitina says she likes to add a purple hue when she can because it pops off the rainbow.
Note: To avoid tainting the color bowls, keep your brushes clean as you work and keep a damp towel nearby for wiping off your hands.
5. Timing & Pricing
- Creating holographic hair takes time. Painting the whole head takes Kristina about six hours so she recommends only working with a Mohawk section first to get the technique down.
- Your best bet is charge by the hour but be sure to talk to clients about their budget and the longevity of the color. “If a client was on a tighter budget, I would do more saturated colors (because this color fades out gorgeously) for longevity, and I would do a Mohawk section to save on time,” says Kristina.
Check out more holographic hair creations from Kristina below!
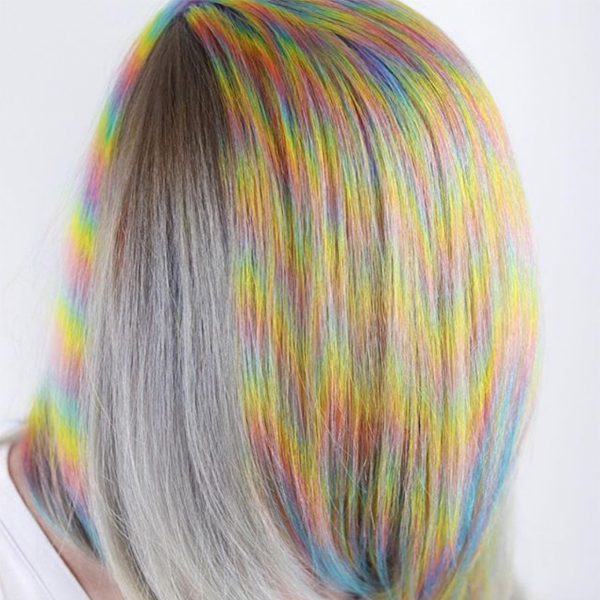
Click here to check out our holographic hair gallery for more inspo!
More from
Kristina Cheeseman
-
Business
How To Set Boundaries With Clients
-
Hair Color
5 Tips For Making Rainbow Haircolor More Wearable
-
Hair Color
Your Complete Guide To Pastel Haircolor
-
Salon Decor
Is It Time To Invest In A Standing Solution?
-
Business
Wasting Money In The Salon?! 💰 5 Problem Areas & Easy Solutions
-
Color Depositing
4 Ways To Safely Transition To & From Fashion Colors
-
Color Depositing
1 Way You Never Thought To Use Color-Depositing Shampoo
-
Hair Color
Fading Fashion Colors? Show This To Clients

