5 Tips To Paint The Hairline Like A Pro

How To Paint The Hairline For Brighter Blonde Blends
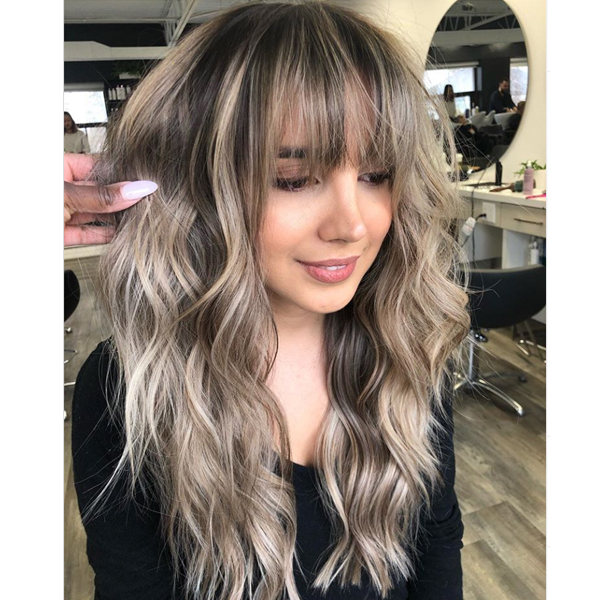
Hair Painting 101: Let’s talk about creating brightness where it counts—aka the face frame and hairline! We’re sharing foil placement strategies, fringe tips and how to avoid unwanted dark spots or spotty balayage around the hairline. Why? To help you maximize those blonding services ASAP. Keep scrollin’ to snag helpful cheats from blonding experts!
1. Babylights Roadmap For A Full-Foil Look
Use this placement by Chrissy Lotenero (@hairbychrissydanielle) to detail the hairline.
- Back-To-Back Babylights: Create more impact with 3 to 4 weaved babylights, depending on the client’s hair density. The only pieces left in between each foil should be the hair weaved out.
- Babylight Drop Sections: Marry the hairline into the back nape by dropping out three triangle sections (see diagram below.) This not only creates depth, but if you use this technique by itself while doing a partial, it will give the illusion of a full-foil look and a softer transition.
Pro Tip: Use the back hairline as the guide to connect the money piece. When the client sweeps their hair up into a ponytail, there won’t be any dark shadows—just brightness!
Check Out The Foil Placement Below!
View this post on Instagram

2. How To Create Brightness Where It Counts
Here’s a fast breakdown of how foil placement and teasing determines brightness around the face frame from Sharon Mudavanhu (@yogacolourist).
- For a punchier look with heavy brightness: Use back-to-back foils, slice and paint all the way to up to the tease. Use 2 to 3 slices depending on how much you want the face frame to stand out.
- To achieve a softer blend: Use a shallow tease on back-to-back slices. Where you start your backcomb—deep or shallow—will determine how high or low you will start creating brightness.
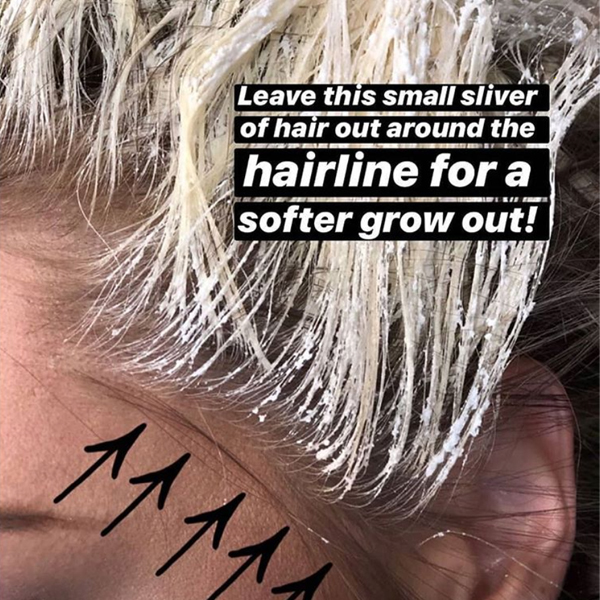
3. Hairline Hack To Prevent Harsh Lines
Avoid over-foiling around the face frame to prevent harsh outgrowth on platinum and bright blondes, suggests Mallory Galusha (@hair_by_mallory_). Here’s a trick—leave out fine strands around the hairline! This tiny detail work will soften out any harshness for a more seamless grow-out.
Peep This GENIUS Tip Below!
View this post on Instagram
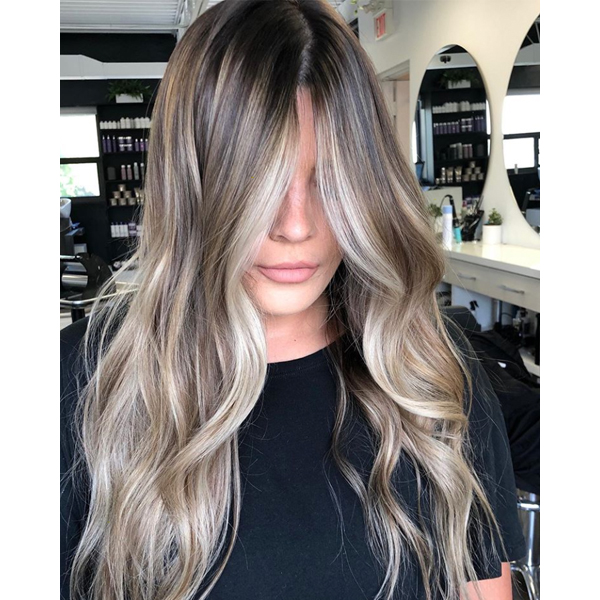
4. How To Prevent Dark Spots + Color Bleeding
Here’s how Amy Baugh (@hairbyamybee) avoids splotchy hairlines and unwanted dark spots.
- Prevent Color Bleeding: Make sure your lightener application is on the thicker side of each section—this will prevent it from bleeding through finer hairs which can create spots and lines.
- Don’t Skip This Step: If you only paint the sides, there will be a dark hole in the back/middle when the client pulls their hair up. Always paint the bottom of each section for better coverage.
The Result? A Perfectly Blended Hairline Like This!
View this post on Instagram
5. Painting The Face Frame With Fringe
Clients with fringe? Create more dimension by working in diagonal sections off of the natural part with a deeper tease—pushing the hair from the bottom-up. For more subtle dimension and less depth, use a shallow tease from 1/4 down the section-up. Paint the section in a V-shape and wrap in a foil, leaving out the hair in-between, says Sharon.