4 Ideas for Your Next Shag Cut
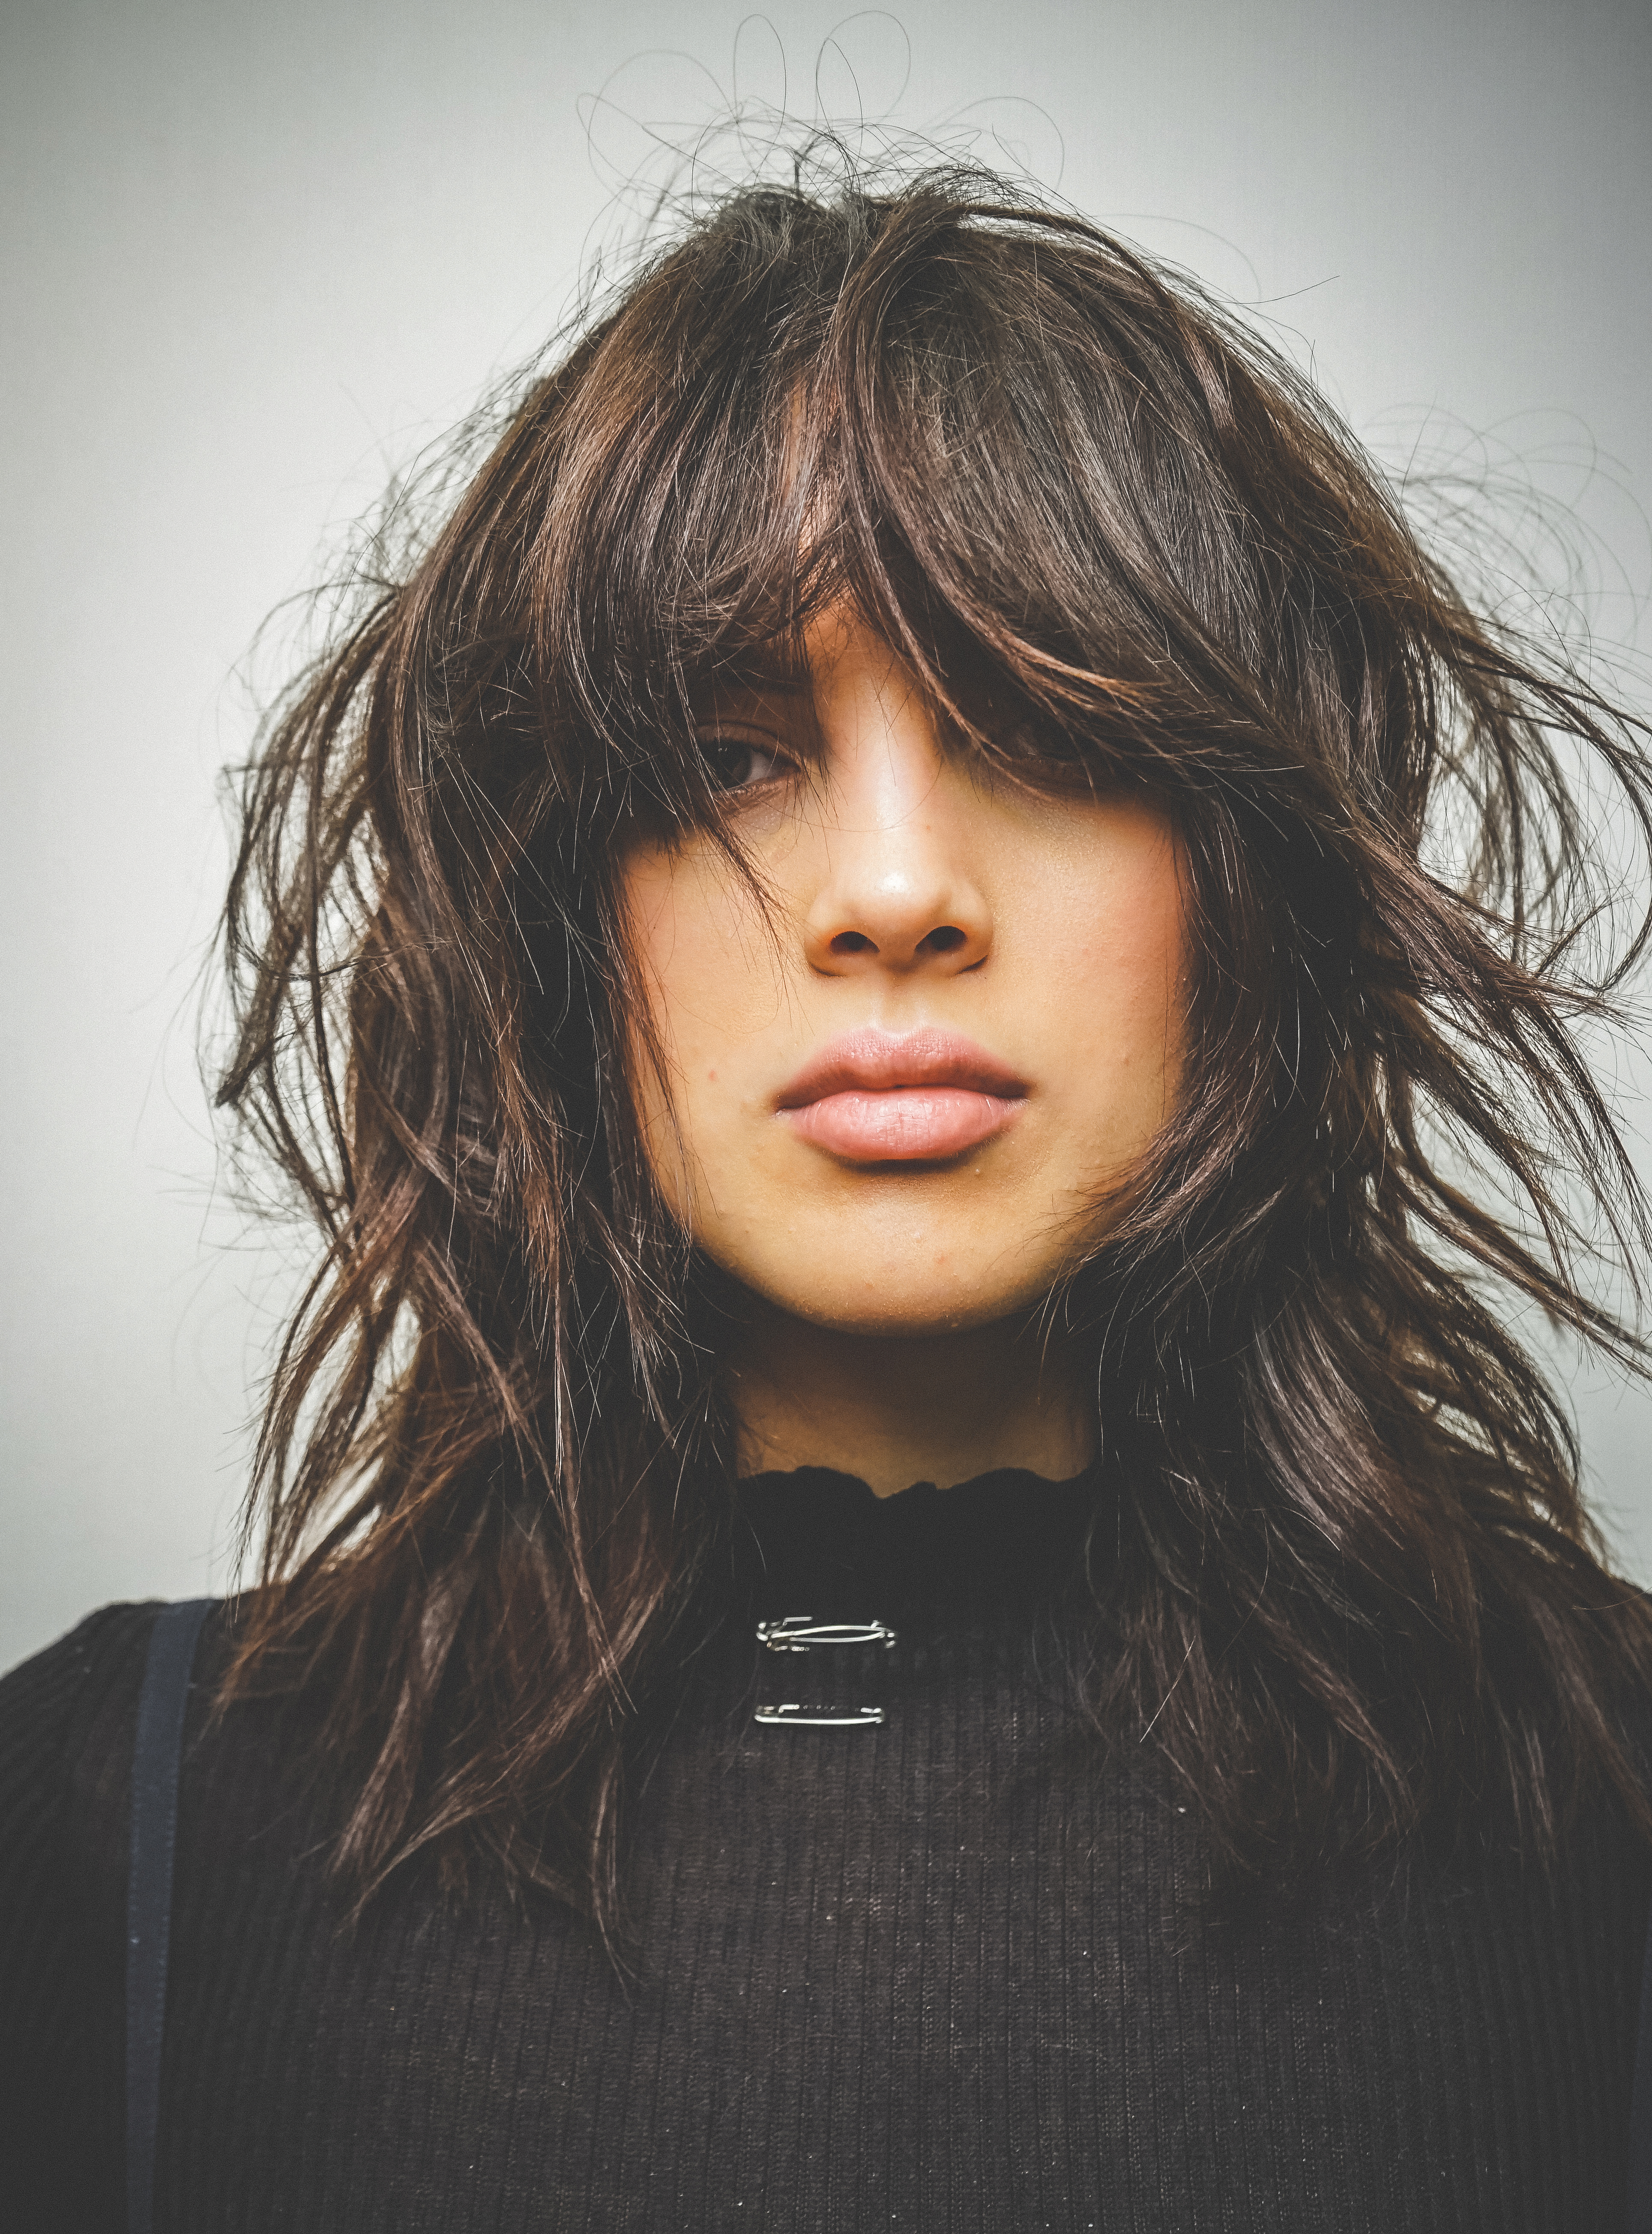

No matter the variation—long, short, curly, straight, with fringe or without—the shag is one of the sexiest and most versatile fashion staples—a veritable icon of cuts and styles. Keep your shags looking their best with these four tips from top shag experts.

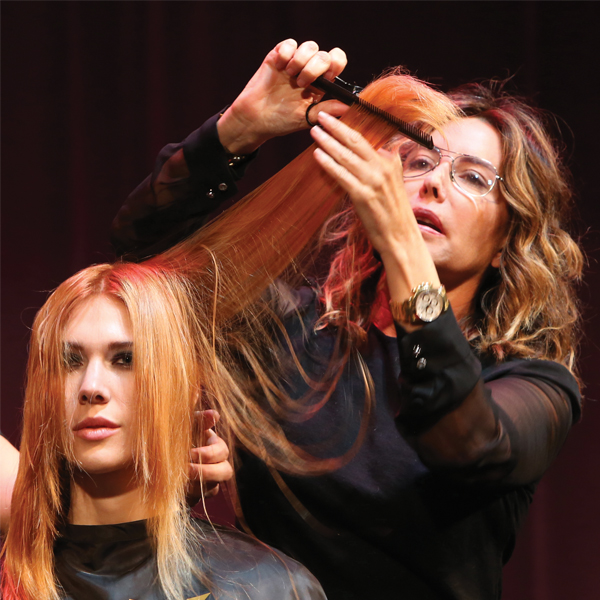
Try Sally’s Five-Section Shag
Sally Hershberger (@sallyhershberger) uses five sections for her famous shag cuts, and all of them are sectioned according to the shape of the head. “Imagine fitting a ball in a big square box so that the top of the ball is visible above the top of the box,” says Sally. “This means the top of the haircut in the crown is going to be rounded and everything below the parietal ridge and the back of the head will be held out square. Then, mix square layers all around the perimeter of the haircut and blend in the top round layers for a sexy vibe.”
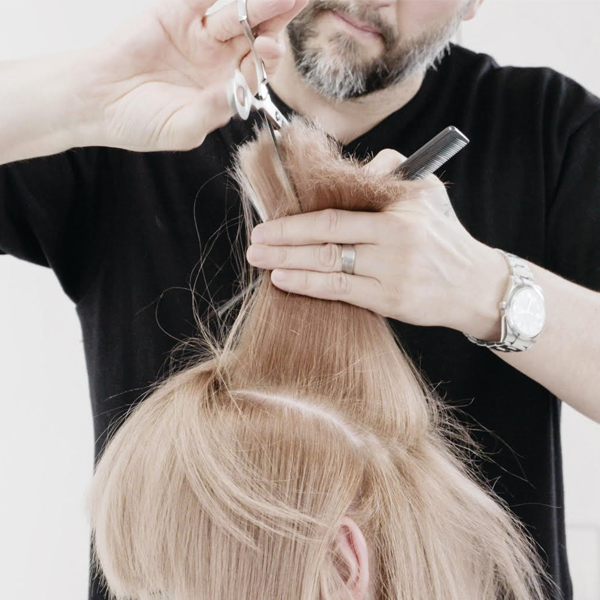
Begin Wet and Detail as it Dries
Particularly on curly hair, Sally and TIGI’s U.S. Session and Creative Director Thomas Osborn (@thomas.osborn) suggest:
- Starting the cut wet with shears, using very limited tension. This is because curly hair springs up when it dries.
- To keep tension loose while cutting, opt for a wide-tooth comb. Cutting wet also offers structure that can later be detailed or thinned with a razor.
Australian Hairdresser of the Year Frank Apostolopoulos (@frankapostolopoulos) uses the System Professional Hydrate Quenching Mist as a cutting lotion on wet hair so the treatment has time to take effect while he works—making it easier for his client to style.

Do It the Cali Way
Celeb stylist Dominick Serna (@domdomhair), known for the shag cuts he gives the Beverly Hills elite at Chris McMillan the Salon, uses this technique when creating his shags:
- Point-cut the perimeter.
- In the fringe area, part a triangle section from the outer corners of the eye, and point-cut in the middle of this section.
- Slide-cut the corners for a softer look.
- Cut horizontal layers.
Watch his whole process below.
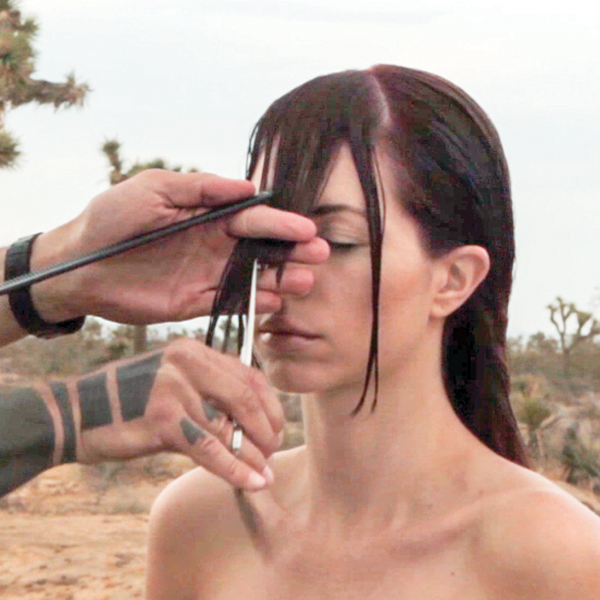
Make Your Fringe Move
To avoid a heavy fringe that doesn’t move, remove weight with a razor or add layers to the fringe. Keep the fringe below the brow on a longer face, Frank says. On wet hair, cut the fringe just below her nose. This will avoid your client’s face from looking even longer.