
Straight Shag

Advertisement
Advertisement
Advertisement
Straight Shag
HOW-TO STEPS 
-
 1
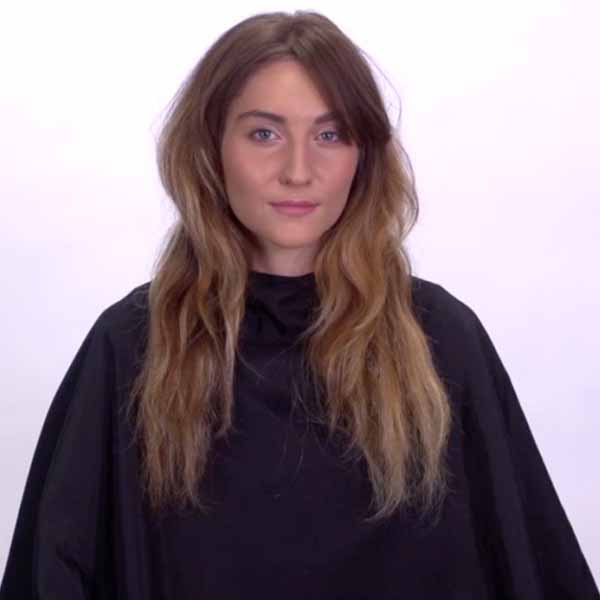
1Before
-
 2
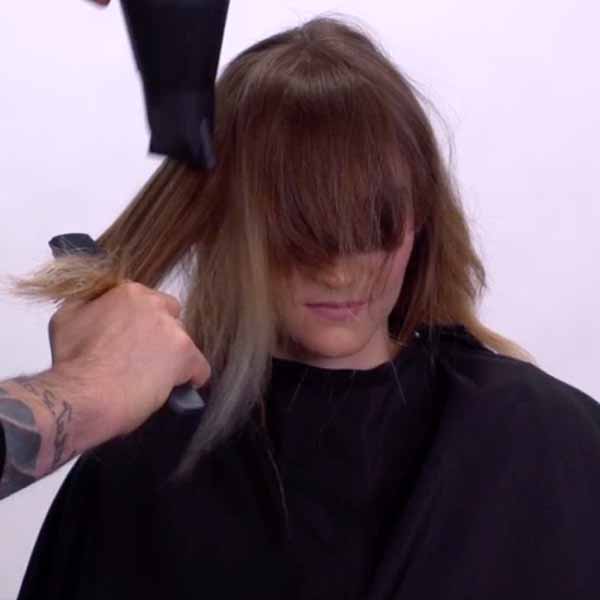
2Blow-dry the hair using the wrap dry technique. After smoothing it out with a brush, straighten it with a flat iron.
-
 3
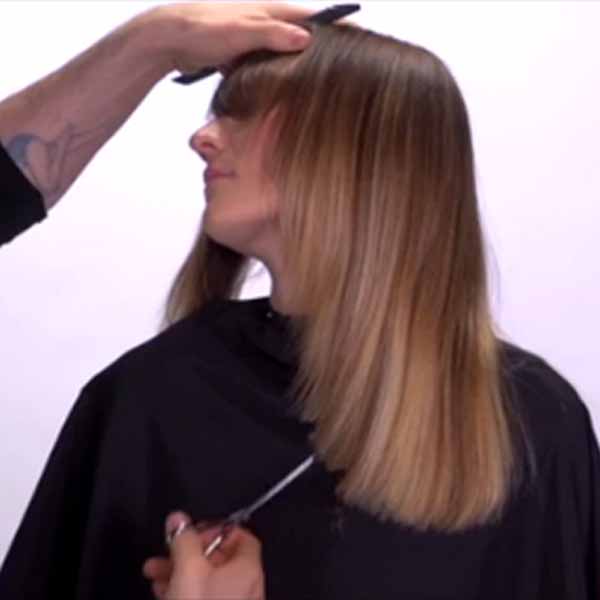
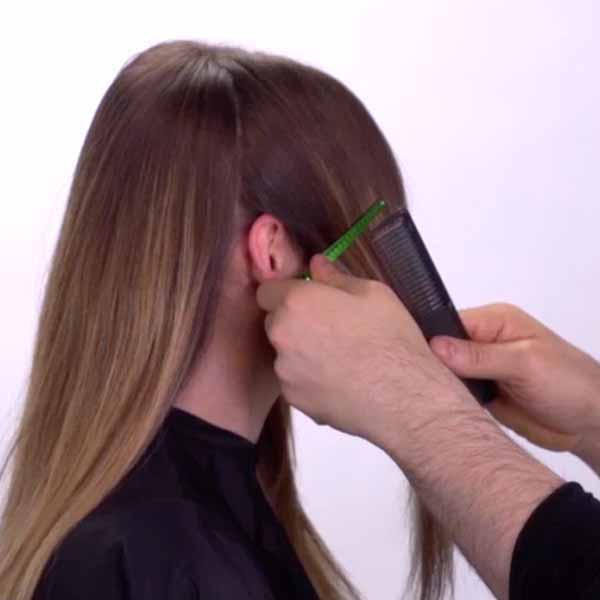
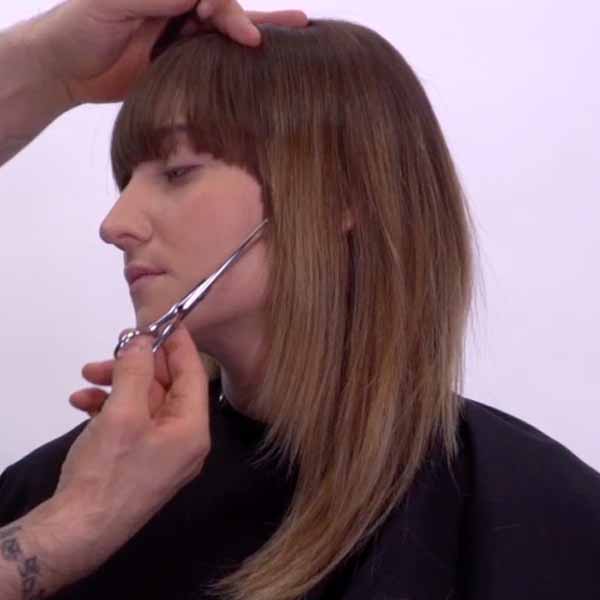
3Take a section from the top of the crown to behind the ears on both sides. Tilt the head forward and get rid of the perimeter line. Then, point-cut it to create a soft, finished line. Tilt the head back up to its normal position and continue to refine the line, continuing to point-cut.
-
 4
4To connect the back to the front, take the head and tilt it over with the chin up and back. Comb from the back section to the front, strengthening up the corner. Point-cut around, going from the back to the front and round out the corner. Lift up the hair and use the tips of the shears to soften up the line. Repeat on the other side.
-
 5
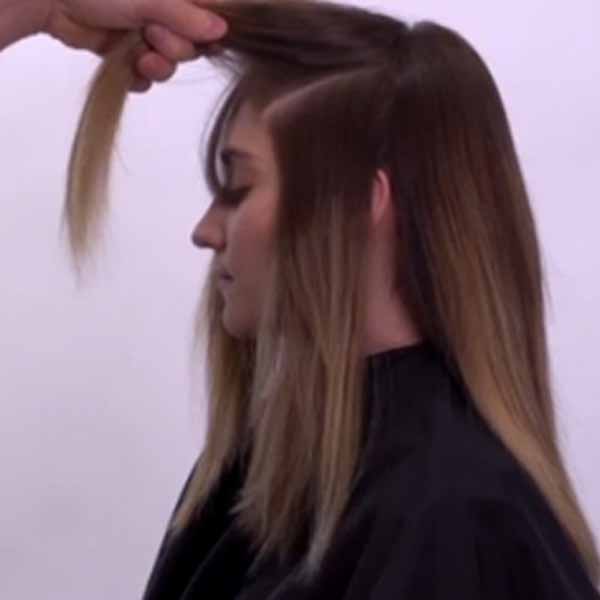
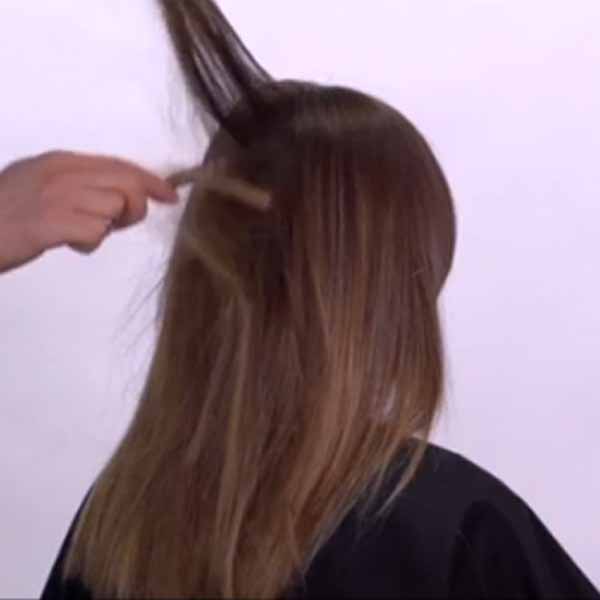
5Take another section from the top of the crown to behind the ear and clip the front away from the back. Take a vertical section down the center back and create strong, concave layers. Take vertical sections and aggressively remove some length, taking the layers a little shorter and removing the surface length. After finishing one side, continue moving vertically to the other side. Reverse the comb and pull the hair toward the body. Remove any initial length and drop the elevation as you cut.
-
 6
6Take a section at the parietal ridge, clipping the hair underneath and out of the way. Start to layer the top by connecting the back to the front. With the head tilted forward, take a vertical section down the center and a section from the back to use as a general guide. Connect the hair by opening and closing your shears. Create a concave, round layer all the way through the top.
-
 7
7Once the layers are completed, connect the top to the sides. Start to open up the angle around the face and take a diagonal section that mirrors the hairline to carve out very generally, connecting it to the existing fringe. On the other side, take a diagonal section and reverse the comb. Move the head back and drag the hair across (but not across the face.) Open up a face-framing angle by keeping the head away and the comb reversed, opening and closing the shears to carve it out.
-
 8
8Soften up the density by cutting the hair aggressively. Back-cut using your shears and then use your texturizing shears to work from the inside out.
-
 9
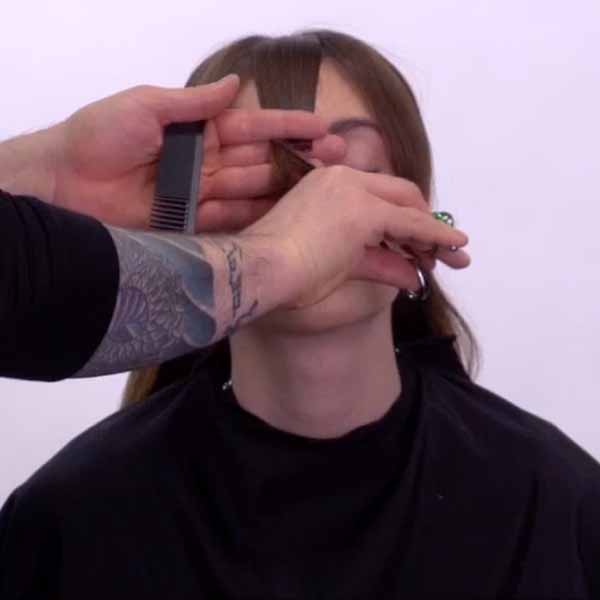
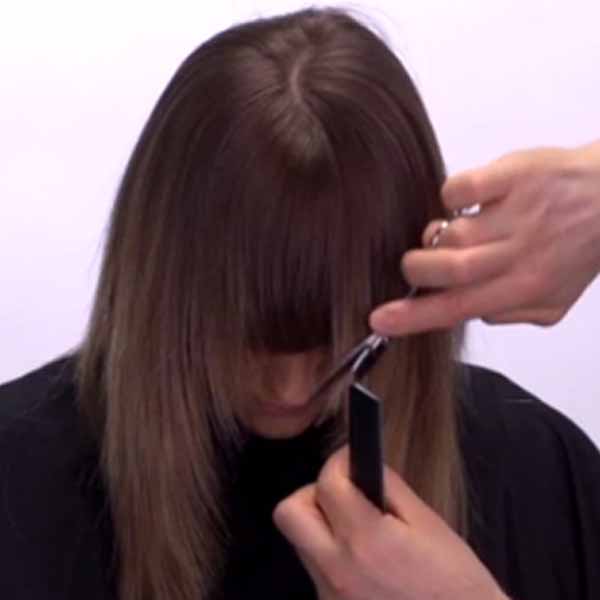
9Take two diagonal sections to the outside corner of the eye and a deep triangular section. Working off the existing fringe, have the client move forward and lift their head up. Take a large section in the front and point-cut the initial length. Angle the frame on the side by using your fingers and point-cut the fringe. Use a flat iron to smooth out the hair before refining it.
-
 10
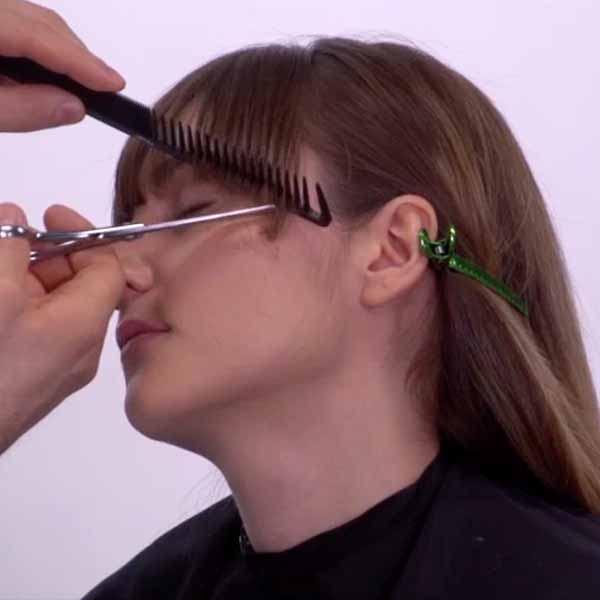
10With the head tilted forward and up, put the hair into the spine of the comb and with minimal elevation, point-cut the initial length. Tilt the head to the side and use the shears to lift the hair off the skin, combing under the hair to refine the fringe. Repeat on the other side and check for balance.
-
 11
11Connect the fringe into the angle a little more by doing some detail work, grabbing some of the hair and cutting it a little shorter. Use the shears to cut some length and open the frame around the face. To connect a little more, lift the hair with the shears and into the comb. Point-cut to open up the face, free handing and then refining. Repeat on the other side.
-
 12
12Tilt the head forward, and check the balance to see the density of the hair. Make sure both sides are symmetrical and finish by refining the cut.
-
 13
13Finished Look
More from
Jon Reyman
-
Events
7 Trending Beauty Looks From NYFW Spring/Summer 2022
-
Bridal
Video Tutorial: Structured Chignon
-
Events
Backstage Hair Tricks That Work IRL
-
Events
5 Major Hair, Nail & Beauty Trends From New York Fashion Week
-
Curls
Get Out Your Smallest Curling Irons! Tighter & Frizz-Free Curls Are Trending At Fashion Week
-
Business
If You Aren’t Doing These Three Things, Your Salon Business Could Be Hurting
-
Business
Salon Owners: Use This To Motivate Your Staff
-
Events
9 Techniques For Model-Worthy Waves
-
Business
Salon Owners: 3 Questions You Need To Answer
-
2017- Spring/Summer
NYFW SS18: The Runway Braids We Want To Try Now
-
2017- Spring/Summer
WATCH: 4 Fresh-Off-The-Runway Wave Techniques
-
2017- Spring/Summer
WATCH: 5 Runway Quickies + Backstage Tips From Fashion Week
-
Events
Fangirling Over Fashion Week? Same. Read These 5 Backstage Tips For Your FW Fix
YOU MIGHT LIKE THIS
-
Clipper/Trimmer
How-To: Textured Shag
-
Fringe
Modern, Chic Shag
-
Haircuts
Modern Shag
-
Blonde

BTC EXCLUSIVE: L’Oreal Professionnel’s Blonde “It” Girl for Summer 2015
-
Brunette
BTC EXCLUSIVE: L’Oreal Professionnel’s Brunette “It” Girl for Summer 2015
TRENDING NOW!
-
BTC Hair Trend Report
The Biggest Haircut Trends of 2024
-
Copper
What Is The "Cowboy Copper" Hair Trend? Here's What It Really Means...
-
Bobs
How to Avoid a Bulky Bob: 4 Techniques To Try
-
Hair Color
WWYD: How To Stop Your 6N From Turning Orange
-
Uncategorized
TikTok's Viral "Scandinavian Hairline" Is Actually Not New...
-
Celebrity
10 BIPOC Celebrity Hairstylists Who Are Making Major Waves In The Industry Right Now
-
Glossing/ Toning
How To Achieve "Glass Hair": Smart Hacks From Hairdressers
-
Curly
Long Layers: 10 Pro Tips + Common Cutting Mistakes

