SO.CAP.USA Hair Extensions How-To


Advertisement


Advertisement


Advertisement


Advertisement


SO.CAP.USA Hair Extensions How-To
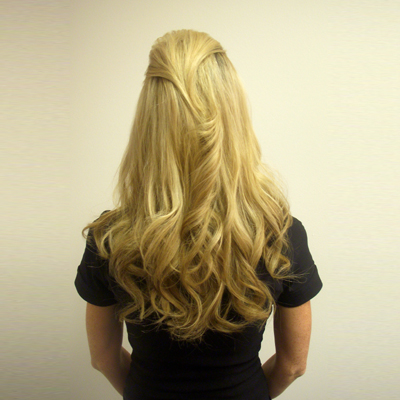
Is your client looking to transform their fine, limp hair into long luscious locks? Hair extensions are the way to go to amp up a look instantly. If you’re feeling a little rusty, follow along with Kathy Williams, a National Educator for SO.CAP.USA Hair Extensions as she takes a client from boring to absolutely beautiful!
Subscribe to behindthechair.com “On Paper” Magazine–4 Issues Only $29.95!
Next Issue: COLOR with Beth Minardi!
HOW-TO STEPS 
-

 1
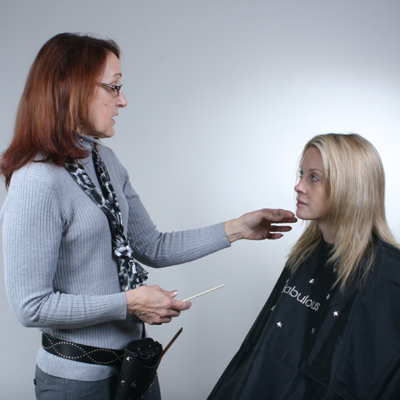
1This client has baby fine hair and wants to change up her look.
-
 2
2In the preliminary consultation, this client expressed her desire for volume, body, length, depth and highlights that would not damage her own hair. Depth and volume will be added with SO. CAP. USA Hair Extensions M18/24 and 14/1001, working up the head adding #20 and #1001 for high lift highlights around the face and in the crown areas.
-
 3
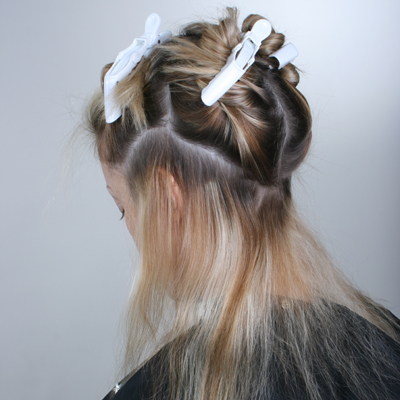
3Before the application, prepare the clients hair then dry completely. To begin, divide your client’s head into four basic sections. Then, create a horseshoe parting about an inch in from the hairline around the ears and the nape area. Start application by slicing out a small square section of hair in center back.
-
 4
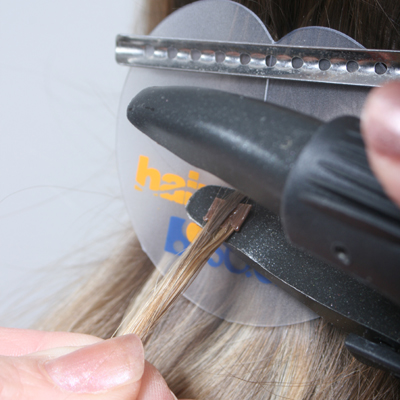
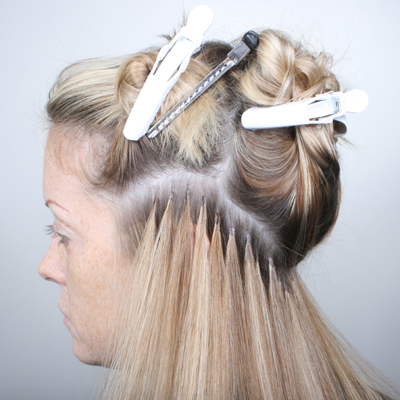
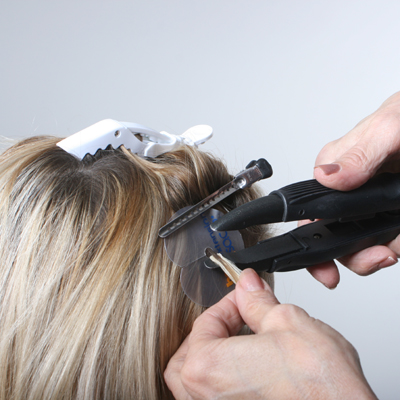
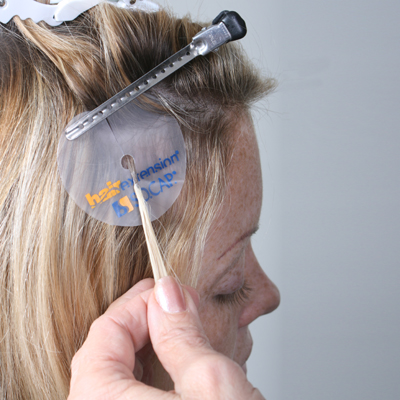
4Take a small square section of hair and place it in the center of a disk making sure the hair falls in its natural growth pattern. Then, apply the selected extension strand while creating a flat bond. Continue forming these bonds to create a completed first row around your client’s head form, being sure to keep the bonds clear of the frontal hairline so they do not show when the client styles her own hair at home between salon visits.
-
 5
5 -
 6
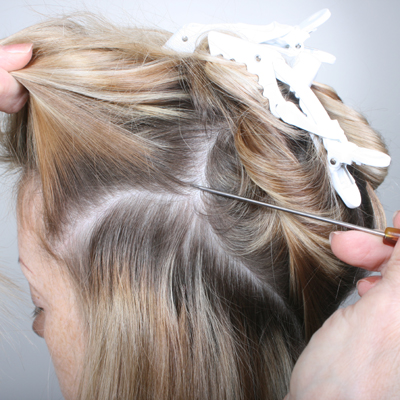
6Drop a thin veil of hair, enough to hide the first row of bonds. Take a narrow section to use for the next row of extensions.
-
 7
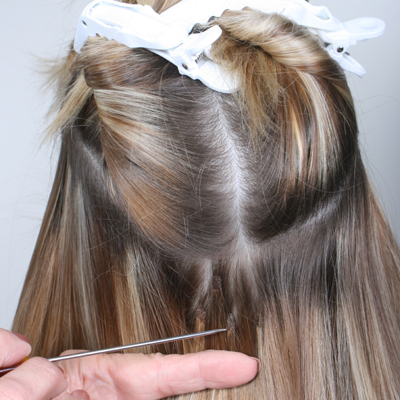
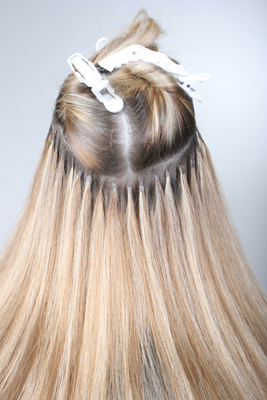
7Starting in the back center, create a second row. Repeat your application by applying bonds in a brick laying pattern following the shaping and guide lines of the first row. Continue completing enough rows, ending at your client’s temple area.
-
 8
8 -
 9
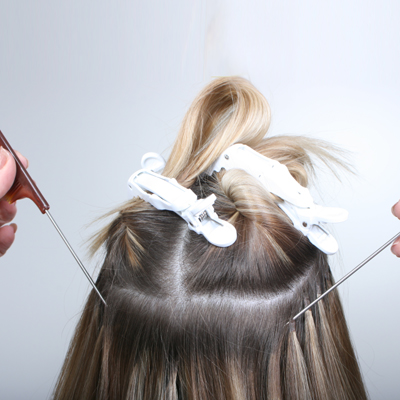
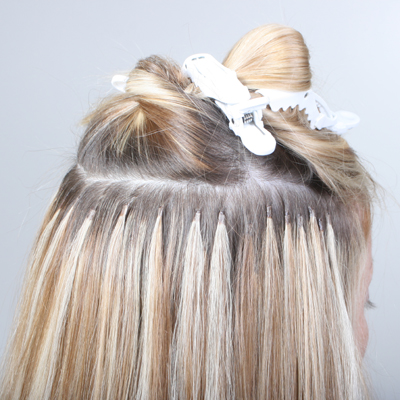
9Return to the back of the head area, creating chains of bonds connecting from one side of the head to the other in order to fill in your client’s crown area. Start creating a weave pattern of high lights using (SO.CAP.USA Hair Extensions #20 and #1001) along with the Blended hair color shades.
-
 10
10 -
 11
11Work on the top of the head, Kathy places micro bonds with #20 and #1001 SO. CAP. USA Hair Extensions. You must take into consideration the client’s desired final hair design.
-
 12
12 -

 13
13Apply a silkening serum from the shaft to the ends of the hair. Choose products made specifically for hair extensions.
-
 14
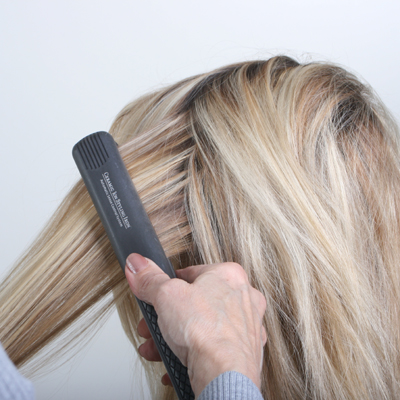
14Carefully flat iron the extensions and the client’s hair together, in order to smooth out the hair to prepare it for the final haircut and hairstyle.
-
 15
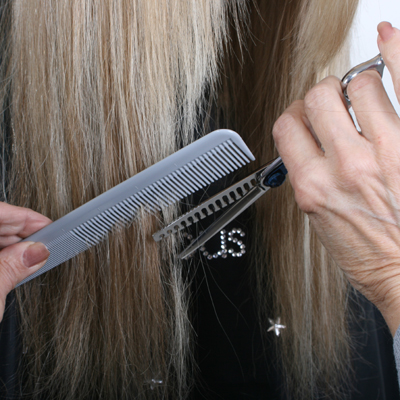
15Create a perimeter design line by connecting the client’s shorter pieces in front with their extensions by using texturizing scissors. In this case, the new extensions are four to five inches longer than the client’s natural hair.
-
 16
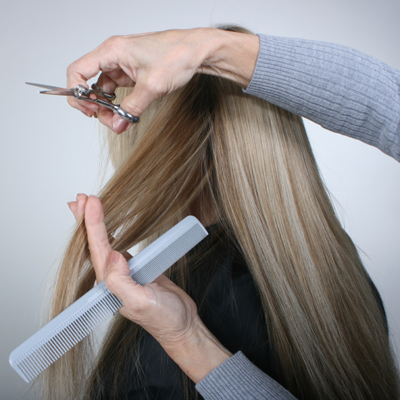
16Layer the new extensions with your client’s own hair length. Working from the newly established length, project narrow, vertical sections at an angle from the head to blend these new extensions with the client’s hair using a straight edge pair of sheers. Soften the ends by using a special hair extension brush and vertically cutting into the hair with your straight blade scissors
-

 17
17 -
 18
18
YOU MIGHT LIKE THIS
-
Hair Extensions
How-To: Longer Locks in Minutes
-
Hair Extensions
How-To: I-Tip Extensions
-
Hair Extensions
How-To: U-Tip Extensions
-
Hair Extensions
Your Go-To Holiday Updo
-
Hair Extensions
How-To: Subtle Highlights


TRENDING NOW!
-
BTC Hair Trend Report
The Biggest Haircut Trends of 2024
-
Blonde
Conditioner Before Toner: Common Hair Myth Debunked
-
Monthly Product Launch List
11 New Game-Changing Hair Launches To Add To Your Arsenal
-
Copper
What Is The "Cowboy Copper" Hair Trend? Here's What It Really Means...
-
Copper
Muted Bronze
-
Haircuts
SHAG 101: The Dos And Don'ts
-
Frizz
Straighten & Smooth 2A, Fine-Medium Density Hair
-
Business
Don't Fall Victim To Hair Industry Greenwashing—Read This First


