
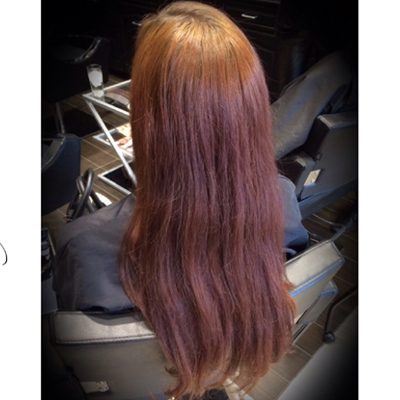
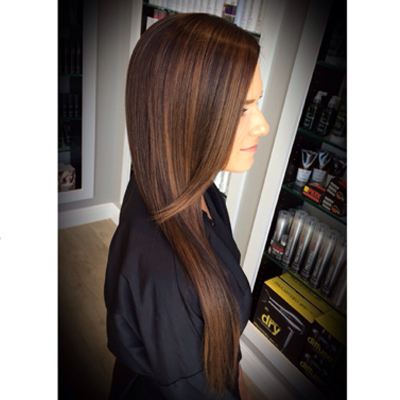
Rich, Chestnut Balayage

Advertisement
Rich, Chestnut Balayage
HOW-TO STEPS 
-
 1
1Formula A (base color): Paul Mitchell Shines XG 5N + equal parts Paul Mitchell Shines XG 5NB + 10-volume XG Processing Cream
Formula B: Paul Mitchell Forever Blonde Synchrolift + 20-volume clear developer
Formula C (toner): Paul Mitchell Shines 6N5N6A
-
 2
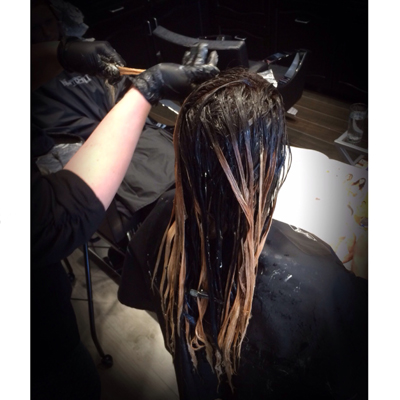
2Apply Formula A at the roots. “I love Shines XG as a base color because of the shine and depth it gives,” says Cassandra. “This formula is a super-rich chestnut brown that added depth without going too dark.”
-
 3
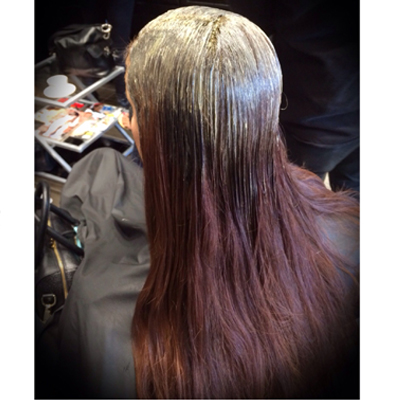
3Once the base color is applied, use a wide tooth comb to diffuse the line.
-
 4
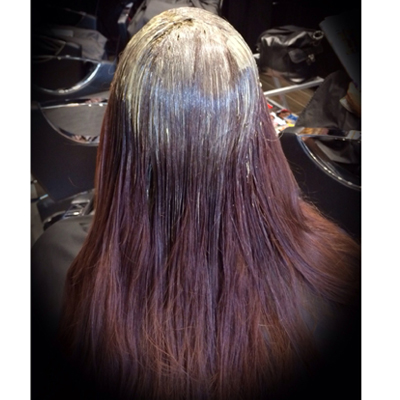
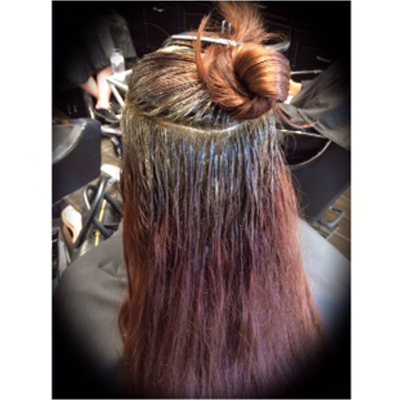
4Create a horse shoe section from the parietal up. “I address this section separately because this is where the placement really counts for a super blended and natural look,” notes Cassandra. Weave in Formula B using foils, over-directing each section forward to increase the blend. Process to a Level 8. (Note: In this service, Paul Mitchell Shines 5N6A was used on the ends to neutralize and cover the previous red canvas).
-
 5
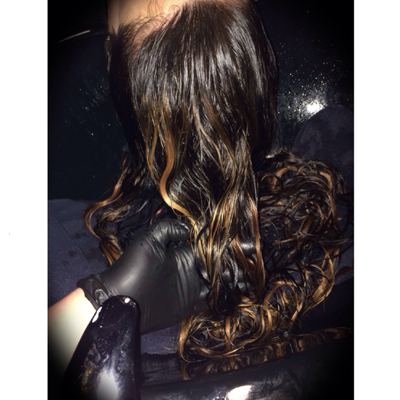
5Remove foils, and use your hands to blend and diffuse the line between the base color and lightener. Process for 5 to 10 minutes.
-
 6
6Rinse, shampoo with Paul Mitchell Awaphui Wild Ginger Moisture Lather Shampoo, towel dry and apply Formula C. Follow with Paul Mitchell Awapuhi Wild Ginger KeraTriplex Treatment.
-
 7
7Cassandra recommends a five-week retouch with Paul Mitchell Shines XG and PM Shines Top Coat to maintain color. She also sent her client home with Paul Mitchell Awapuhi Wild Ginger Moisture Lather Shampoo and Keratin Cream Rinse.
YOU MIGHT LIKE THIS
-
Balayage

Foil + Freehand Balayage
-
Balayage
Foils + Balayage
-
Balayage “Teased” Mohawk
-
Balayage
Diagonal Cool-Toned Balayage + Long Layers
-
Balayage
WATCH: Blush Gold Balayage
TRENDING NOW!
-
BTC Hair Trend Report
The Biggest Haircut Trends of 2024
-
Copper
What Is The "Cowboy Copper" Hair Trend? Here's What It Really Means...
-
Bobs
How to Avoid a Bulky Bob: 4 Techniques To Try
-
Uncategorized
TikTok's Viral "Scandinavian Hairline" Is Actually Not New...
-
Hair Color
WWYD: How To Stop Your 6N From Turning Orange
-
Glossing/ Toning
How To Achieve "Glass Hair": Smart Hacks From Hairdressers
-
Celebrity
10 BIPOC Celebrity Hairstylists Who Are Making Major Waves In The Industry Right Now
-
Curly
Long Layers: 10 Pro Tips + Common Cutting Mistakes

