
Profound Beauty Arctic Chill Inspired Bob by John Donato

Advertisement
Advertisement
Advertisement
Advertisement
Advertisement
Advertisement
Profound Beauty Arctic Chill Inspired Bob by John Donato
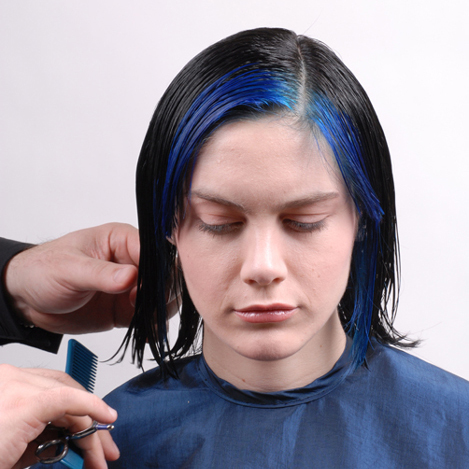
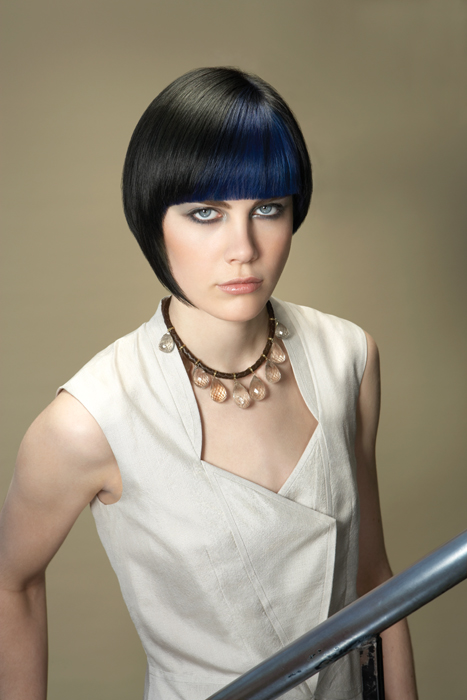
Acclaimed stylist John Donato drew inspiration from the Profound Beauty Atmosphere product Arctic Chill to create this chic bob. The sleekness seen is a result of Arctic Chill compressing the hair fibers and reducing volume thus delivering a compact sleek and smooth look with an icy high shine. Recreate this look for all your bob-loving clients and remember to break out the Arctic Chill!

Subscribe to behindthechair.com “On Paper” Magazine–4 Issues Only $29.95!
Next Issue: COLOR with Beth Minardi!
HOW-TO STEPS 
-
 1
1Part hair from center of eye to crown.
-
 2
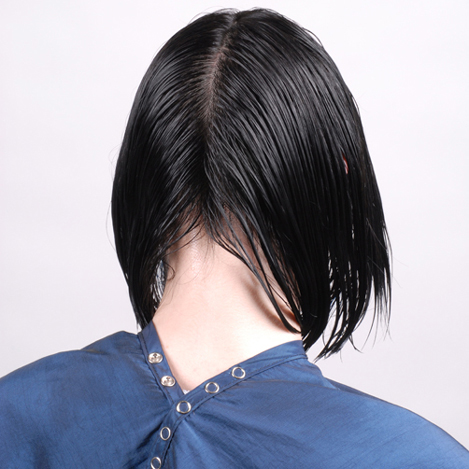
2Part from crown down center of head to the neckline.
-
 3
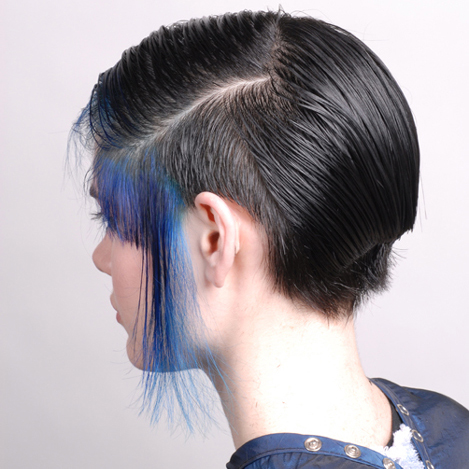
3Part from occipital bone to the back of the ear on both sides.
-
 4
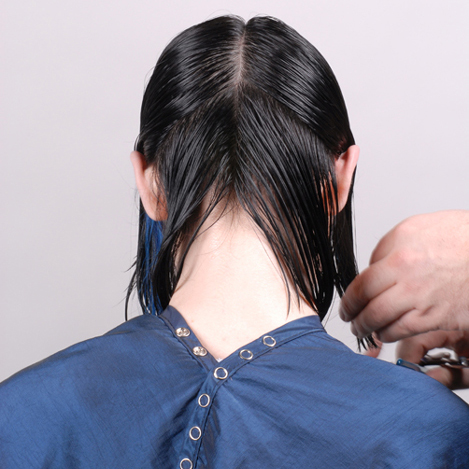
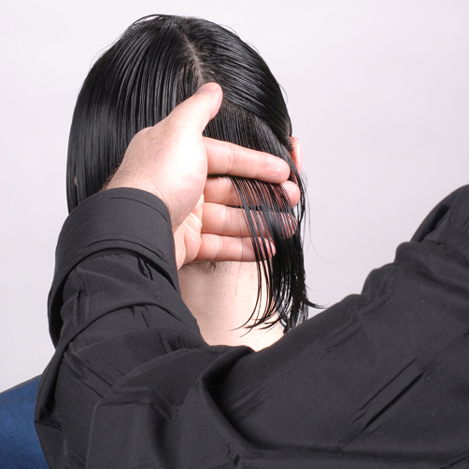
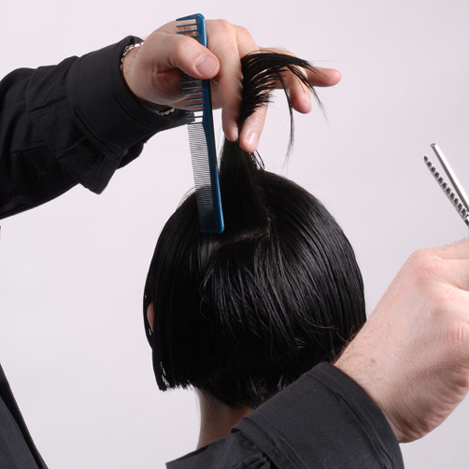
4To create the guide in back, take vertical section from the center holding at 90° angle.
-
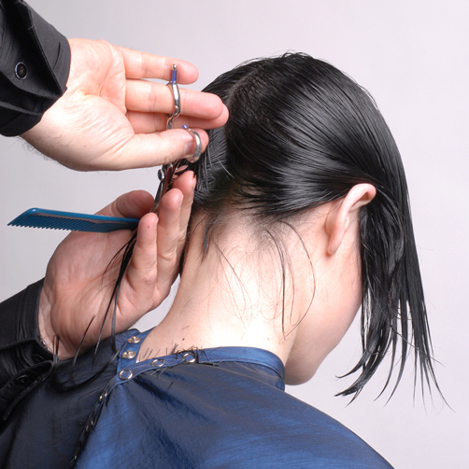 5
5Continue in the back section taking steep diagonal sections to the back of the ear.
-
 6
6Continue onto other side repeating same steps.
-
 7
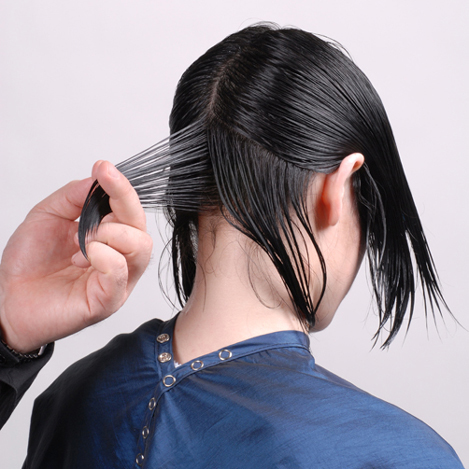
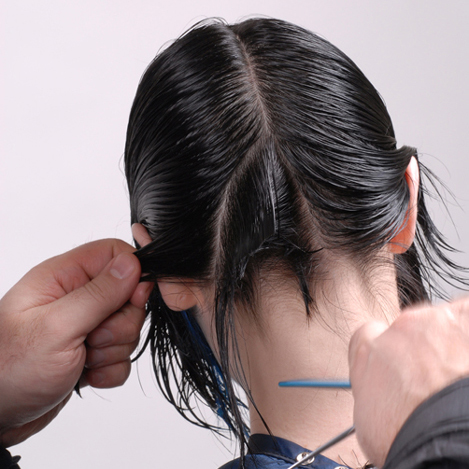
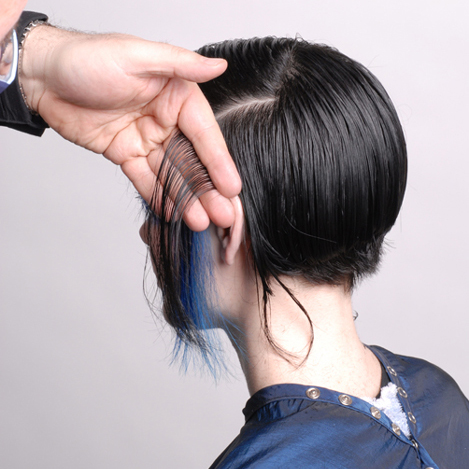
7Split sections above occipital in two. On the right side, take diagonal sections and pull out at a 45° angle using hair from nape as your guide.
-
 8
8Continue at this angle and follow the sections up to the top of the crown. Repeat this on the left side of the head
Note: Stand behind the section you are cutting and always comb air the way it falls naturally. -
 9
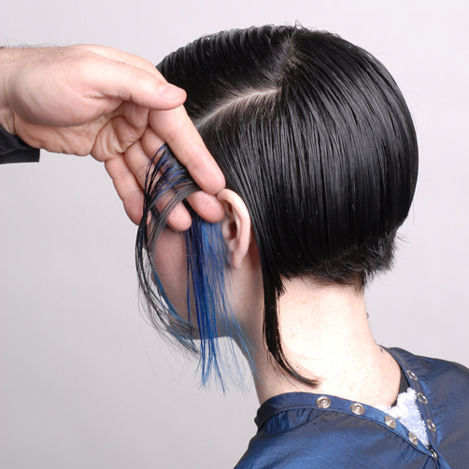
9From occipital bone right side take ½” sections hold out at 45° using hair from underneath as a guide.
-
 10
10Section hair in an angle on top of the ear. Diagonal section to over the eye.
-
 11
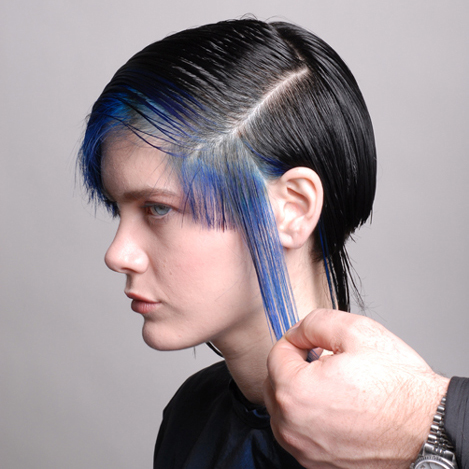
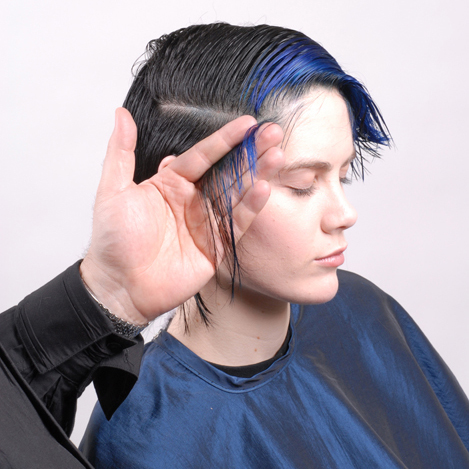
11In front, take vertical section from parting down to front of ear and leave it out.
-
 12
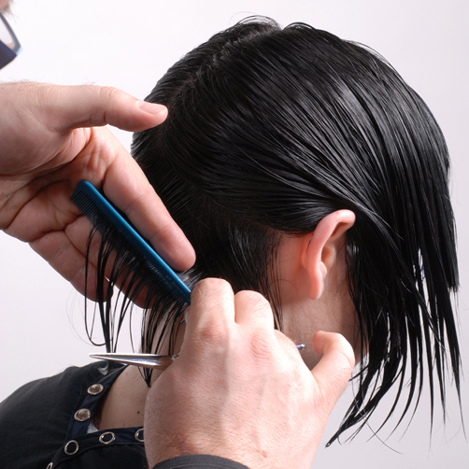
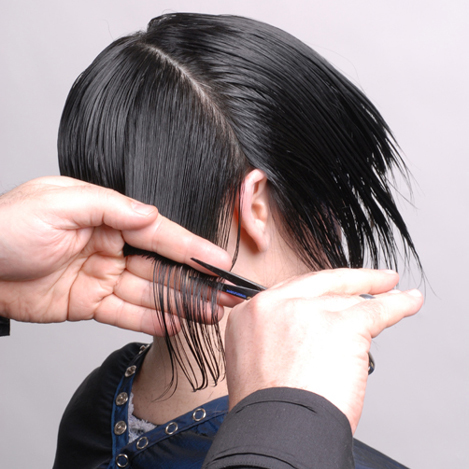
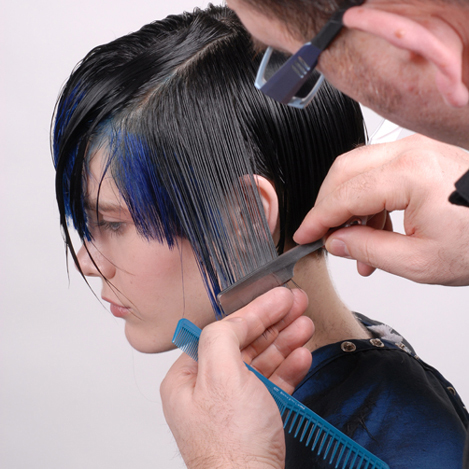
12Take a vertical section at the top of the ear. Hold it straight out with fingers, resting against the head and cut.
-
 13
13Continue taking vertical sections holding at 90° to back of ear making sure to keep fingers resting on head.
-
 14
14Follow this to behind the ear and take a 1” section and cut.
-
 15
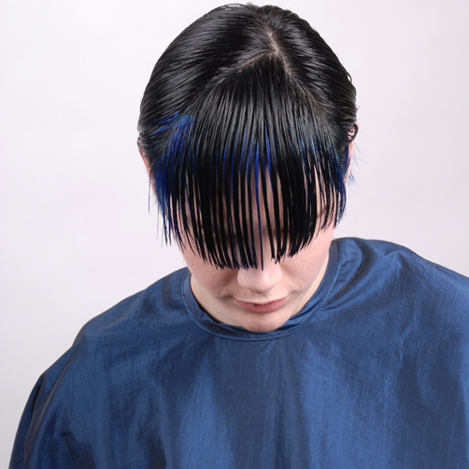
15Comb all hair down from the parting (front).
-
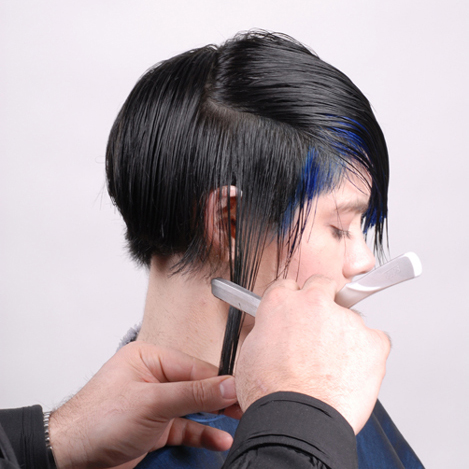
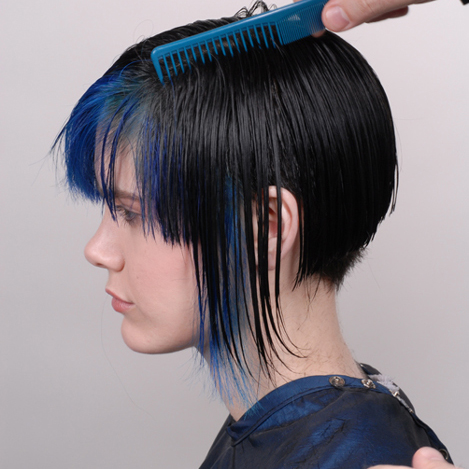 16
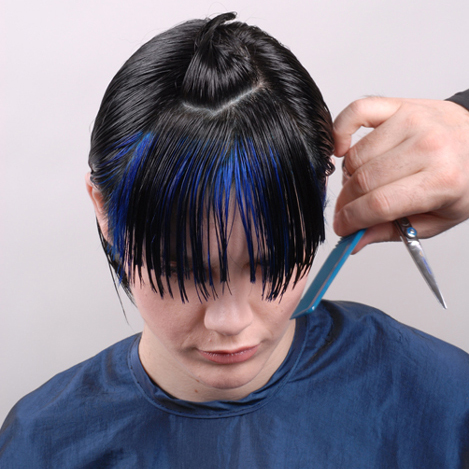
16Switch to a razor and take a diagonal parting from the front to the back of ear. Make sure to connect from front of ear to back of ear.
-
 17
17Move to other side and repeat steps.
-
 18
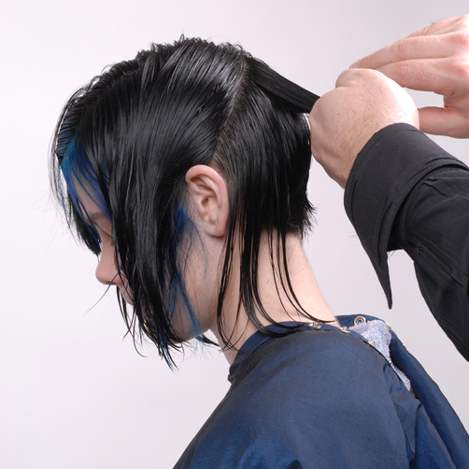
18Take vertical sections at the front of the face, and pull up and cut.
-
19
In front on the shortest side, take vertical sections holding at 90° angle, keep fingers resting on head and cut continuing to 1” behind the ear.
-
 20
20Take a horizontal parting front the middle of the ear and down. Next, take razor and slide from shortest point in back to the very front section, making sure to not cut off the front length. Cut at an angle.
-
 21
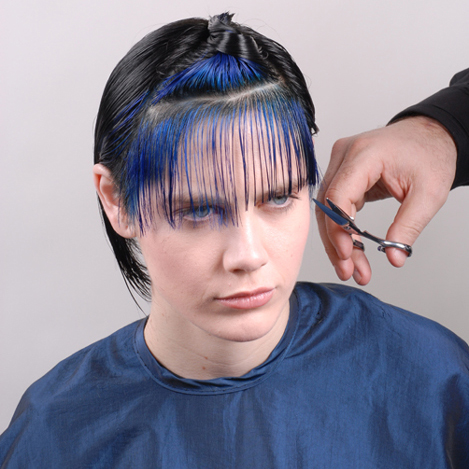
21Take a Diamond shape section from top crown parting to the corner of each eye.
-
 22
22Cut out a ½ inch section and cut to desired length.
-
 23
23Continue pulling down horizontal sections and cut using previously cut piece as a guide.
-
 24
24Take your razor and as you slide it gently, blend both sides, shorter to longer.
-
 25
25Using chunking shears, starting at the crown, take pie shape sections and pivot around chipping into the ends, holding shears straight into the top end of the pie shaped sections.
-
YOU MIGHT LIKE THIS
-
Hair Color
Alfaparf Arctic Lights
-
Blonde

Arctic Blonde
-
Bobs
How-To: Asymmetrical, Disconnected Edgy Bob
-
Bobs
Full-Looking Bob On Fine, Thin Hair
-
Bobs

Blunt Bob + Sun-Kissed Highlights
TRENDING NOW!
-
BTC Hair Trend Report
The Biggest Haircut Trends of 2024
-
Copper
What Is The "Cowboy Copper" Hair Trend? Here's What It Really Means...
-
Blowouts
Bombshell Blowouts: 4 Ways To Create Lift With Longevity
-
Curly
Long Layers: 10 Pro Tips + Common Cutting Mistakes
-
Frizz
Straighten & Smooth 2A, Fine-Medium Density Hair
-
Ask A BTC Expert
5 Foil Tips & Tricks From @the.blonde.chronicles
-
Copper
Muted Bronze
-
Haircuts
SHAG 101: The Dos And Don'ts

