
Metallic Melt + Tape-In Extensions
Metallic Melt + Tape-In Extensions
VIDEO 
HOW-TO STEPS
-
 1
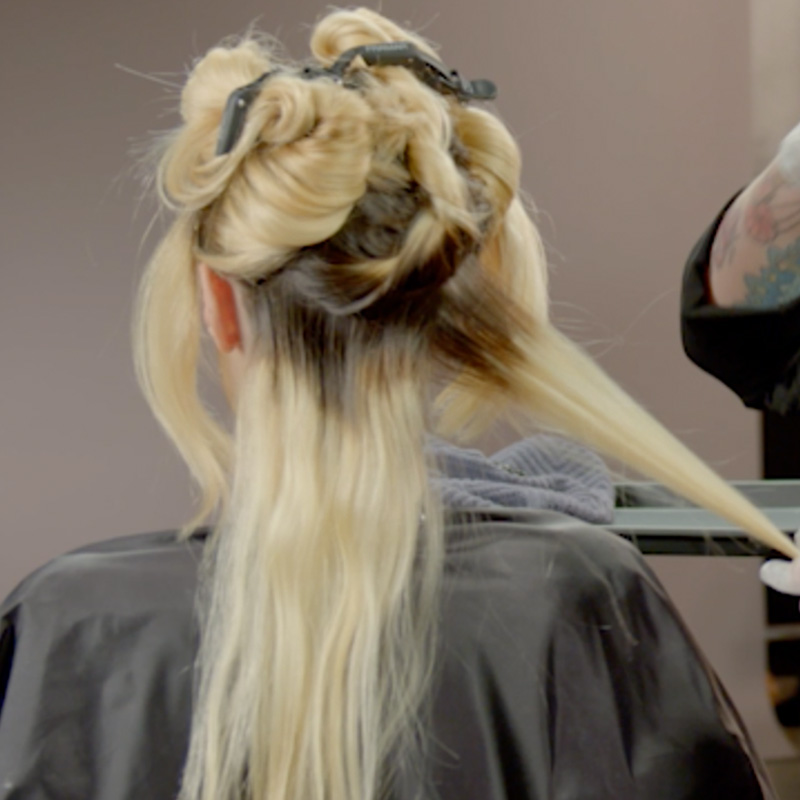
1Starting with prelightened hair, create a 2-inch section at the nape and clip the rest of the hair away. Rebecca recommends using five fashion colors when creating a color melt, so the finished look is rich with dimension and a variety of tones.
-
 2
2Take a small section and apply the darkest shade to the area where the base section meets the prelightened hair—this will help soften the line of demarcation. Apply the color with a brush, and then blend using gloves to fully saturate the hair.
-
 3
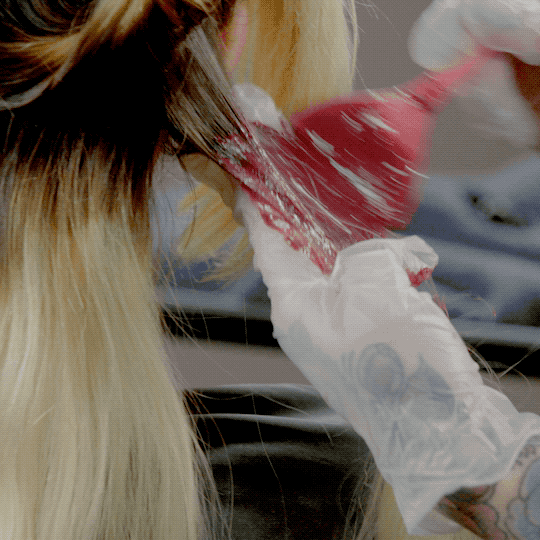
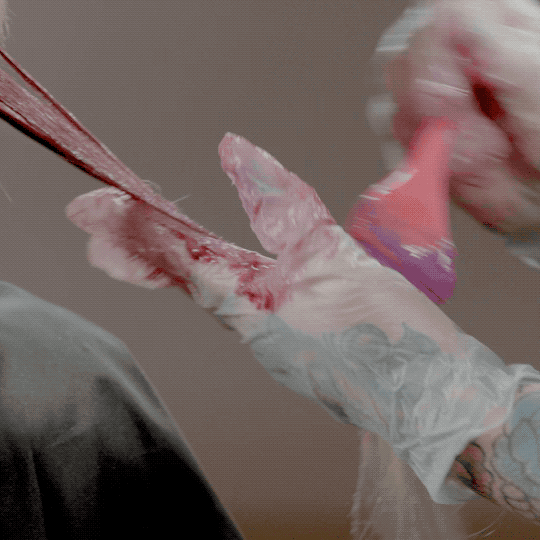
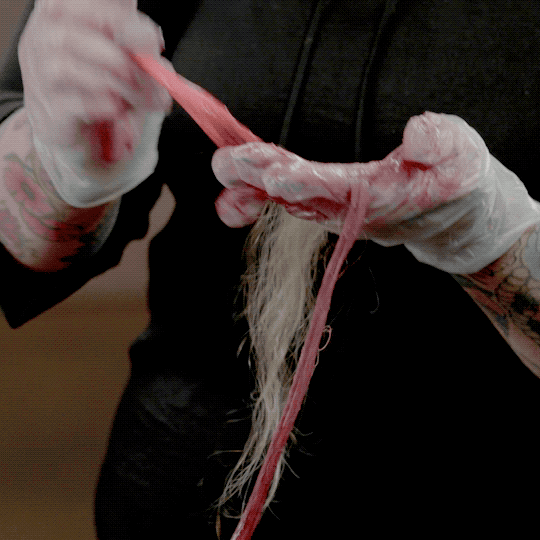
3For each section, apply three colors: the darkest shade to the base, a lighter shade to the midlengths and the lightest shade to the ends. Continue taking sections throughout and applying varying tones, then process for up to an hour. Rinse with cold water.
-
 4
4Next, mimic the melting technique used on your client’s natural hair on TRUMATCH Tape-In Extensions—uncoated, true-to-tone hair that allows you to lift up to two levels and deposit two levels darker. Process for up to an hour, then rinse with cold water.
-
 5
5Then, clip away the hair at the crown and apply TRUMATCH Tape-In Extensions on a forward diagonal for seamless blending. Start by taking a small section of hair.
-
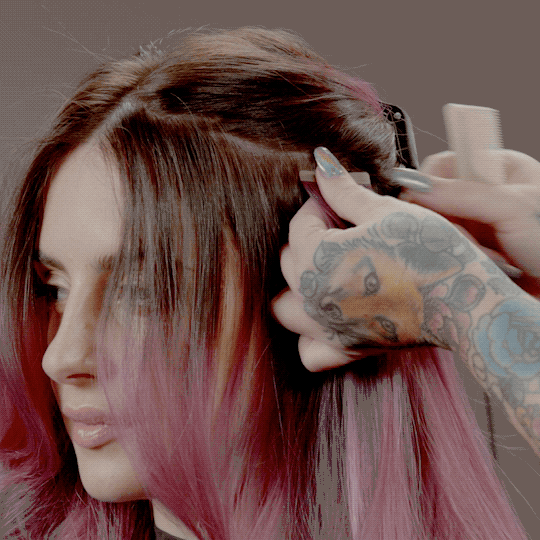
 6
6Pick up the TruMatch extension and remove the tape, then place it close to the scalp and underneath the small section.
Pro Tip: Each section should be thin enough that it’s see-through, so it will be easier to sandwich the tabs together.
-
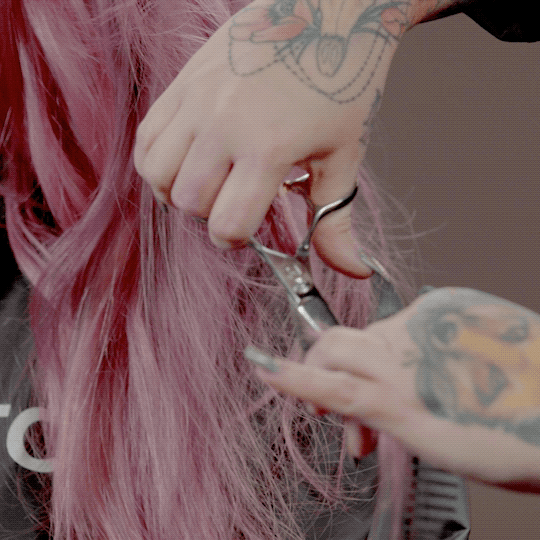
 7
7Then, add a second extension on top of the section, and press the tape together to seal.
Pro Tip: For color melts, Rebecca recommends mixing and matching extensions with different melting patterns to create contrast and dimensional tones.
-
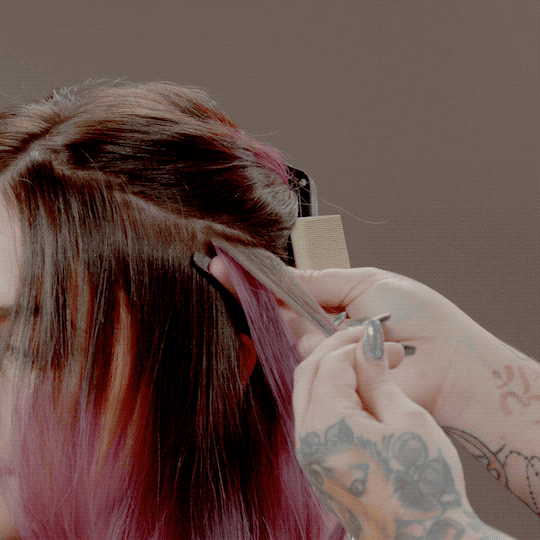
 8
8Repeat until you’ve reached the ideal amount of fullness and length. Then, trim the extensions by slide cutting at an angle—cutting with either shears or a razor—to seamlessly blend.
-
 9
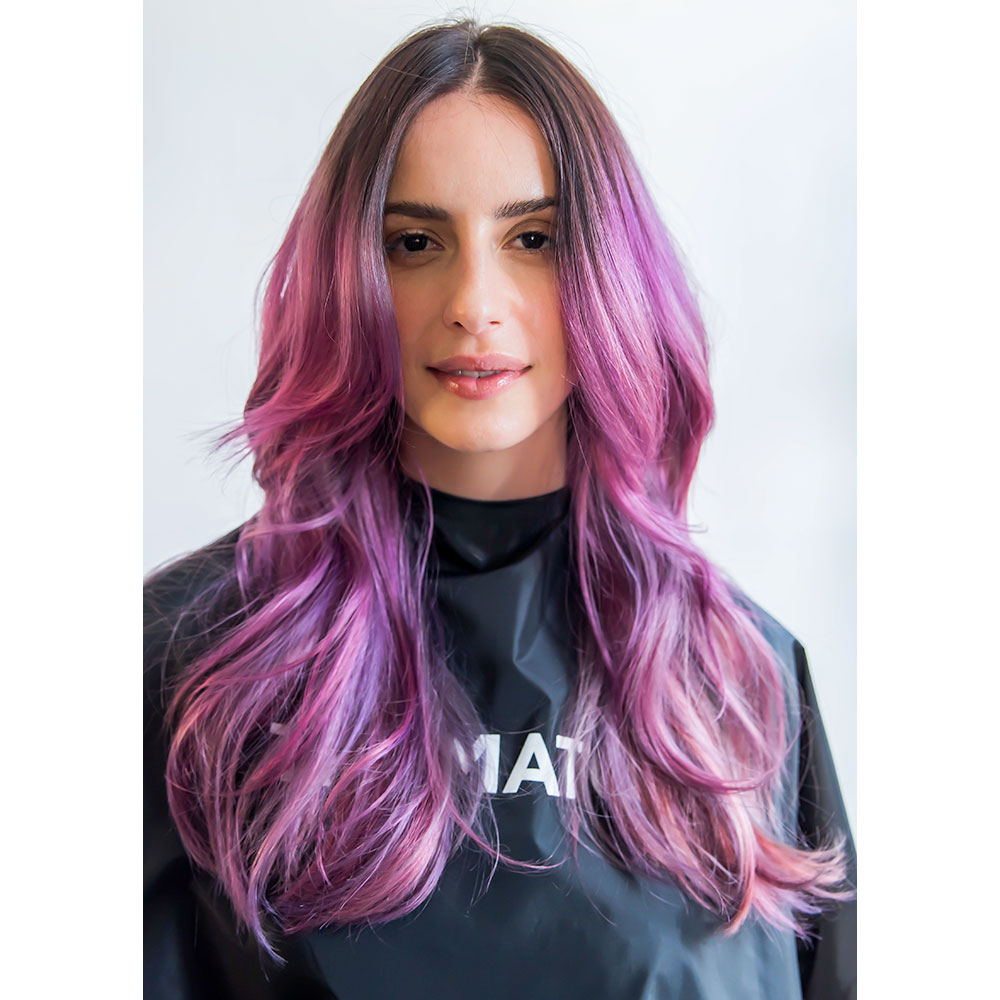
9Finished Look

YOU MIGHT LIKE THIS
-
Hair Extensions
Installing TruMatch Tape-In Extensions
-
Hair Extensions
Vintage Waves With Extensions
-
Braids
Beachy, Five-Strand Braid
-
Braids
@hairandmakeupbysteph’s Crown Braid
-
Hair Color

Tape-In Extensions: Iridescent Lavender + Shadow Root
TRENDING NOW!
-
BTC Hair Trend Report
The Biggest Haircut Trends of 2024
-
Blonde
Conditioner Before Toner: Common Hair Myth Debunked
-
Monthly Product Launch List
11 New Game-Changing Hair Launches To Add To Your Arsenal
-
Copper
What Is The "Cowboy Copper" Hair Trend? Here's What It Really Means...
-
Copper
Muted Bronze
-
Haircuts
SHAG 101: The Dos And Don'ts
-
Frizz
Straighten & Smooth 2A, Fine-Medium Density Hair
-
Business
Don't Fall Victim To Hair Industry Greenwashing—Read This First

