
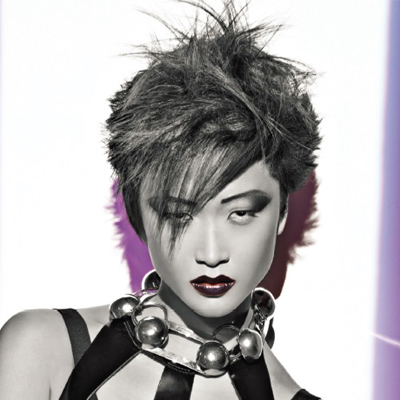
Long, Disconnected Pixie from Joico

Advertisement
Advertisement
Advertisement
Advertisement
Long, Disconnected Pixie from Joico
HOW-TO STEPS 
-
 1
1 -
 2
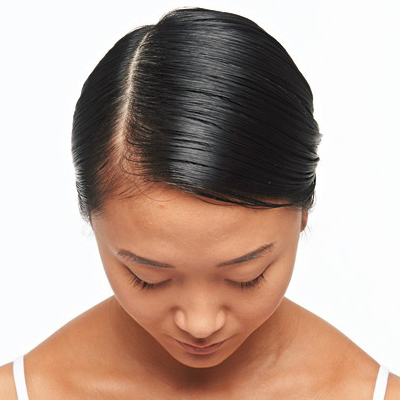
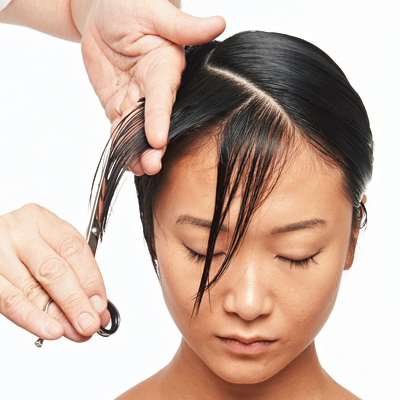
2Take a low side parting (just above the temple area) that extends from the crown area to approximately the center nape area. Work with the natural growth patterns at the temple, crown and nape areas. Adjust the sectioning to suit the individual crown, growth pattern, hair density, hair type, facial features and overall desired design.
-
 3
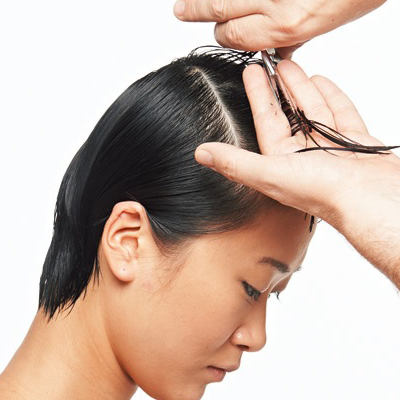
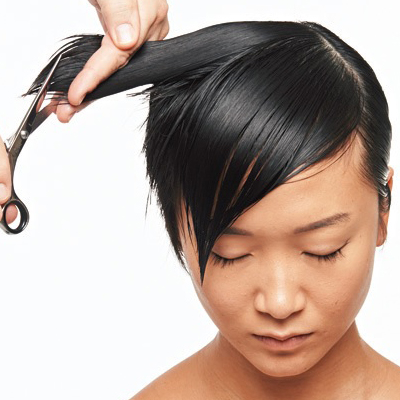
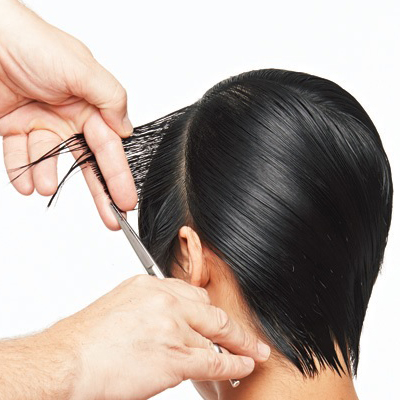
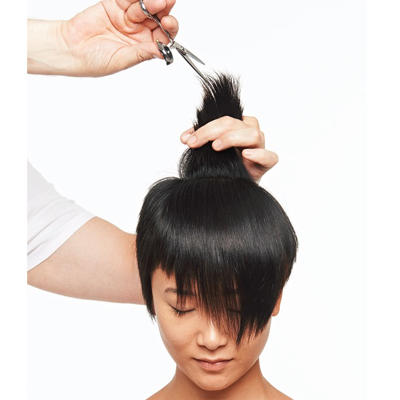
3Starting at the front parting area, take a parting that extends from the temple area to the crown area (holding the hair at an approximately 90-degree angle) and cut to the desired length. The objective is to create a flat, neat head shape.
-
 4
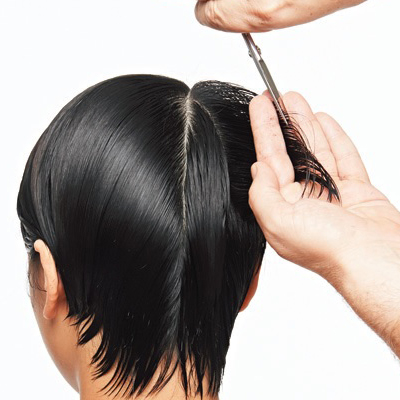
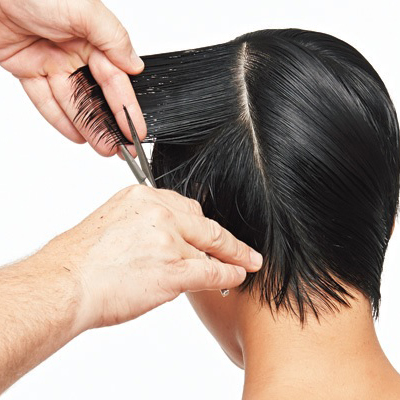
4Continue to pivot off the first guide, working around the natural head using a traveling guide.
-
 5
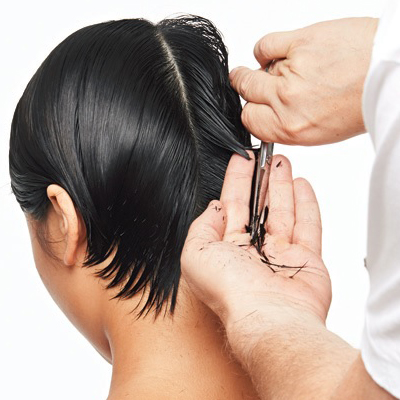
5Continue working in the same manner, working with the natural growth pattern. Ensure that the nape area length is fitted and head-hugging.
-
 6
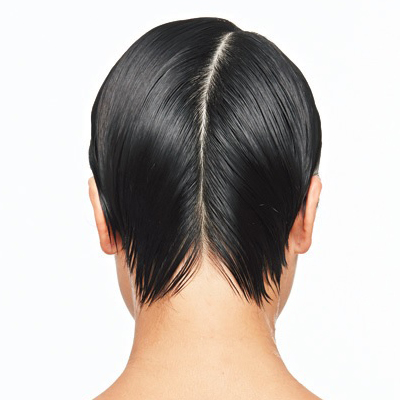
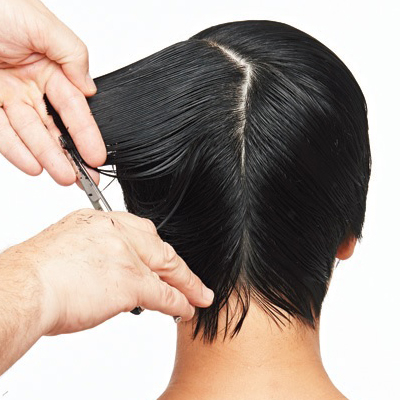
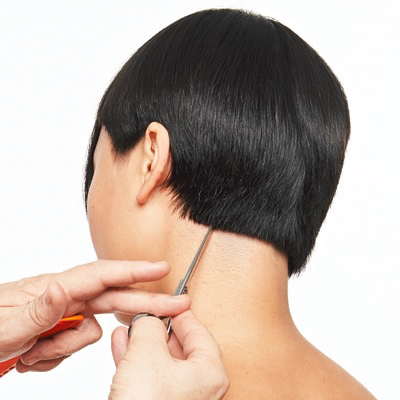
6View of head shape and overall length. Note that the nape area will be refined when the hair is dry for ultimate control.
-
 7
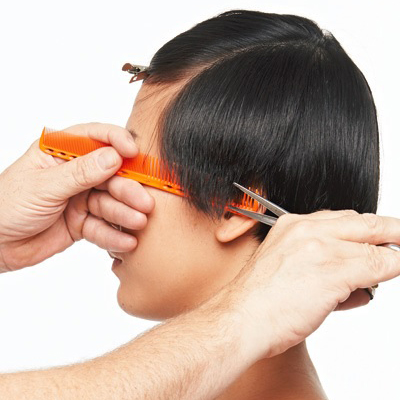
7Take a diagonal parting that extends from the parting area out toward the opposite side (front fringe area), and connect this area to the underneath length (model’s right side). Elevate and overdirect each parting to avoid a heavy line. Tips: Elevating each parting slightly higher than the previous parting will bevel the hair and create a neat, seamless silhouette. Overdirection will help maintain length throughout the fringe area.
-
 8
8View of completed side and front fringe areas.
-
 9
9Take a diagonal parting that extends from the crown area and continues out to the temple area. Pay particular attention to the crown area; sectioning should be adjusted to suit the natural growth pattern. Take a diagonal parting at the temple area and cut to desired length. Note that this side is longer than the opposite side to create an asymmetrical design both in length and weight distribution. Alternatively, the shape can be cut symmetrically on both sides if desired.
-
 10
10Continue using a traveling guide, working around the head shape taking diagonal partings.
-
 11
11Continue taking diagonal partings to incorporate the side and nape areas. Note that the model’s left side partings are progressively overdirected to build a heavier weight area. The back nape area is longer and heavier than the opposite side and does not connect to the center back. The left and right nape areas are non-connecting; one side is lighter and flatter while the other is heavier and fuller.
-
 12
12View of last parting. Adjust the degree of overdirection to suit the individual head shape, hair density and hairline growth pattern. Alternatively, the back area can be cut symmetrically. Note that all hairlines and growth patterns are slightly different, so always work to enhance the natural growth pattern and not against it. Blow-dry hair with a Denman brush, allowing hair to fall naturally.
-
 13
13Refine the temple and fringe areas. Use a chipping and pointing technique to open the temple area and expose the eyes and cheekbones. Elevate the partings to create a softer feel to the edges of the hair.
-
 14
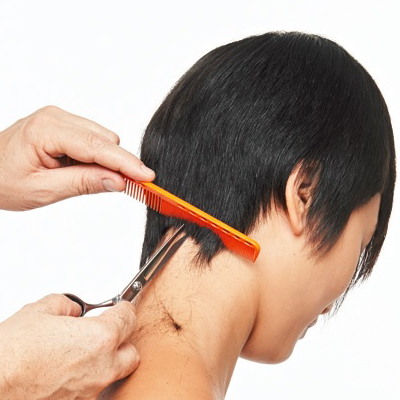
14Refine the length in the nape area by point-cutting and chipping. Work with the natural growth pattern (square, asymmetrical, rounded, pointed, etc).
-
 15
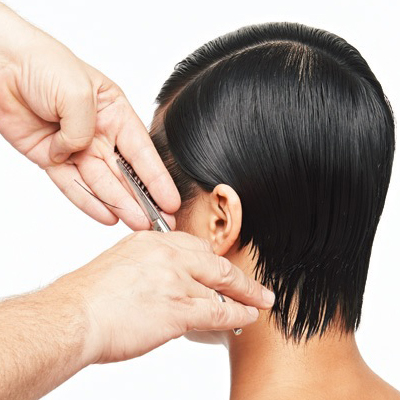
15Refine the heavier, fuller side area using scissor-over-comb—hair should fade softly from shorter to longer. Note that this area clears the top of the ear and does not connect to the top area.
-
 16
16Refine the nape area by point-cutting and chipping to create a head-hugging shape.
-
 17
17Cross-check and lightly point cut to refine excess weight, but keep the areas disconnected. Point-cutting ensures fluidity between the long and short areas. Note the different zones of disconnected lengths. Further refine hair after the color process to ensure the haircut and color flow seamlessly.
-
YOU MIGHT LIKE THIS
-
Hair Color
Icy Teal Color Pop from Joico
-
Bobs
Edgy, Asymmetrical Bob from Joico
-
Haircuts
Disconnected Pixie
-
Hair
Disconnected Cutting How-To from Joico Smoke and Mirrors Volume II
-
Bobs
Cropped Bob with Square Fringe by Damien Carney for Joico
TRENDING NOW!
-
BTC Hair Trend Report
The Biggest Haircut Trends of 2024
-
Blowouts
Bombshell Blowouts: 4 Ways To Create Lift With Longevity
-
Copper
What Is The "Cowboy Copper" Hair Trend? Here's What It Really Means...
-
Curly
Long Layers: 10 Pro Tips + Common Cutting Mistakes
-
Ask A BTC Expert
5 Foil Tips & Tricks From @the.blonde.chronicles
-
Frizz
Straighten & Smooth 2A, Fine-Medium Density Hair
-
Haircuts
SHAG 101: The Dos And Don'ts
-
Hair Extensions
Clients With Hair Loss? Read This To Get Their Pre-Thinning Density Back

