
Shattered Inversion

Advertisement
Advertisement
Advertisement
Shattered Inversion
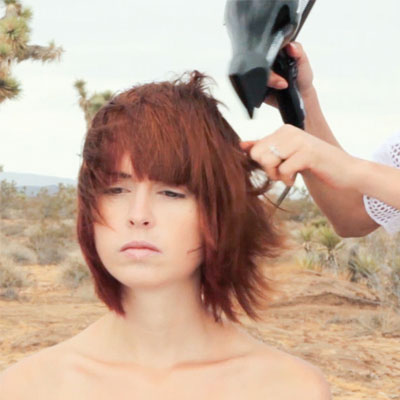
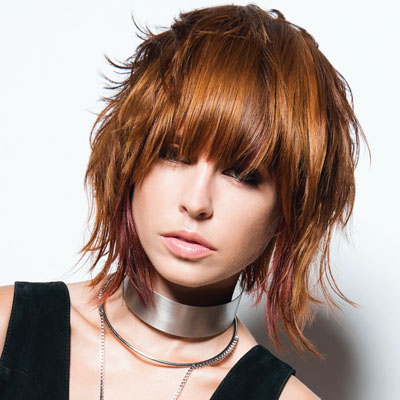
The graduated bob meets the shag in this massively versatile shape from the artists at TONI&GUY. Smooth it with styling cream and a blow dryer and it’s a sleek and sexy option, suitable for every occasion. Coax out and define the layers with styling wax, and it’s ready to rock ’n’ roll. And as far as the boxy, lash-grazing bangs go? Instant French girl chic no matter where she’s from.
HOW-TO STEPS 
-
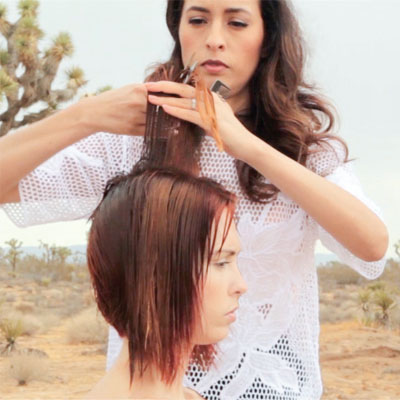
 1
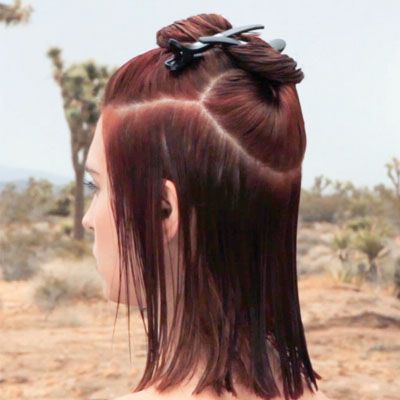
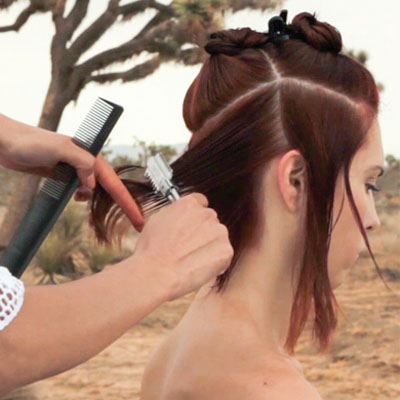
1Create a profile parting then a radial from the crown to the ear. Create a diagonal back parting from the radial to the profile and a horizontal parting from the radial through to the recession on both sides, creating a keyhole section.
-
 2
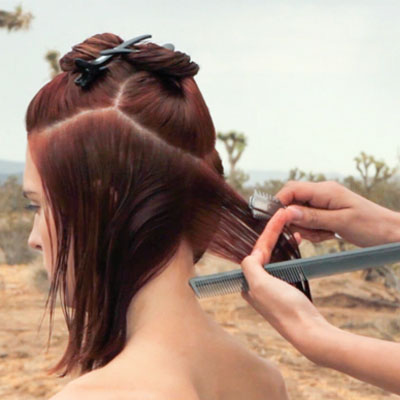
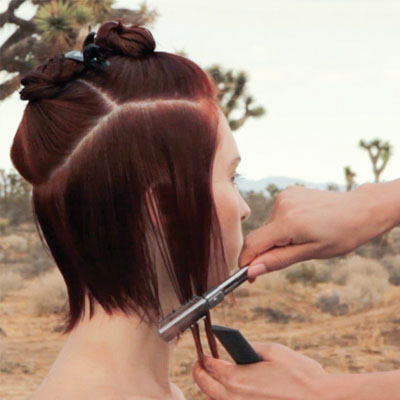
2In the back, create a vertical section, comb it perpendicular and razor-cut square.
-
 3
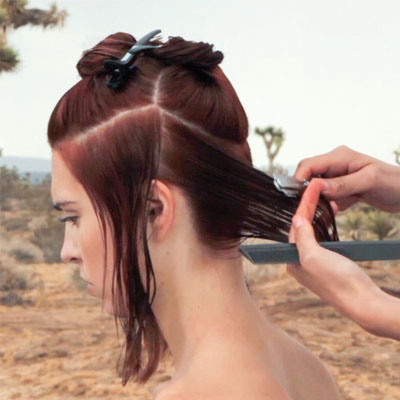
3Continue working to each side in vertical sections, overdirecting to a stationary guide at the corner nape.
-
 4
4Repeat on the opposite side.
-
 5
5In front of the radial, comb the length to natural fall and razor-cut out to the existing length. Repeat on the opposite side.
-
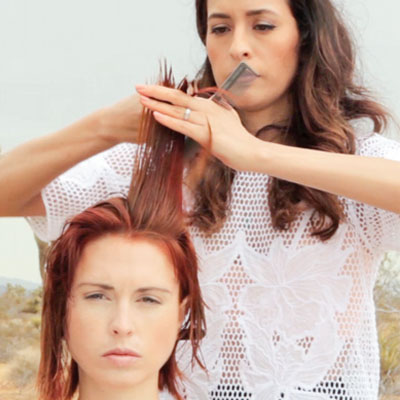
 6
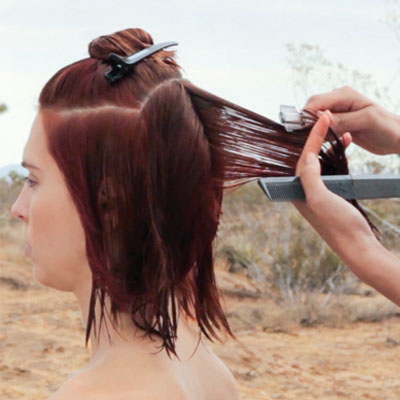
6Release the back. Create a central vertical section, comb perpendicular and razor-cut square.
-
 7
7Continue working with vertical sections, overdirecting to the center guide. Repeat on the opposite side, creating an inversion.
-
 8
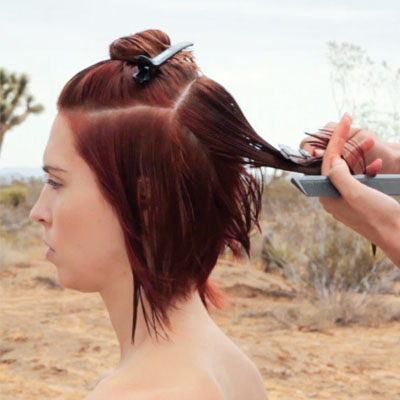
8Create a profile section, and using the guide from the crown, comb perpendicular and slice square.
-
 9
9Split the guide in half, create horizontal sections, comb perpendicular and slice square through to the front hairline. Repeat on the opposite side.
-
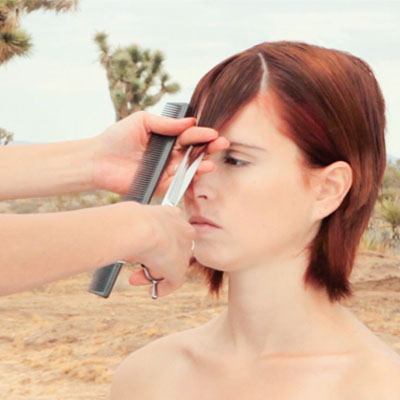 10
10Isolate a fringe section. Comb to natural fall and point-cut square.
-
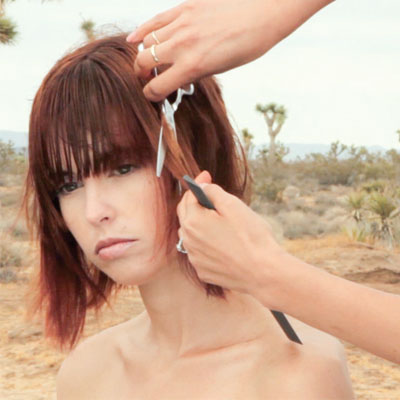 11
11Channel-cut around the face.
-
 12
12Blow-dry the fringe with the comb. Dry the rest with fingers.
-
 13
13Finished Look
YOU MIGHT LIKE THIS
-
Hair
Styling Tips for Fine, Thinning Hair
-
Tools
Bio Ionic® StyleWinder™ Rotating Styling Iron How-To
-
Hair
Rene Furterer Styling How-Tos with Creighton Bowman
-
Hair
Blonde Pixie Styling How-To by Rodney Cutler for ULTA
-
Hair
Alterna Bamboo Kendi Pure Treatment Oil Styling How-To
TRENDING NOW!
-
Curly
Long Layers: 10 Pro Tips + Common Cutting Mistakes
-
BTC Hair Trend Report
The Biggest Haircut Trends of 2024
-
Copper
What Is The "Cowboy Copper" Hair Trend? Here's What It Really Means...
-
Haircuts
SHAG 101: The Dos And Don'ts
-
Bobs
The '90s Bob: How To Cut & Style This Trending Haircut
-
BTC Hair Trend Report
Quiet Luxury Blonde: The "Old Money" Trend Explained
-
Balayage
How To Turn A Brassy Lift Into A Brunette Balayage
-
Blonde
Dear Clients, Read This Before Going Blonde!

