
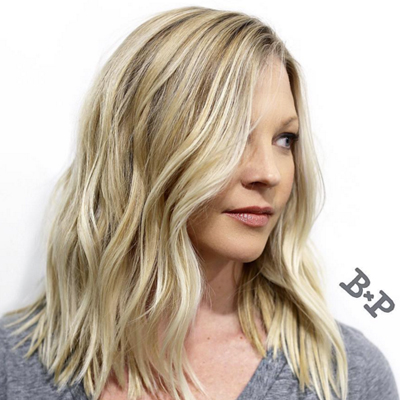
Lived-In Blonde Balayage
Lived-In Blonde Balayage
HOW-TO STEPS 
-
 1
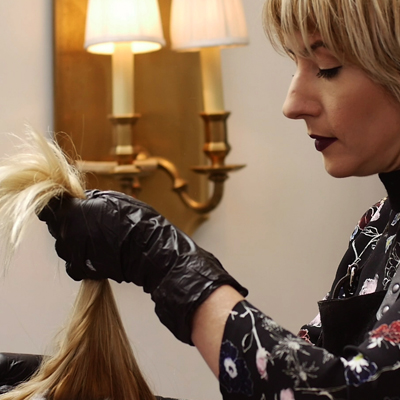
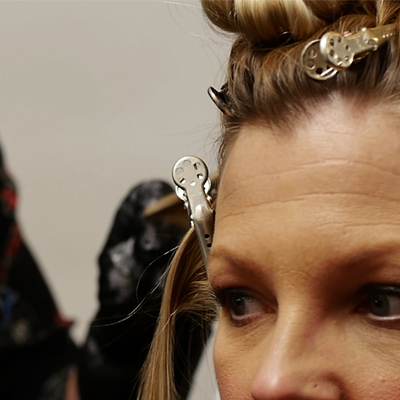
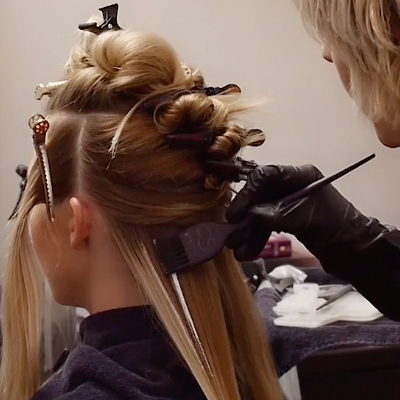
1Have your client determine where her part is, accounting for natural growth patterns (cowlicks) at the back of head. Mark this area with Marianna Professional Yoyette Clips. Take a horseshoe-shaped section from temple to temple, including your previously marked parting. Gather this section on top of head with a butterfly clip.
-
 2
2Clip off vertical sections of hair in front of the client’s ear. Create 1 inch horizontal sections at the back of the head, going down as far as you want to add highlights.
-
 3
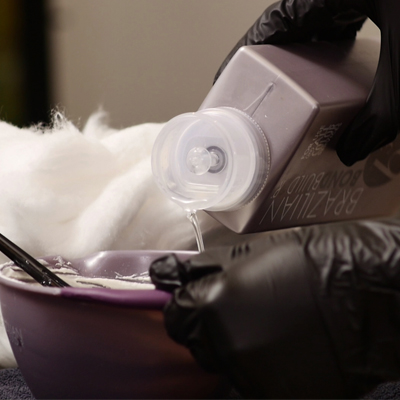
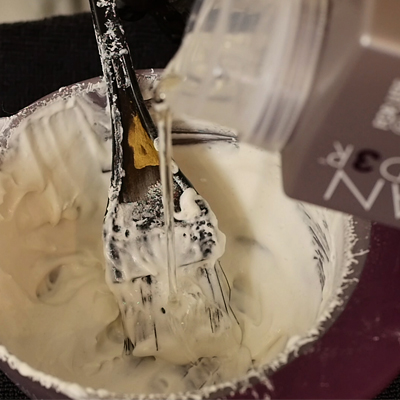
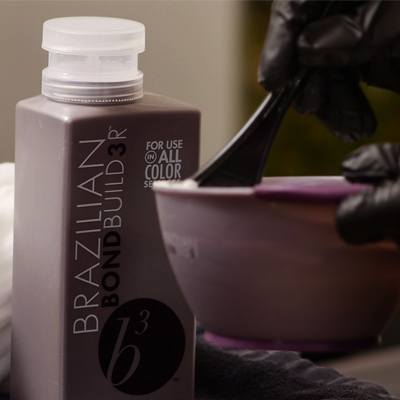
3Combine one scoop Solaris Free Flow Balayage Bleach + 40-volume peroxide. Mix until bleach is slightly thicker than sour cream (approximately 25 ml). Add 1/8 oz. b3 Brazilian Bond Builder to mixed bleach. This ensures damage-free highlights, deters the product from puffing and creates a smooth consistency of product.
-
3
-
 4
4Thoroughly blend together until product is clump-free and is the consistency of sour cream.
*Tip: Depending on the amount of hair the client has, you may need several bowls to finish your application, being sure to not mix too much product at once to minimize the oxidation process and allow for the brightest results.
-
 5
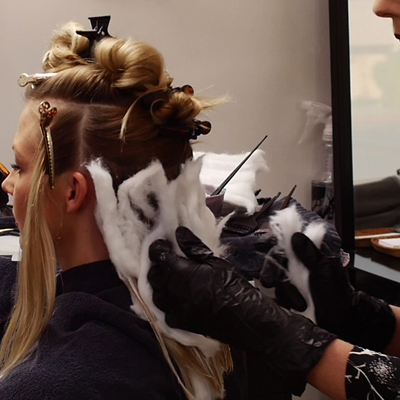
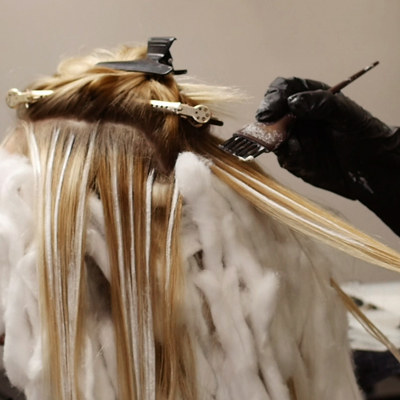
5Apply product to sections using a swooping motion, concentrating on the ends of the hair for a gradient or “melt” effect. Feather up toward the scalp to ensure no harsh lines.
-
 6
6Use 100 percent Cotton Coil to separate the sections. This allows the product to breathe during the process and prevents sections from touching each other and spotting.
-
 7
7When nearing the top of the head, if you are comfortable, you can add a higher volume developer to speed the lifting process so that both the bottom and the top of head lift equally by the time you are finished with application.
-
 8
8Refine the product with olive oil mixed with bond builder. This stops development of any areas you want to fade out. It’s also super beneficial to the hair. If further lifting is required, apply a plastic bag loosely clipped on top of the highlights and place the client under a dryer, checking frequently to ensure there is no over-processing.
-
 9
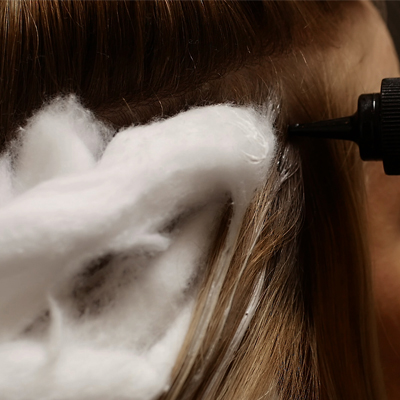
9Remove the cotton, and rinse. Apply smudge to root with a brush in a timely manner. For this session, Christine used L’Oreal Majirel 8.1 + 20-volume developer, applied to root area and rinsed, then shampooed with B3 Color Care Shampoo immediately.
Apply a gloss to meld the highlights and cancel out tones from previous highlighting. Christine used L’Oreal DiaLight 10.12 + 9-volume developer + ¼ oz. b3 Brazilian Bond Builder. Gloss is applied with a brush on the root to approximately three inches out, then left for about a minute and then whooshed through the ends of the hair. Shampoo gloss using B3 Color Care Shampoo. Follow with B3 Reconstructor to further seal the cuticle and lock in the color.
-
More from
b3 Brazilian Bond Builder
-
BTC Hair Trend Report
Your Complete Guide To Color Blocking
-
Hair Color
Pink Tri-Melt Technique
-
Blonde
MOONSTONE MELT FORMULA
-
WWYD- What Would You Do?
Removing Red Haircolor: 3 Things To Know
-
Balayage
Dimensional Caramel Ribbons On A Level 4 Base
-
Curls
Wig Wearing Secrets: Caring For The Hair Underneath
-
Balayage
11 Money Piece Formulas That Will Bring In the Dough 💰
-
Blonde
From Black To Smoky Silver Platinum
-
Pink
Sparkling Rose and Silver Bob
-
Blonde
Shadow Blonde Foilayage
-
Hair Color
Deep, Dimensional Red Wine
-
Hair Color
Box Dye Correction: Sterling Silver
-
Balayage
Brunette Creme Balayage
-
Blonde
Beige Shadow Root
-
Best of 2018
These Pink Formulas Defined #haircolorgoals In 2018
-
Bond Builders
Cool-Toned, Ashy Brunette Foilayage
-
Hair Color
Pumpkin Spice
-
Color Melt
Vibrant Autumn Sunset
-
Balayage
Blood Orange Melt
-
Hair Color
Soft Baby Pink
-
Balayage
Color Correction: Smoky Babylights
-
Balayage
Rich & Rooty Red Balayage
-
Hair Color
9 Platinum White Color Formulas
-
Blonde
COLOR CORRECTION: Ash Blonde
YOU MIGHT LIKE THIS
-
Balayage

Shadow Root + Blonde Balayage
-
Balayage
Journey To Rooty Blonde Balayage
-
Balayage
Flawless Blonde Balayage Blend
-
Balayage
Lived-In Blonde with Johnny Ramirez
-
Balayage
Blended Balayage
TRENDING NOW!
-
BTC Hair Trend Report
The Biggest Haircut Trends of 2024
-
Copper
What Is The "Cowboy Copper" Hair Trend? Here's What It Really Means...
-
Bobs
How to Avoid a Bulky Bob: 4 Techniques To Try
-
Hair Color
WWYD: How To Stop Your 6N From Turning Orange
-
Uncategorized
TikTok's Viral "Scandinavian Hairline" Is Actually Not New...
-
Celebrity
10 BIPOC Celebrity Hairstylists Who Are Making Major Waves In The Industry Right Now
-
Glossing/ Toning
How To Achieve "Glass Hair": Smart Hacks From Hairdressers
-
Curly
Long Layers: 10 Pro Tips + Common Cutting Mistakes

