
Hair Painting With Extensions
Hair Painting With Extensions
Products Used
HOW-TO STEPS 
-

 1
1Before.
-
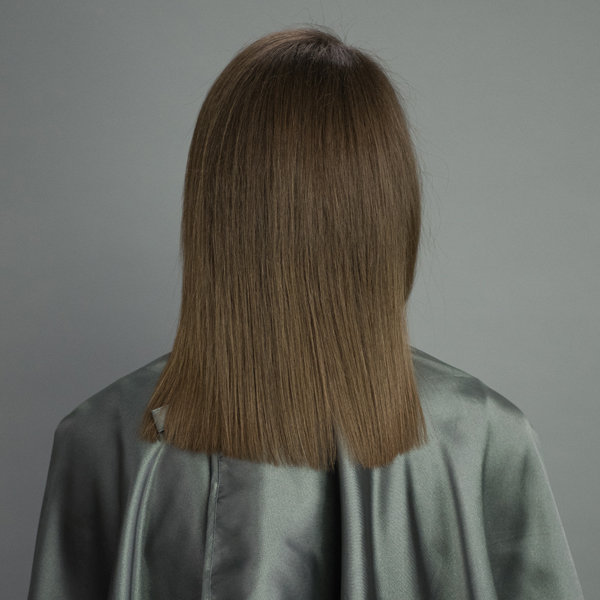 2
2Before.
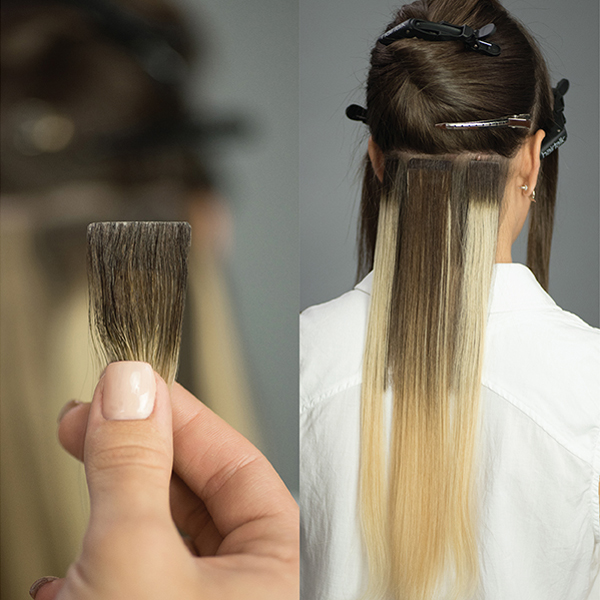
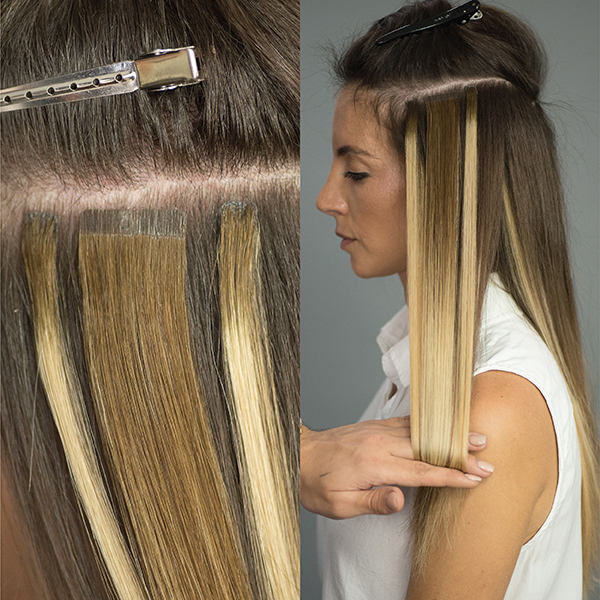
Pro Tip Before Starting: For a “painted” outcome, Tucker suggests creating peaks and valleys (or highs and lows) with the tape-ins by using both the hairtalk® rooted extensions and the Colormelts in the same row (shown in the photo below). Keep this in mind throughout the application!
-
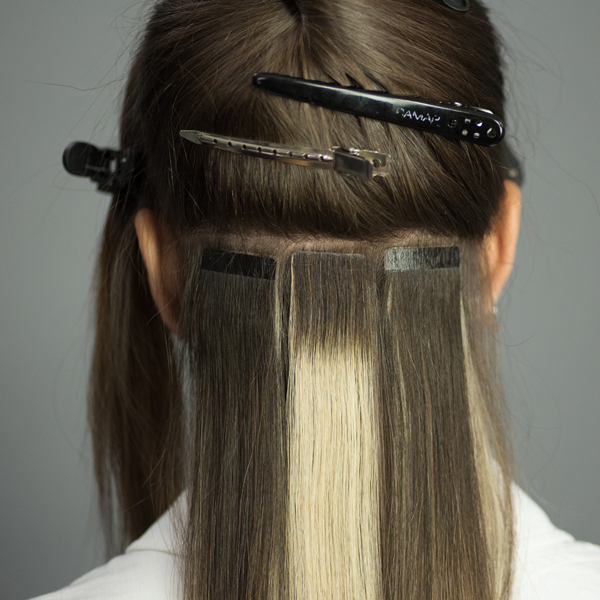
 3
3Start applying the first row of extensions approximately 1 to 1½ inches above the nape—apply the hairtalk® Petites Plus color 25/4R with 6/24 Colormelts underneath for the peak and the hairtalk® Originals color 5/23 Colormelts with color 25 underneath for the valley.
-
 4
4To create the most natural outcome, use a bricklay pattern when placing the extensions and alternate colors. In the next row, use hairtalk® Originals color 4/8 Colormelts with color 25 underneath for the valley and hairtalk® Petites Plus color 25/4R with color 23 underneath for the peak.
-
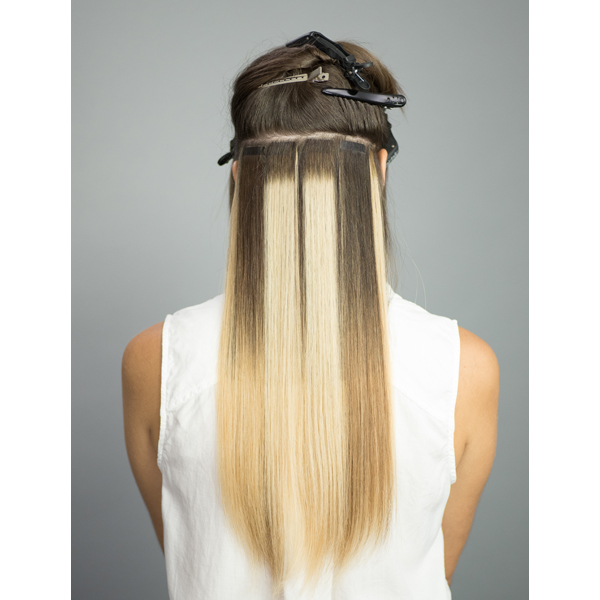 5
5Continue working up the head, alternating placement and color.
-
 6
6Once reaching the hairline behind the ears, use hairtalk® Mini Plus color 23/6R with color 23 underneath. The Minis are 0.4 inches wide—making them almost totally undetectable when working in tough spots or when trying to create face-framing money pieces.
-
 7
7Once reaching the crown, move to each side of the head. Use the Mini Plus 23/6R with color 23 underneath for the peak and the Petite 6/24 Colormelts with color 4/8 Colormelts underneath for the valley.
-
 8
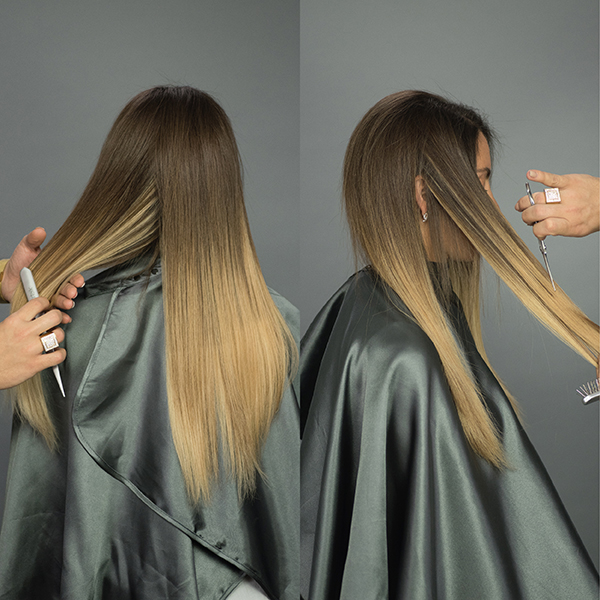
8Next, blend the extensions with the client’s hair by framing the face. Add soft/feathered layers from the client’s top layer to the top row of the extensions, and diffuse any heaviness from the client’s natural hair by texturizing the ends at a 45-degree angle (this avoids cutting any length from the hair).
-
 9
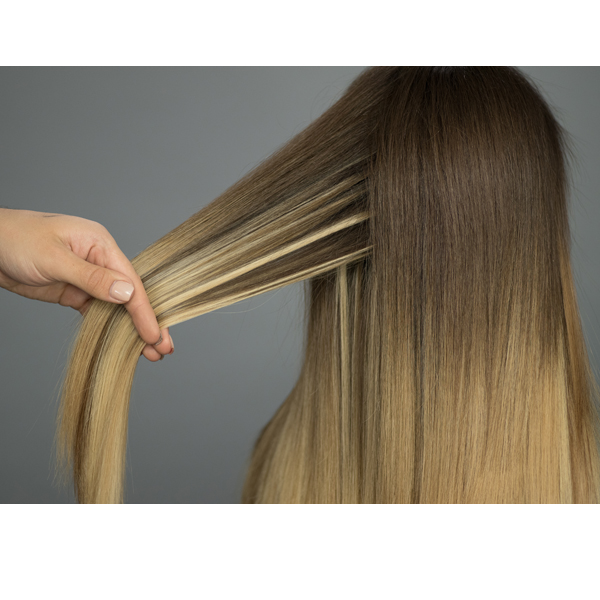
9The finished highlight created with the tape-ins!
-
 10
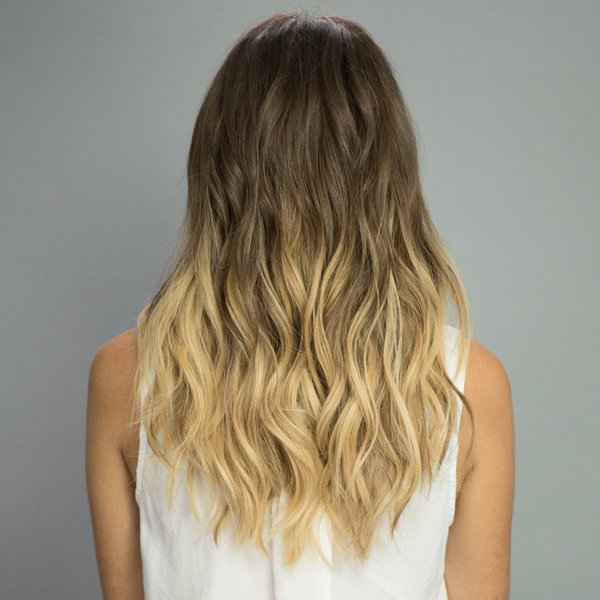
10Finished look.
-
 11
11Finished look.

More from
Hairtalk
-
Facebook Lives
Create A Bronde Balayage Without The Bleach: Here’s How!
-
Extension Application
TRIPLE YOUR PROFIT PER HOUR: HAIRDRESSERS, LISTEN UP!
-
Manufacturer
Beauty Industry Group Announces Leadership Changes
-
Hair Extensions
How To Book And Price Multi-Method Extensions Services
-
Hair Extensions
hairtalk® Launches Keratin Extensions
-
Business
How To Choose The Best Type Of Extensions For Every Client
-
Hair Extensions
Pro Tape-In Extensions
-
Business
Get Certified in 3 Extension Installation Methods With This Online Course
-
Facebook Lives
Timesaving Technique: Instant Beaded Row™ Extension Installation
-
Hair Extensions
Instant Beaded Row™
-
Bobs
4 Tips To Build A Full Bob With Extensions
-
BTC Events
BTC “On Tour” New York City 2020
-
Hair
Transformation: Blunt Blonde Bob With Extensions
-
WATCH: Double Hand Tied Weft Extension Application Technique
-
Hair Extensions
Double Hand Tied Weft
-
BTC Events
BTC “On Tour” Nashville—Here’s How We Closed Out Our 2019 Tour
-
BTC Events
BTC “On Tour” Nashville
-
BTC University
4 Tips To Give Clients Better, Blonder Extensions
-
Hair Extensions
Give Your Clients This Guide For At-Home Extension Care
-
Brushes/Combs
Extension Brush
-
Hair Extensions
6 Mistakes That Can Ruin A Tape-In Extension Application
-
Hair Extensions
How To Properly Prep The Hair For Extensions
-
Bobs/Lobs
Watch: Lob Styling Using Extensions
-
Best of 2018
The Extension Education You Need Before 2018 Ends
YOU MIGHT LIKE THIS
-
Hair Extensions
Vintage Waves With Extensions
-
Color Melt
Metallic Melt + Tape-In Extensions
-
Hair Color

Tape-In Extensions: Iridescent Lavender + Shadow Root
-
Hair Extensions
Installing TruMatch Tape-In Extensions
-
Hair Extensions
Tape-In Extensions: How-To
TRENDING NOW!
-
BTC Hair Trend Report
The Biggest Haircut Trends of 2024
-
Monthly Product Launch List
11 New Game-Changing Hair Launches To Add To Your Arsenal
-
Copper
What Is The "Cowboy Copper" Hair Trend? Here's What It Really Means...
-
Frizz
Straighten & Smooth 2A, Fine-Medium Density Hair
-
Copper
Muted Bronze
-
Blonde
Conditioner Before Toner: Common Hair Myth Debunked
-
BTC Hair Trend Report
WWYD: How Hairstylists Are Navigating Inflation
-
Haircuts
SHAG 101: The Dos And Don'ts

