
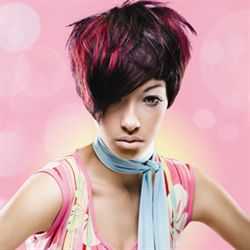
Farouk Contra Cut Step-by-Step

Advertisement
Advertisement
Advertisement
Advertisement
Advertisement
Farouk Contra Cut Step-by-Step
HOW-TO STEPS 
-
 1
1 -
 2
2 -
3
-
4
-
5
-
 6
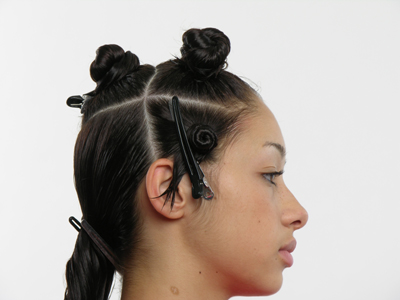
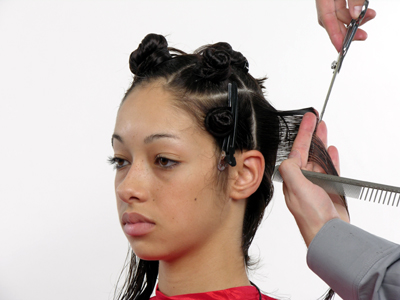
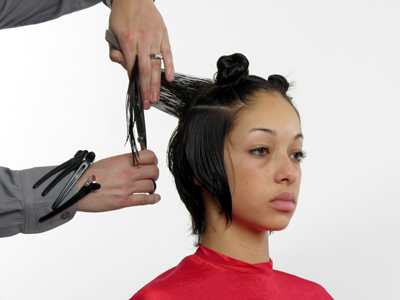
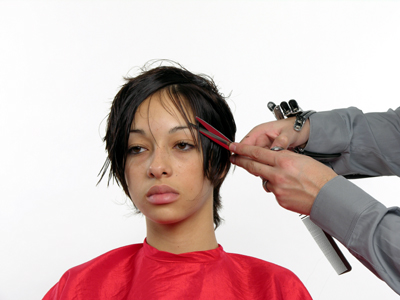
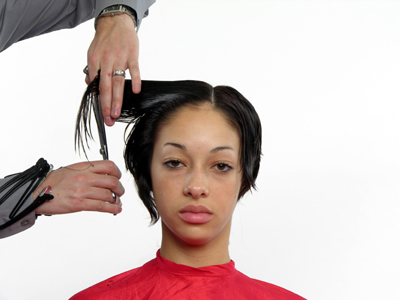
6Divide the front section vertically from center left eyebrow.
See Diagram 4.
-
 7
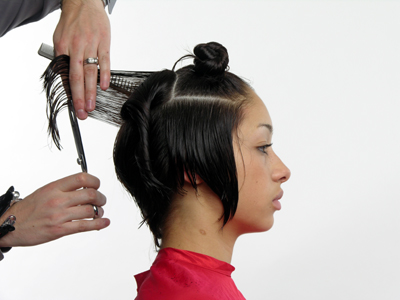
7Divide the back section following the parietal ridge in a curve.
See Diagram 2.
-
 8
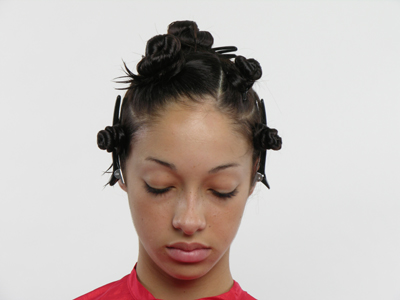
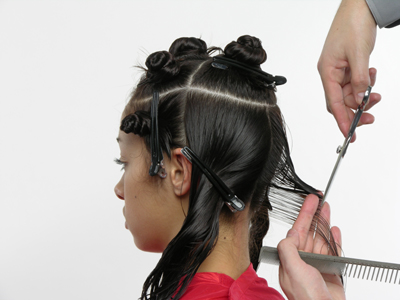
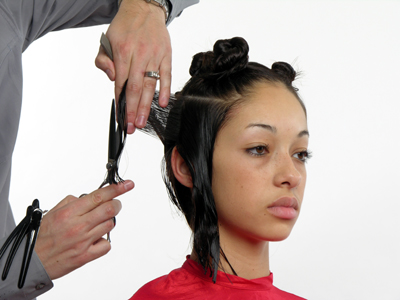
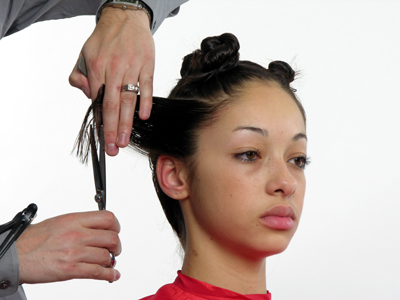
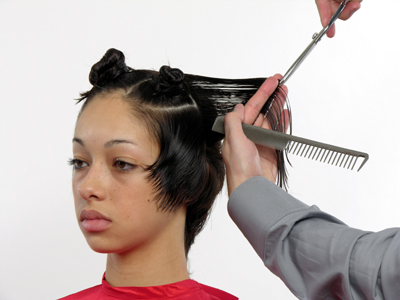
8Section from ear to ear through apex.
Isolate front side sections on both sides.
See Diagrams 1 & 3.
-
 9
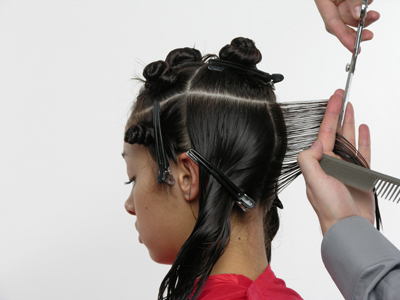
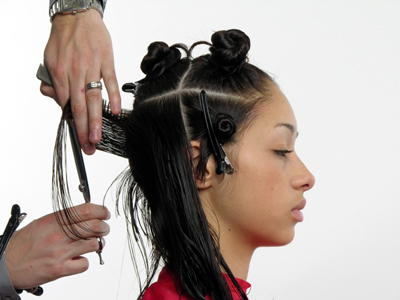
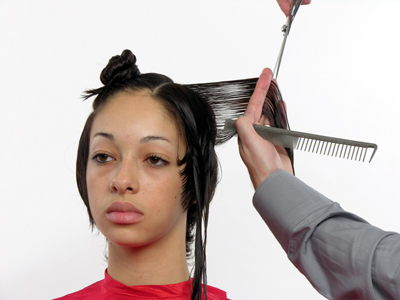
9Left Back Section: Start from the middle of the back section by taking a vertical section.
-
 10
10Left Back Section: Comb the section straight out from the base and blunt cut to a square layer.
-
 11
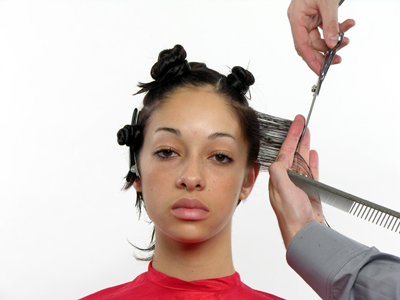
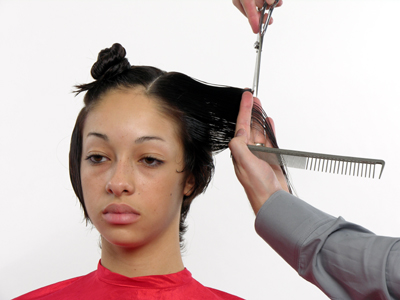
11Left Back Section: Continue to work in the same manner using this length as your traveling guide line throughout the left back section.
-
 12
12Right Back Section: Repeat the same thing on the right side.
-
 13
13Left Front Side Section: Use your previous length as your traveling guide line for the whole front side section and blunt cut in square layers.
-
 14
14Right Front Side Section: Over direct all the hair to this point and blunt cut in square layers.
-
 15
15Right Front Side Section: Over direct all the hair to this point and blunt cut in square layers.
-
 16
16Crown Area: Take a middle section on the crown area and cut with a square layer, connecting with your length underneath.
-
 17
17Crown Area: Use this length as a traveling guide line for the left side.
-
 18
18Fringe: Cut a curved line for the fringe section free hand to desired length and texture.
-
 19
19Crown Area: Repeat the same thing on the other side.
-
 20
20Left Top Section: Start at the ear point use your previous length underneath as your stationary guide line.
-
 21
21Left Top Section: Over direct everything to this point and blunt cut into square layer.
-
 22
22Right Top Section: Repeat in the same manner.
-
 23
23Read the step-by-step and check out the diagrams that follow.
YOU MIGHT LIKE THIS
-
Hair Color
Farouk Contra Color Step-by-Step
-
Hair Color
Mosaic Part 3: Cut and Color from Farouk
-
Hair
Mosaic Part 1: Cut and Color from Farouk
-
Hair
Mosaic Part 2: Cut and Color from Farouk
-
Hair Color
Farouk Neo-Real Color Step by Step
TRENDING NOW!
-
BTC Hair Trend Report
The Biggest Haircut Trends of 2024
-
Blonde
Conditioner Before Toner: Common Hair Myth Debunked
-
Monthly Product Launch List
11 New Game-Changing Hair Launches To Add To Your Arsenal
-
Copper
What Is The "Cowboy Copper" Hair Trend? Here's What It Really Means...
-
Copper
Muted Bronze
-
Haircuts
SHAG 101: The Dos And Don'ts
-
Frizz
Straighten & Smooth 2A, Fine-Medium Density Hair
-
BTC Hair Trend Report
WWYD: How Hairstylists Are Navigating Inflation

