
Denman Finishing How-To: Graduated Bob

Advertisement
Advertisement
Denman Finishing How-To: Graduated Bob
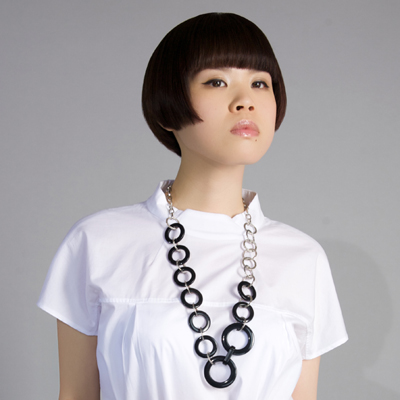
Bobs are eternally modern and endlessly suitable for so many face shapes. There are several ways to finish the classic look, but in this Graduated Bob Finishing How-To, Denman spokesperson Mark Woolley demonstrates how to create a sleek, graphic shape that accentuates the solidity of the cut’s outlines.
 GET THE BRAND NEW DVD! Denman’s Essential Guide to Blow Drying DVD/Booklet shares 12 techniques for creating perfect finishes on 6 different cuts—only $69.95!
HOW-TO STEPS 
-
 1
1Damp hair is misted through with blowdry spray.
-
 2
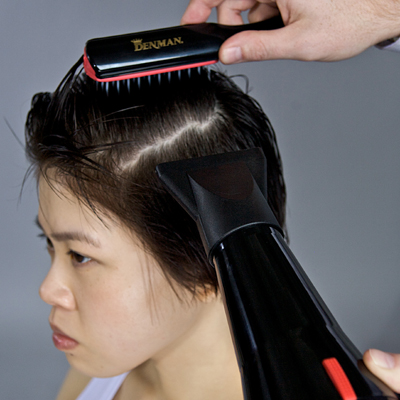
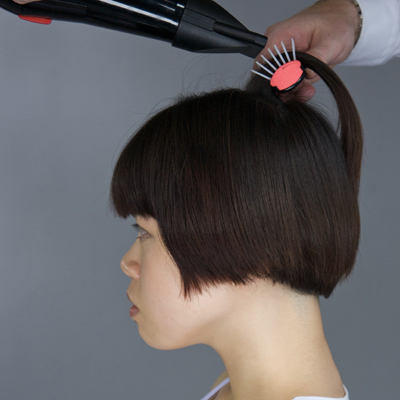
2Using a Freeflow brush, move the hair around the head to get air in at the roots and release moisture. Start to push the hair into shape with the brush.
-
 3
3Using the Freeflow, part the hair, and brush into bob shape.
-
 4
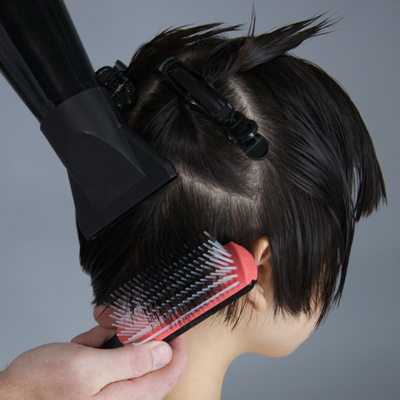
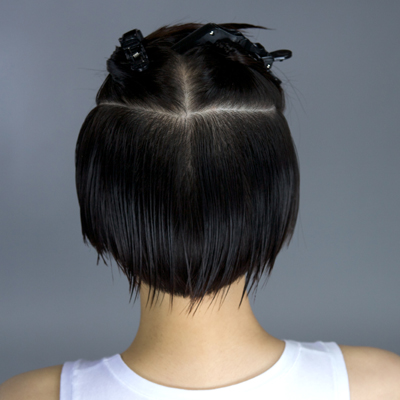
4Section the hair from nape to hairline and ear to ear. Clip away the sections. Begin working at the nape below the occipital bone.
-
 5
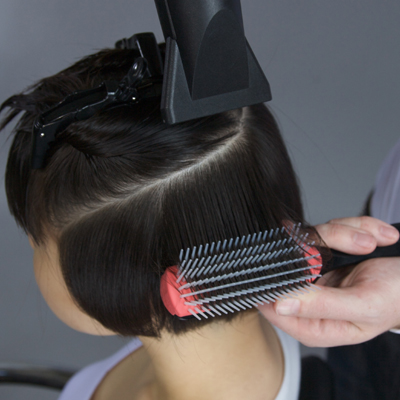
5Using a Classic 7-Row Denman, work up the head taking sections at 45 degree angles. Standing to the side, hold the dryer directly above the section and place the brush in at the root and turn. Apply tension as you draw the brush down the lengths to make sure the hair lies flat.
-
 6
6Swap hands with your tools and repeat for the other side. Work up the head towards the crown in this manner, blending sections as you progress.
-
 7
7Next take a section from just below the crown to the front hairline. Place the brush in at the root very precisely and lift the section pulling the brush through to the ends. Continue forward, but do not over lift the hair at the front hairline. For the shorter sections at the hairline use the first two rows of bristles or switch to a small Classic 5-Row Denman.
-
 8
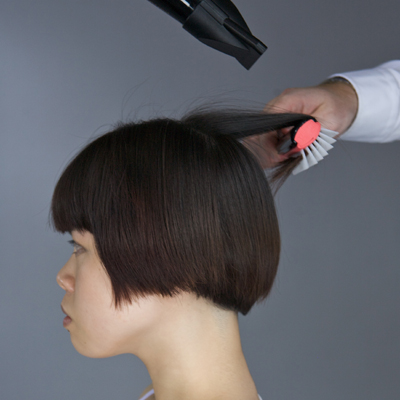
8For the top sections, place the brush in at the roots and pull it through the mid-lengths. At the ends remove the air flow and roll the brush. Repeat technique for the entire section, smoothing the sides and creating a slight bend at the ends. Blend all the top sections with the previously dried hair.
-
 9
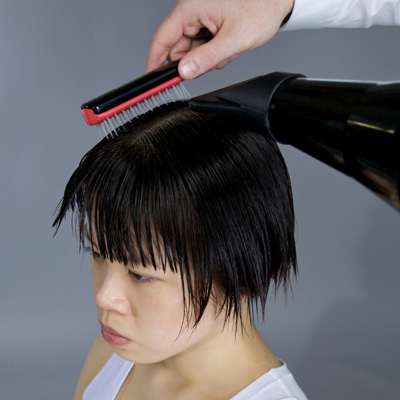
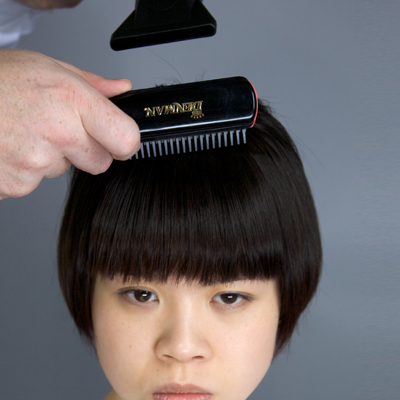
9Section off the fringe making sure it’s still damp. Begin working on the fringe by taking very fine sections. Blow dry using the same technique, gently lifting and pulling the hair into place following the brush with the air flow.
-
 10
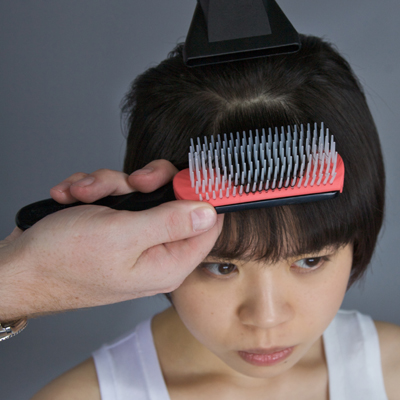
10Add bend by drawing the brush under at the ends, heating the hair in the brush and allowing to cool.
-
 11
11Refine the outline of the hair in the top sections by putting plenty of tension on the hair as you place the brush in at the root, draw slowly down the lengths and roll the ends, allow the hair to cool before releasing.
-
 12
12
YOU MIGHT LIKE THIS
-
Hair
Denman Finishing How-To: Long Thick Layers
-
Bobs
Blunt, Graduated Bob
-
Bobs
Cropped Bob with Square Fringe by Damien Carney for Joico
-
Bobs
Modern Texturized Bob from TIGI’s Anthony Mascolo
-
Bobs
Graduated Modern Bob from TONI&GUY
TRENDING NOW!
-
BTC Hair Trend Report
The Biggest Haircut Trends of 2024
-
Blonde
Conditioner Before Toner: Common Hair Myth Debunked
-
Monthly Product Launch List
11 New Game-Changing Hair Launches To Add To Your Arsenal
-
Copper
What Is The "Cowboy Copper" Hair Trend? Here's What It Really Means...
-
Frizz
Straighten & Smooth 2A, Fine-Medium Density Hair
-
Copper
Muted Bronze
-
Haircuts
SHAG 101: The Dos And Don'ts
-
BTC Hair Trend Report
WWYD: How Hairstylists Are Navigating Inflation

