
Balayage “Teased” Mohawk

Advertisement
Advertisement
Advertisement
Advertisement
Advertisement
Balayage “Teased” Mohawk
HOW-TO STEPS 
-
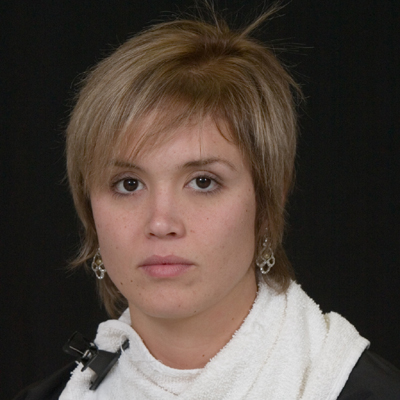 1
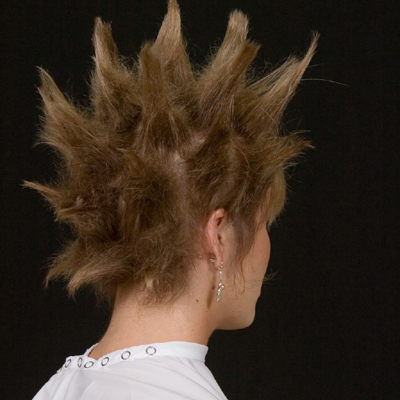
1Before
-
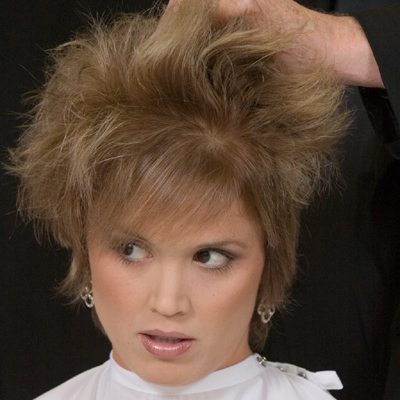 2
2Use a medium hairspray to make the hair dirty. Then start teasing the hair using the hairspray and comb.
-
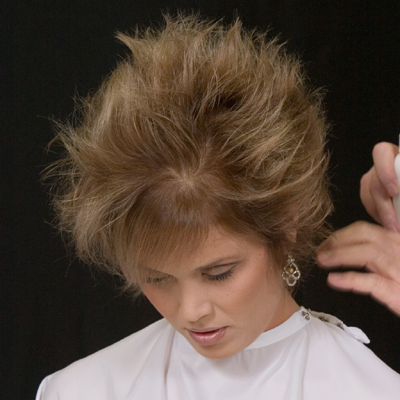 3
3The hair has to be teased strong enough so the product doesn’t weigh it down.
-
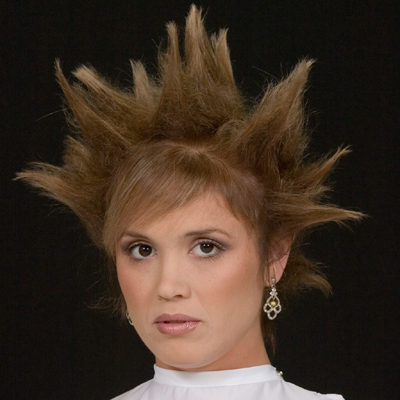 4
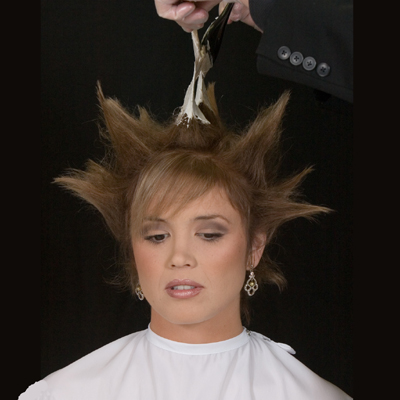
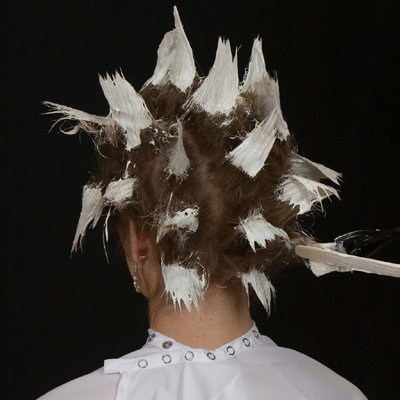
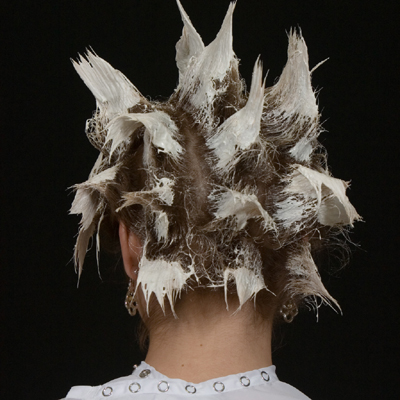
4Section the hair into 5 rows of tubes, teased up and reinforced with hairspray, leaving out the hairline.
-
 5
5After finishing rows, mix your product a little thinner than in normal Balayage, using Balayage Bleach.
-
 6
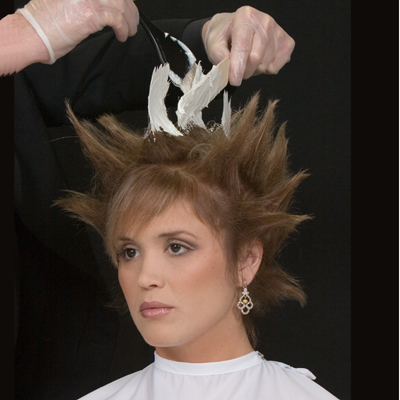
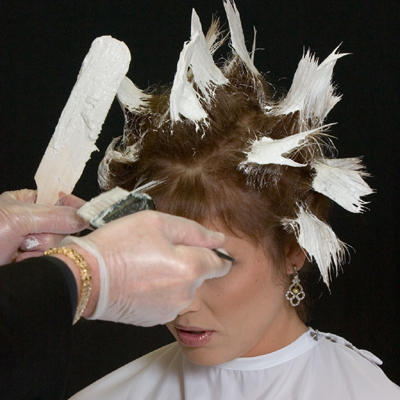
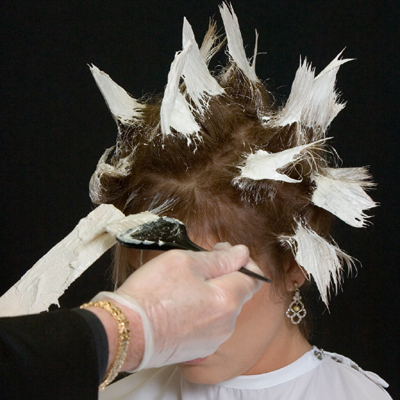
6Apply lightener to both sides of the paddle. Paint the lightener on, holding one side with the paddle and the other with the brush.
-
 7
7Paint tubes 1 inch from scalp, staring in the front and working towards the nape.
-
 8
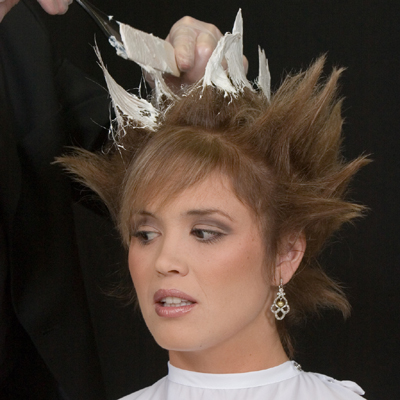
8Continue the same process moving down on the next row of hair.
-
 9
9Continue this step until one side is finished and all tubes are painted.
-
 10
10Starting on the other side of your first row, continue to paint those tubes from front to back.
-
 11
11Make sure you keep enough product on your paddle, keeping it close to your brush.
-
 12
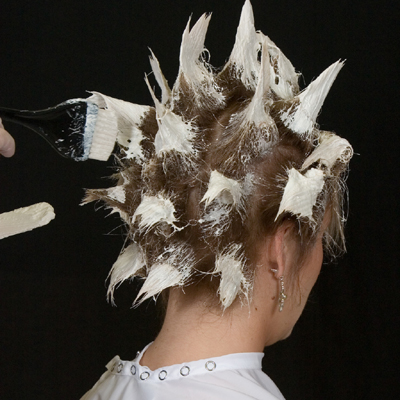
12After finishing the other side, start working down into the nape area.
-
 13
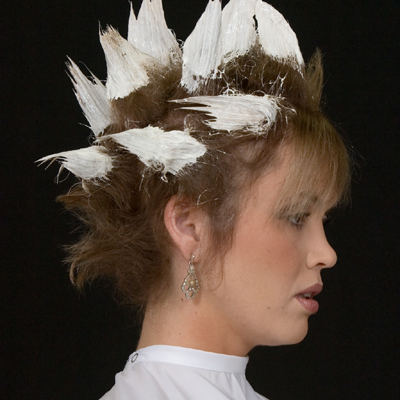
13After finishing, it should look similar to the picture. Then you should move in front of the client to start working on the hairline.
-
 14
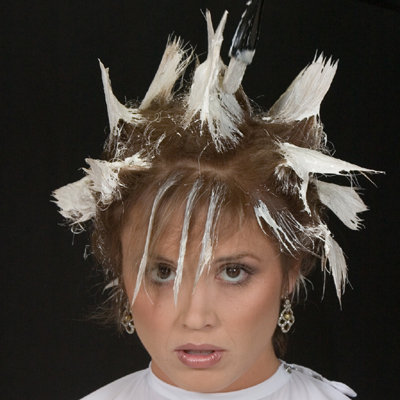
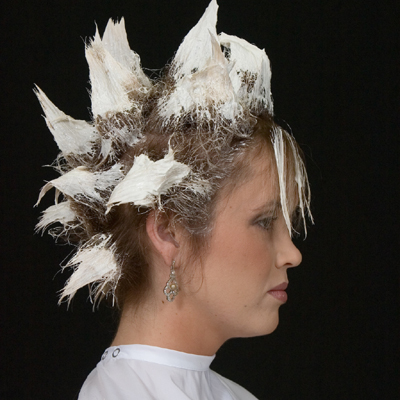
14Paint singles on the front of the hairline, directing them in the direction the hair flows.
-
 15
15Keep brush flat and diagonal with the paddle.
-
 16
16They should be about ½ inch apart.
-
 17
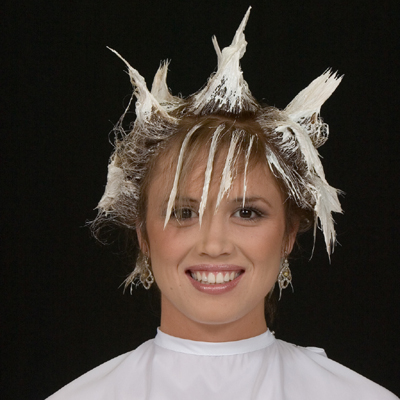
17Once you have painted all over, go back and paint the 1 inch sections closest to the roots, blending it in using less product.
-
 18
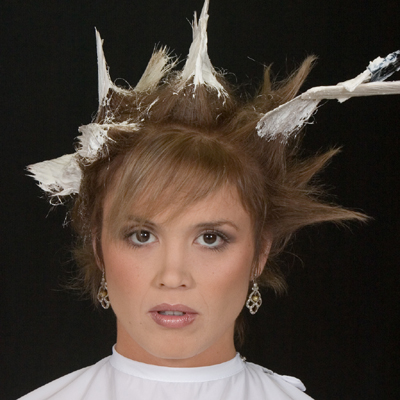
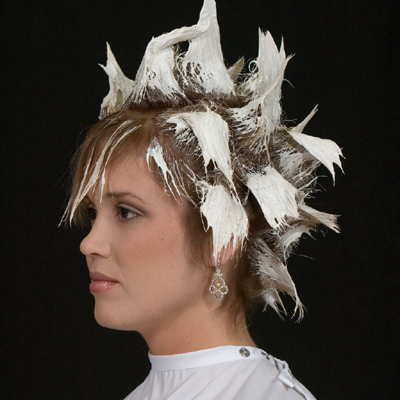
18After checking every piece of hair, it should resemble the picture.
-
 19
19Let Balayage sit on the hair for 20-30 minutes.
-
 20
20 -
 21
21 -
 22
22 -
 23
23Credits
Balayage: John Siggers
Photography: Robert Galbaugh
Makeup: Suni -
 24
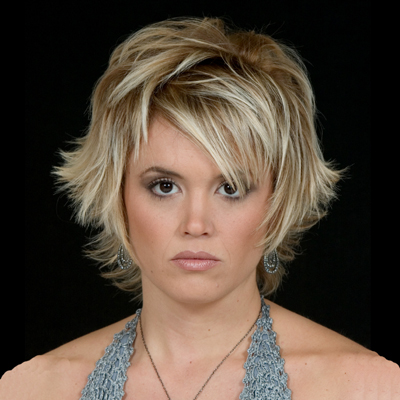
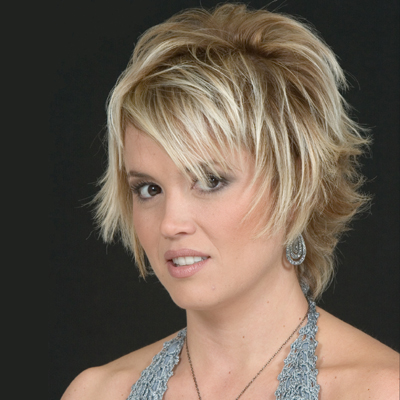
24Finished look.
YOU MIGHT LIKE THIS
-
Balayage
-
Balayage

How To Enhance Naturally Curly Hair With Balayage
-
Balayage
Kim Vo’s Dip and Tip Technique: The Evolution of Balayage
-
Balayage
Guy Tang Balayage Technique | Infused Metallic Dimension
-
Balayage
Shimmering, Strawberry Balayage from L’Oréal Professionnel
TRENDING NOW!
-
BTC Hair Trend Report
The Biggest Haircut Trends of 2024
-
Copper
What Is The "Cowboy Copper" Hair Trend? Here's What It Really Means...
-
Curly
Long Layers: 10 Pro Tips + Common Cutting Mistakes
-
Blowouts
Bombshell Blowouts: 4 Ways To Create Lift With Longevity
-
Frizz
Straighten & Smooth 2A, Fine-Medium Density Hair
-
Copper
Muted Bronze
-
Ask A BTC Expert
5 Foil Tips & Tricks From @the.blonde.chronicles
-
Haircuts
SHAG 101: The Dos And Don'ts

