
Alan Edwards “Freefall” Step-by-Step

Advertisement
Advertisement
Advertisement
Advertisement
Advertisement
Alan Edwards “Freefall” Step-by-Step
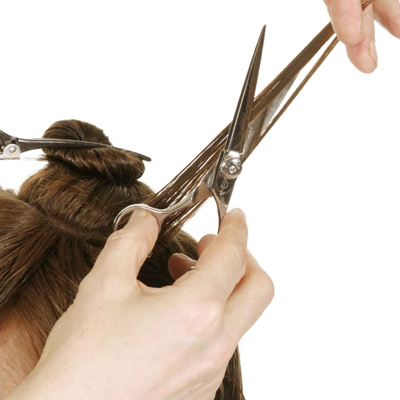
Try this “Freefall” cutting technique from Alan Edwards Salon in Glasgow. Edwards teaches classic cutting skills in-depth, and in “Freefall,” he shows you how to use concave and convex cutting skills to create a flattering, versatile cut with lots of styling options.
Get Alan Edwards’ DVD: Foundational Cutting Techniques
To learn more, go to www.alanedwardssalon.com

Subscribe to behindthechair.com “On Paper” Magazine–4 Issues Only $29.95!
Next Issue: COLOR with Beth Minardi!
HOW-TO STEPS 
-
 1
1 -
 2
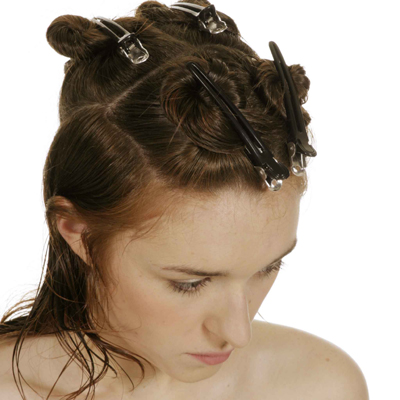
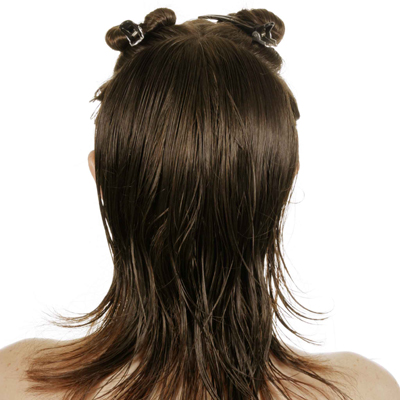
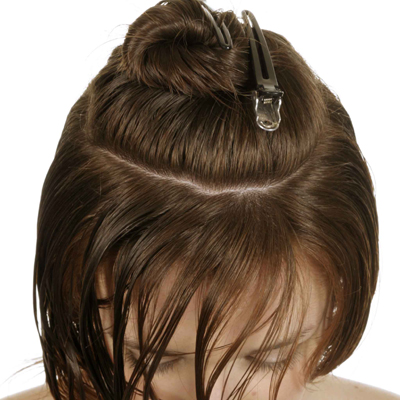
2Divide the hair into 4 sub-divisions leaving a 1 1/2-inch curved section running from temple to nape.
-
 3
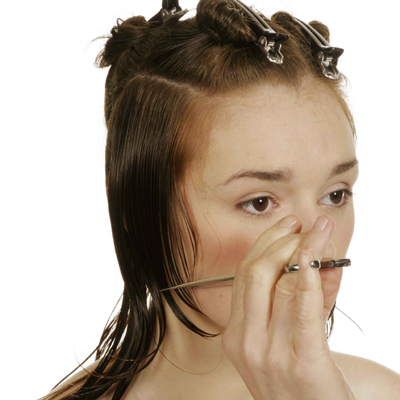
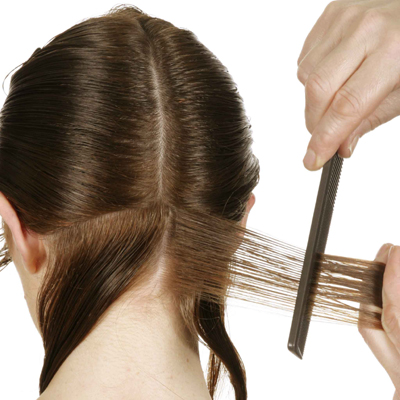
3Comb the curved section downwards so it falls naturally with no tension. Use the mouth or the nose as a guide and cut a curved outline using a free-hand cutting technique.
-
 4
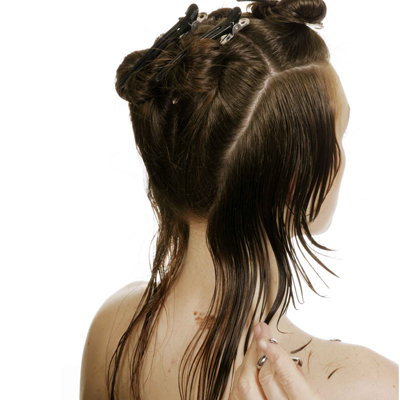
4Work towards the shoulder using the same technique. Start to lift the elbow of your cutting hand upwards, accentuating the curved outline. Retain the hairs weight at the nape area. Repeat on the other side.
-
 5
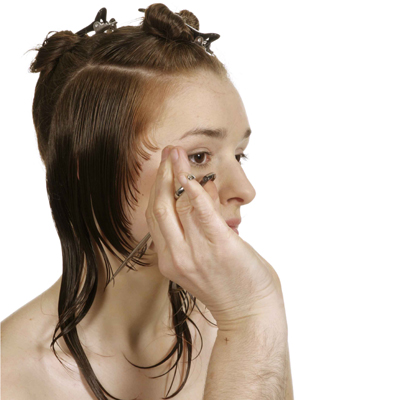
5From there comb down naturally. Using the eyebrow as a guide use the same scissor action as before. Cut a curved angle free-hand from eyebrow to mouth. Doing this opens up the cheekbones. Repeat on the other side.
-
 6
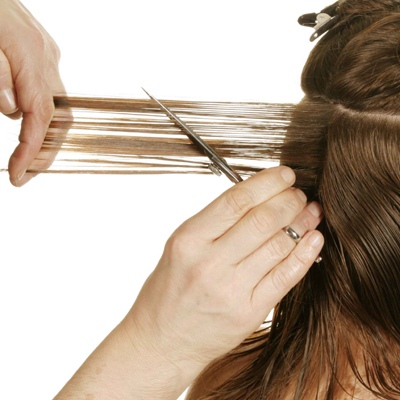
6Create a concave layer in the curved section taking 1 1/2-inch diagonal sub-sections starting at the nape.
-
 7
7Continue this technique from nape to hairline on both sides.
-
 8
8Release the 2 back sub-divisions, take a central section. Then take a 1-inch diagonal section on either side of the central section.
-
 9
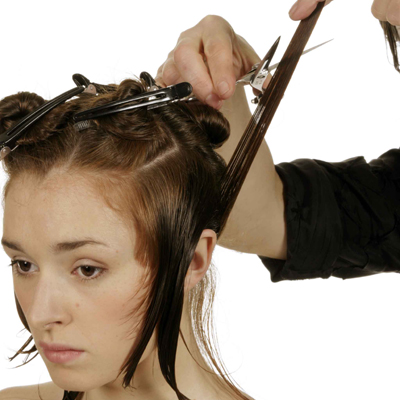
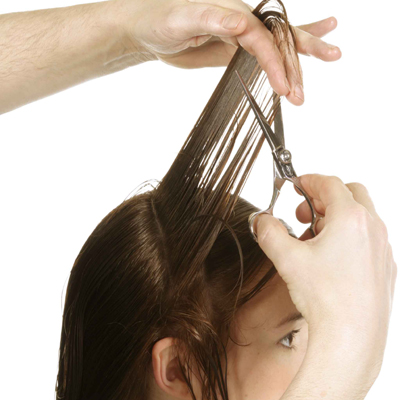
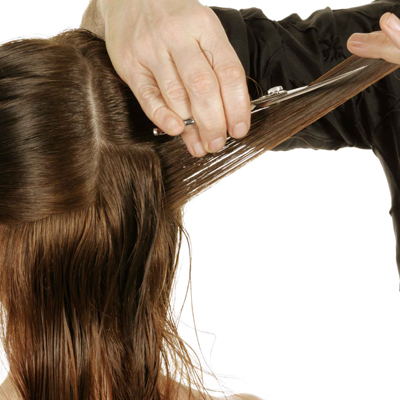
9Starting at the right hand side lift diagonal sections. Place your scissors underneath your fingers and, using the outline section as a guide, cut a convex layer curving outwards. Repeat on the other side.
-
 10
10Continue this technique through both sides of the back divisions. Now you will see the shape forming.
-
 11
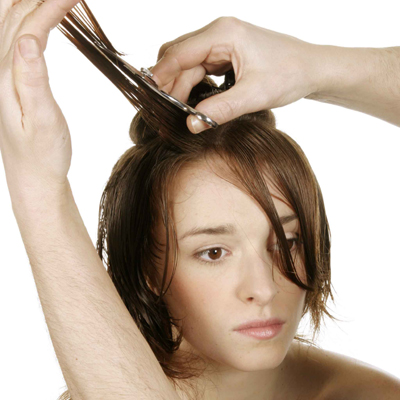
11Release the front 2 sub-divisions and continue working in the same manner.
-
 12
12Over-direct back to retain more length at the front hair-line. The perimeter shape is now complete.
-
 13
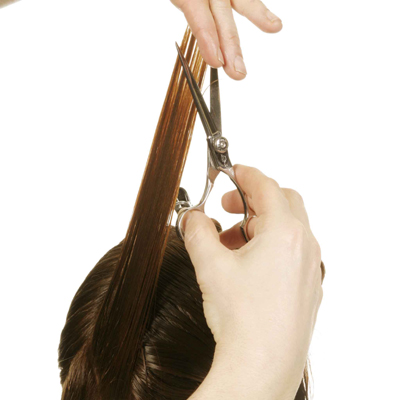
13Working with the internal shape take a central section, then take a horizontal section on either side. Hold out at 90 degree angle and cut a concave layer.
-
 14
14Continue working in 1-inch horizontal sub-sections cutting a concave layer, ensuring that your scissors glide along the hair shaft.
-
 15
15Once you reach the top of the ear continue with 1-inch horizontal sections from the back to the front hairline cutting in the same manner.
-
 16
16Now take a new 1-inch section which curves around the head to the front hairline and cut a convex and concave layer in the same section.
-
 17
17Continue working in 1-inch curved sections around the head creating an oval section.
-
 18
18First take a concave layer on top.
-
 19
19Then a convex layer from underneath. Continue in the same manner taking 1-inch oval sections cutting concave then convex until you run out of hair.
-
 20
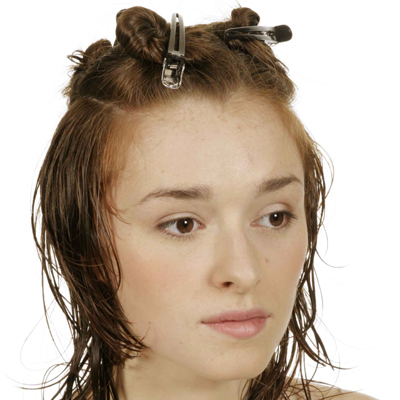
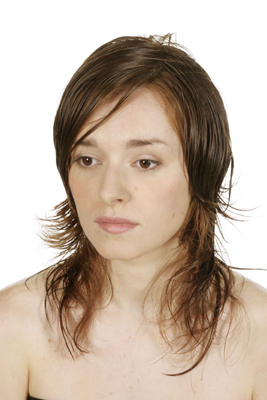
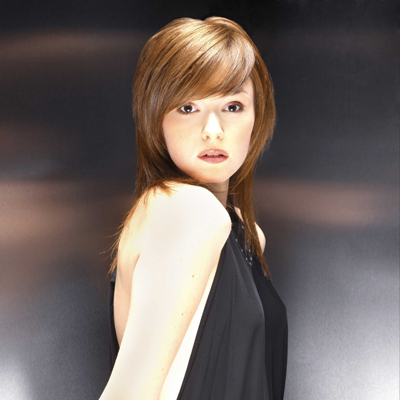
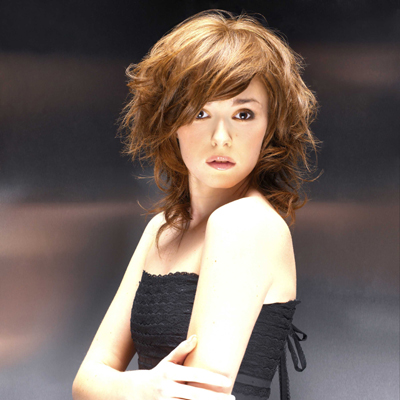
20This is the Freefall technique completed and ready for styling.
-
 21
21 -
 22
22
YOU MIGHT LIKE THIS
-
Hair
Alan Edwards “Bohemian Chic” Styling How-To
-
Hair
Alan Edwards “Renaissance” Step-by-Step
-
Styling
Master Your Diffusing Skills
-
Haircuts
WATCH: Texturizing and Adding Movement to Dense Hair Using a Razor
-
Brunette

How-To: Total Look Makeover
TRENDING NOW!
-
BTC Hair Trend Report
The Biggest Haircut Trends of 2024
-
Blonde
Conditioner Before Toner: Common Hair Myth Debunked
-
Monthly Product Launch List
11 New Game-Changing Hair Launches To Add To Your Arsenal
-
Copper
What Is The "Cowboy Copper" Hair Trend? Here's What It Really Means...
-
Copper
Muted Bronze
-
Haircuts
SHAG 101: The Dos And Don'ts
-
Frizz
Straighten & Smooth 2A, Fine-Medium Density Hair
-
Business
Don't Fall Victim To Hair Industry Greenwashing—Read This First

