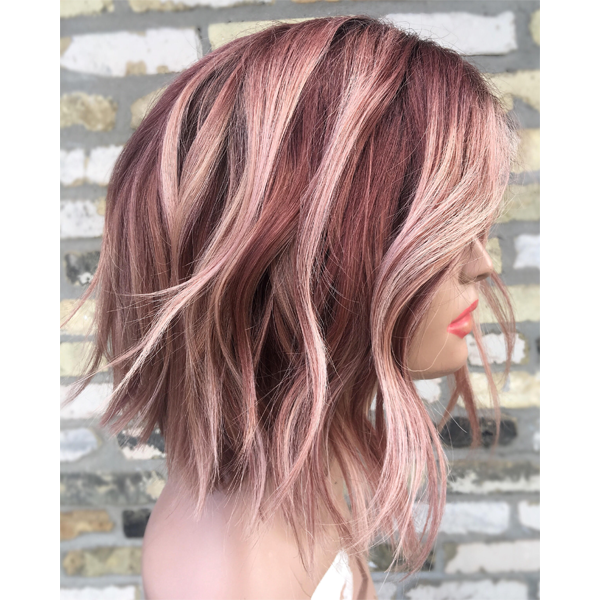
1. Prelighten the hair and let process until she reaches anywhere from a Level 8 to a Level 10.
Note: You can create a similar look that’s a few shades darker on Levels 6 to 8 as long as the hair has been bleached out first.
2. Section the hair based on the client’s desired part, then work in horizontal sections and apply Formula A to the root area. “Since this technique requires a lot of time, you want to work quickly because you don’t want the color to pull too dark,” advises Sai.
3. Then, take a 1- to 2-inch V-shaped section and paint Formula A in the middle and Formula B on the outside of the V. Make sure the ends are heavily saturated with Formula B as well.
Pro Tip: Work slowly and sweep gently. Sai says the secret is melting the lightener into the color softly because the blend for each section has to be clean. Otherwise, it will show at the end.
4. Repeat the previous step on a second 1- to 2-inch V-shaped section.
5. Paint the next section with Formula A only and drag the formula down to the ends. “If you want more of an ombré, you can skip this step and repeat Step 3 throughout the entire head,” shares Sai. “But in order for dimension to be amplified, light always needs a backdrop to create a reflection. This is why this step is important.”
6. Continue Steps 3, 4 and 5 until the whole head is painted and place each section in plastic wrap to keep your sections clean and to prevent bleeding.
7. Rinse the hair in cool water, then tone with Formula C and let process for 5 minutes.
Pro Tip: Pull the plastic off layer by layer and wash each individual section so you don’t have to worry about color transfer.
8. Rinse again, then blow-dry and style as desired.


