
Razored Layers Cut and Color How-To from Pivot Point

Advertisement
Razored Layers Cut and Color How-To from Pivot Point
HOW-TO STEPS 
-
 1
1This look familiar? The model’s hair has grown out from a previous cut, and she’s in need of a new shape and color, and fast!
-
 2
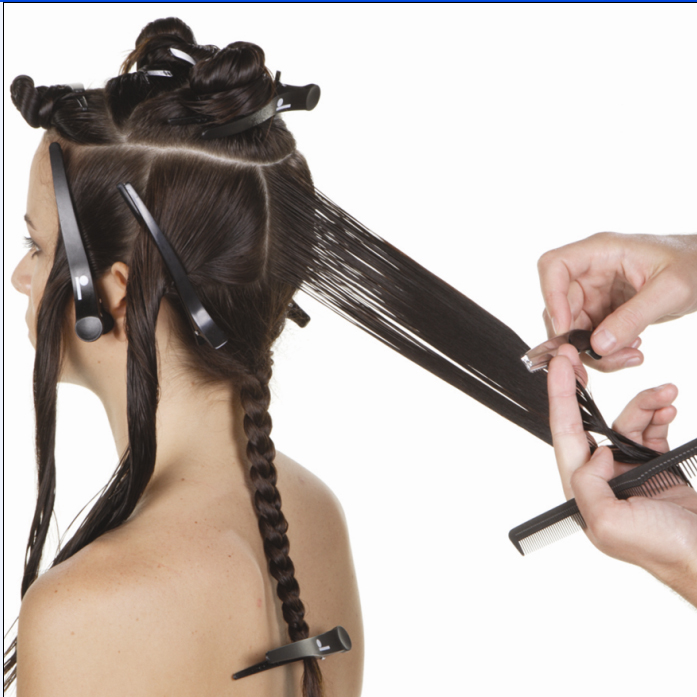
2In the back exterior, converge wide vertical partings. Project at a 45-degree angle and razor etch vertically. Work to one side, sculpting each parting individually, then work to the other side.
-
 3
3Use vertical partings on one side and distribute forward. Converge to a nonparallel stationary design line and razor etch. Repeat on the opposite side.
-
 4
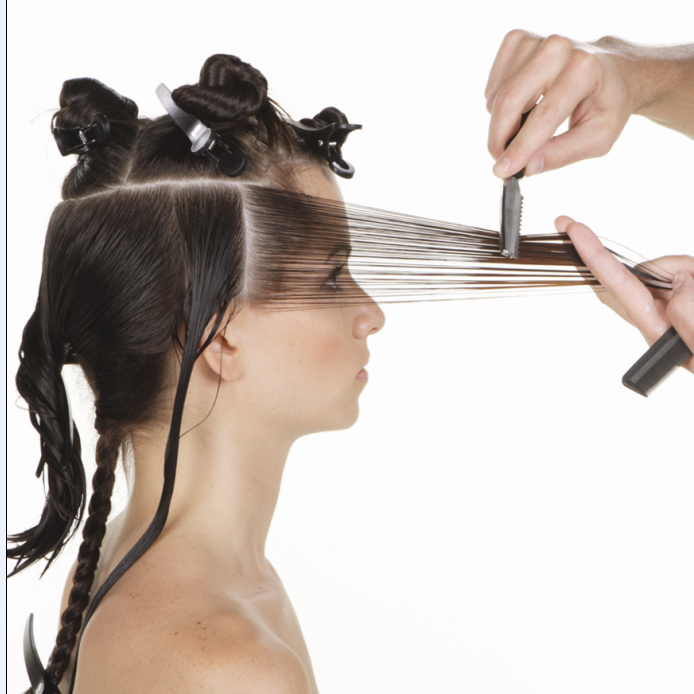
4In the interior sculpt a uniform, stationary design line. Converge subsequent diagonal partings to the stationary line.
-
 5
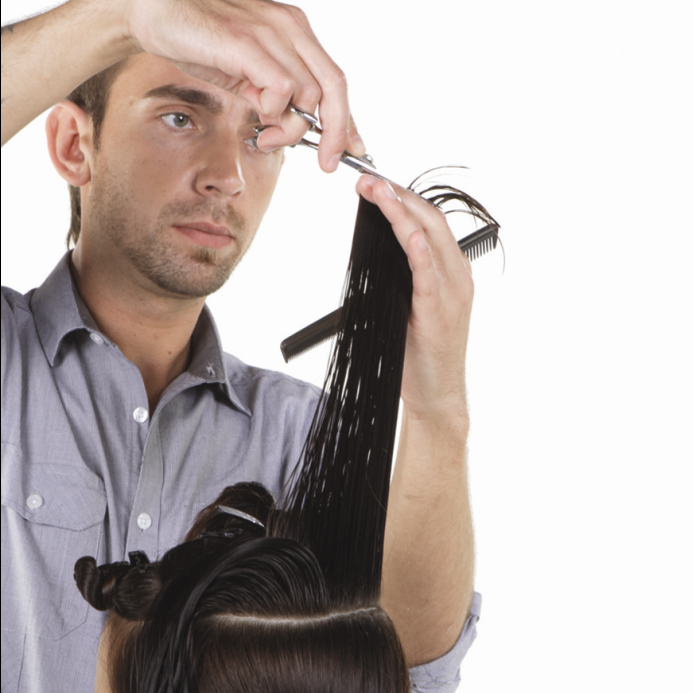
5Air form the hair. Sculpt the nape lengths in solid form. Then, take vertical partings and slide cut to blend the increase layers to the solid perimeter.
-
 6
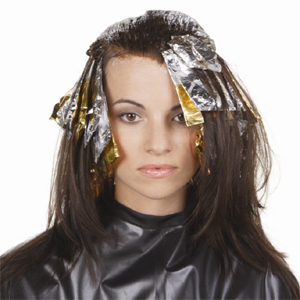
6Alternate natural hair with diagonal slices of Level 6 red copper and lightener. Use two slices of lightener to every slice of copper. Apply Level 5 caramel brown to the remaining lengths, excluding the hair between the foils. Process, rinse, shampoo and condition prior to styling.
-
 7
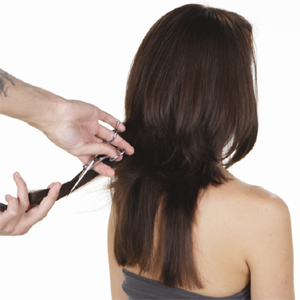
7Finished Look
-
 8
8Finished Look
YOU MIGHT LIKE THIS
-
Blonde

Trending: Base Blend
-
Balayage
Subtle Sombré
-
Fringe
How To Cut Bangs She Won’t Regret With A Razor
-
Haircuts
Straight Shag
-
Haircuts
How-To: Hidden Internal Layers
TRENDING NOW!
-
BTC Hair Trend Report
The Biggest Haircut Trends of 2024
-
Copper
What Is The "Cowboy Copper" Hair Trend? Here's What It Really Means...
-
Bobs
How to Avoid a Bulky Bob: 4 Techniques To Try
-
Hair Color
WWYD: How To Stop Your 6N From Turning Orange
-
Uncategorized
TikTok's Viral "Scandinavian Hairline" Is Actually Not New...
-
Celebrity
10 BIPOC Celebrity Hairstylists Who Are Making Major Waves In The Industry Right Now
-
Glossing/ Toning
How To Achieve "Glass Hair": Smart Hacks From Hairdressers
-
Curly
Long Layers: 10 Pro Tips + Common Cutting Mistakes

