
Mahogany Bi-Level Cut and Color How-To from Pivot Point

Advertisement
Advertisement
Advertisement
Mahogany Bi-Level Cut and Color How-To from Pivot Point
HOW-TO STEPS 
-
 1
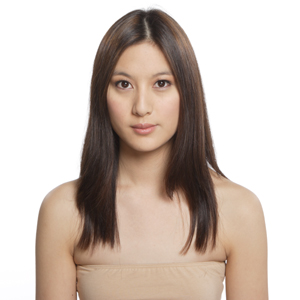
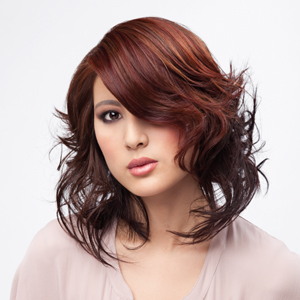
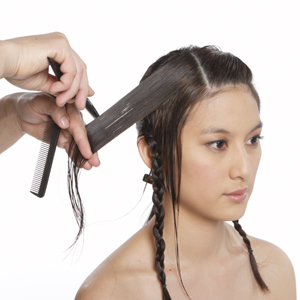
1Naomi, pictured, wants to keep the length on the sides but add interest on the top with shorter lengths and brighten her overall color.
-
 2
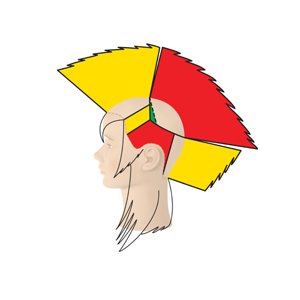
2Increase layers are sculpted over graduated lengths in the back. Graduated lengths in the interior fall on top of longer increase layers on the side perimeters.
-
 3
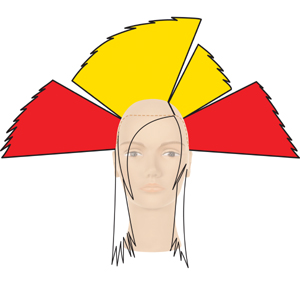
3Increase layers are sculpted over graduated lengths in the back. Graduated lengths in the interior fall on top of longer increase layers on the side perimeters.
-
 4
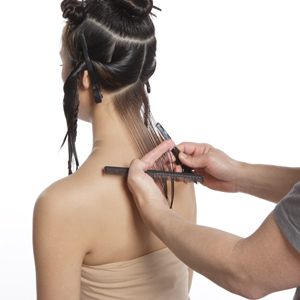
4Take a diagonal-forward parting on either side of a center part in the nape. Use perpendicular distribution, low projection and a parallel finger position. Razor etch from the center toward the left side. Repeat on the right side using a length guide from the center.
-
 5
5When texture is added, the outcome is a piece-y, romantic look with swing.
Credits
Artist: Vic Piccolotto, Pivot Point International
Make-Up: Sharon Casey
Fashion Stylists: Patric Chauvez, Sam Sok
Fashion Photography: Lisa Sciascia
Senior Photographer/Videographer: David Placek -
 6
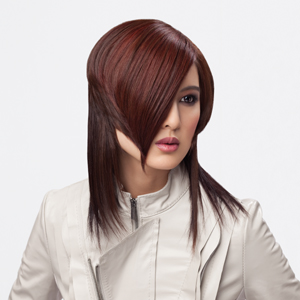
6Yet when flat-ironed, the outcome is sleek and edgy, placing emphasis on the upper level of the bi-level cut.
Want more step-by-steps? Check out the Sculpted Bob Cut and Color How-To from Pivot Point!
Credits
Artist: Vic Piccolotto, Pivot Point International
Make-Up: Sharon Casey
Fashion Stylists: Patric Chauvez, Sam Sok
Fashion Photography: Lisa Sciascia
Senior Photographer/Videographer: David Placek -
 7
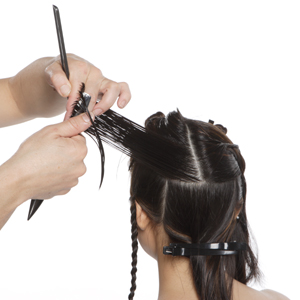
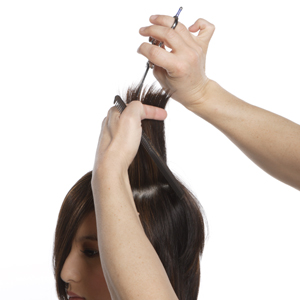
7Take a pivotal parting on the left side of the crown section. Project at 90 degrees, use a parallel finger position and razor peel to sculpt a uniform stationary design line. Work to the center back directing pivotal partings to the stationary design line. Repeat on the other side.
-
 8
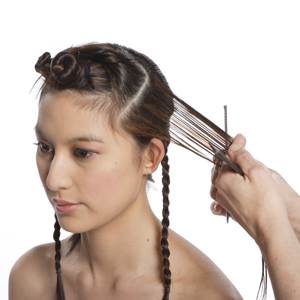
8Release a parting parallel to the bottom sectioning line in the upper left side. Use perpendicular distribution, medium projection and a parallel finger position to razor etch a stationary design line.
-
 9
9Take diagonal-forward partings on the right side in the top section. Use perpendicular distribution, a parallel finger position and razor etch directing lengths to a stationary design line.
-
 10
10Air form the hair. In the unsculpted lengths behind each ear, use vertical partings, high projection and a length guide from the interior. Slide cut while retaining length. Project slightly higher at the ear.
-
 11
11Direct interior lengths straight up and use a deep notching technique to blend the sides, crown and top lengths. Shift the right side back to retain length.
-
 12
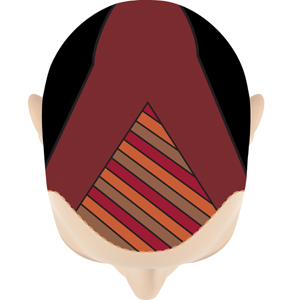
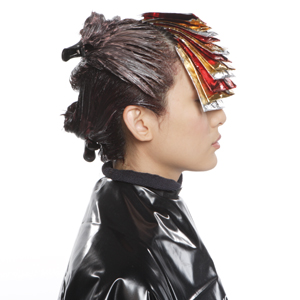
12Use back-to-back, diagonal slices in a triangular fringe section. Alternate level 6, warm brown, level 6, copper and level 5, red permanent colors with 20 volume (6%) developer.
-
 13
13Apply demi-permanent level 4, red-violet in the exterior and demi-permanent level 5, chestnut brown in the interior. Process, rinse, shampoo and condition prior to styling.
YOU MIGHT LIKE THIS
-
Hair
The Clippered Men’s Cut from Pivot Point
-
Hair
Short Multi-Tonal Brunette Cut and Color from Pivot Point
-
Hair
Pivot Point’s Inspirations
-
Hair
Pivot Point International “Lauren” Mini-Tech
-
Multi-Cultural
Pivot Point “Rosita” Mini-Tech
TRENDING NOW!
-
Curly
Long Layers: 10 Pro Tips + Common Cutting Mistakes
-
BTC Hair Trend Report
The Biggest Haircut Trends of 2024
-
Copper
What Is The "Cowboy Copper" Hair Trend? Here's What It Really Means...
-
Haircuts
SHAG 101: The Dos And Don'ts
-
Bobs
The '90s Bob: How To Cut & Style This Trending Haircut
-
BTC Hair Trend Report
Quiet Luxury Blonde: The "Old Money" Trend Explained
-
Blonde
Dear Clients, Read This Before Going Blonde!
-
Balayage
How To Turn A Brassy Lift Into A Brunette Balayage

